
Update
This happened… I needed to run out and get some work done, heels were what I was wearing and were good enough for the work I was doing (drilling, no heavy things falling on my feet). We happened to be having our annual Superbowl party at the time, I was trying to just sneak out and get some work done but understandably so, people thought it was funny and insisted on a picture to post up here… So here is me in my car-hartts and heels. 😉

On to the ‘real’ post… I wasn’t really planning on posting yet but I feel like it’s been too long… I am not done with the next step but here is what I have been up to! Enjoy!
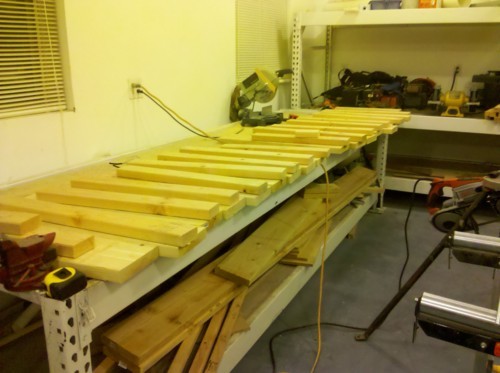
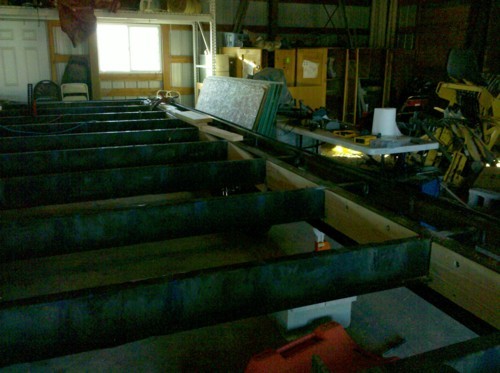
This is all the wood that was cut in the last post, it is paired up, 1 – 2×4 and 1 – 2×8..
Each pair will be attached to the frame to provide me a nailing surface for the undercarriage and the floor.

I cut up the all-tread to attached the lumber to the frame.
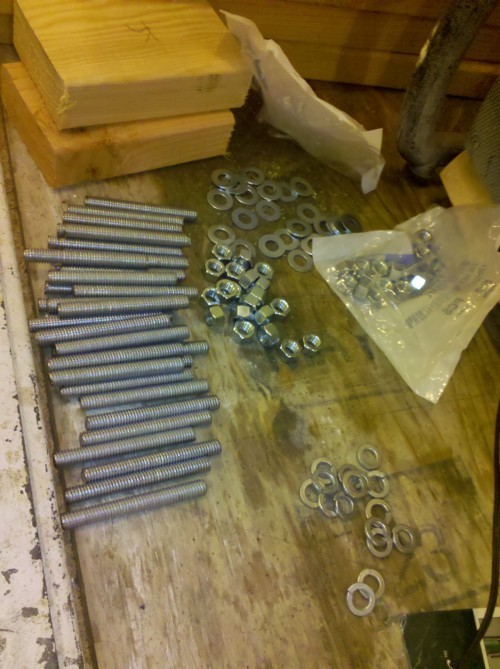
The chopped up pieces, with the washers, lock washers and nuts.
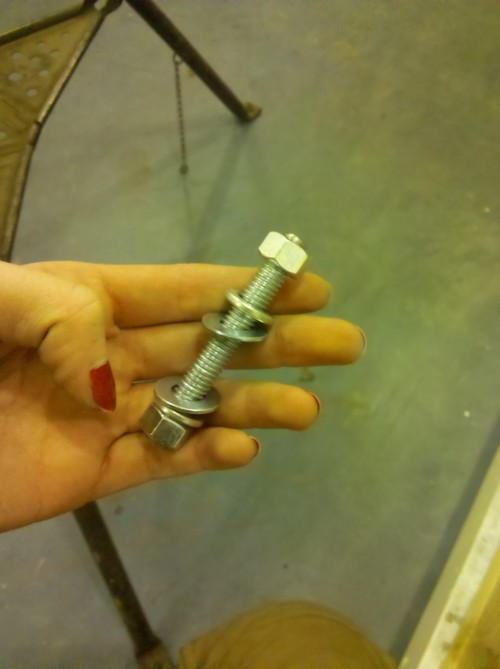
The assembled fastener.
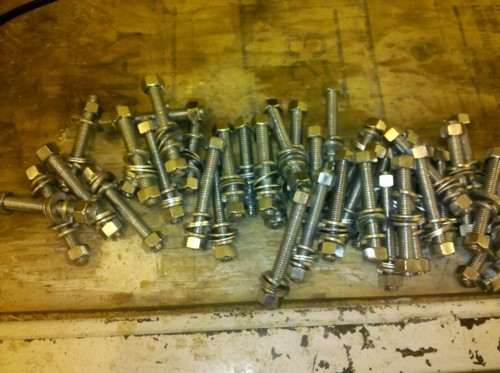
and a whole bunch of them, this was some effort to put these together but it saved me some money and it gives me the flexibility to work around the different lengths of fasteners I will be needing, I can custom size them…
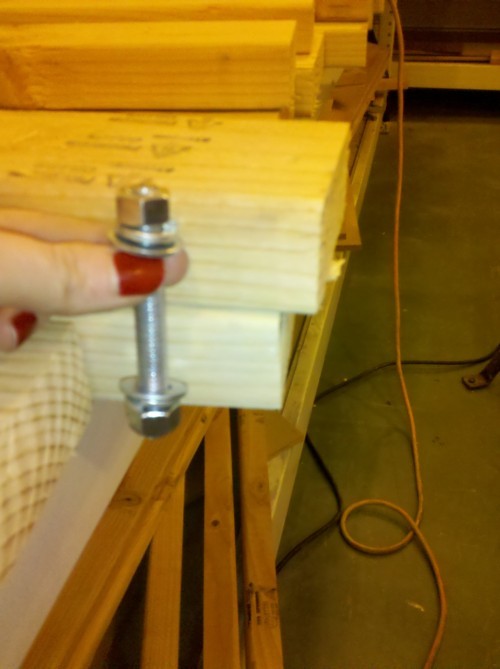
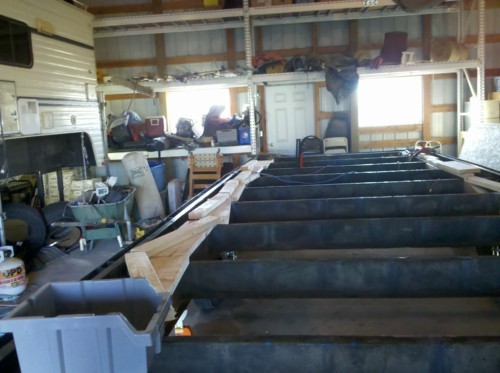
the fasteners will sandwich the boards on either side of the I-beam structure.

Clamping the wood on to start drilling.
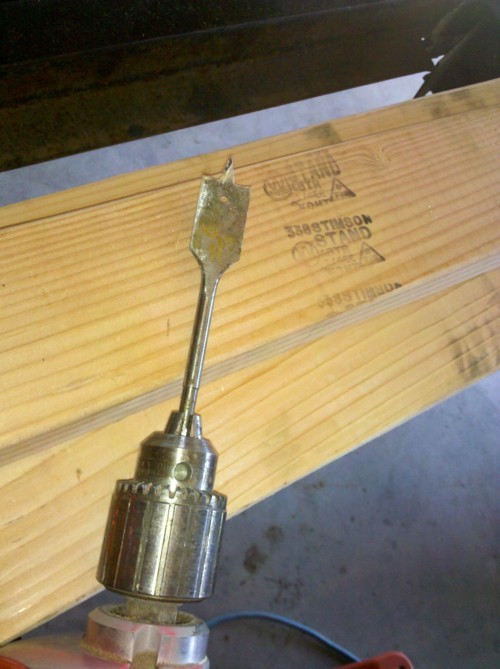
I used a paddle bit to recess the nuts. The insulation will be fitting in the cavities between so I figured it will be easier to deal with the insulation if I didn’t have a bunch of protruding bolts in the way.
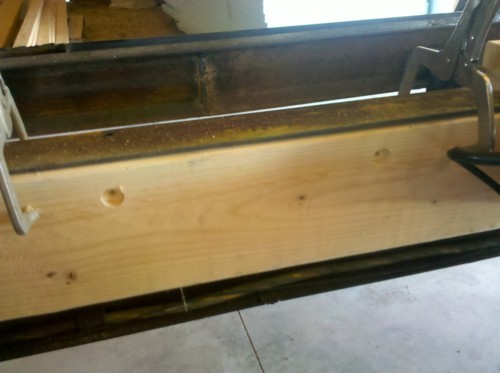
The recessed areas.
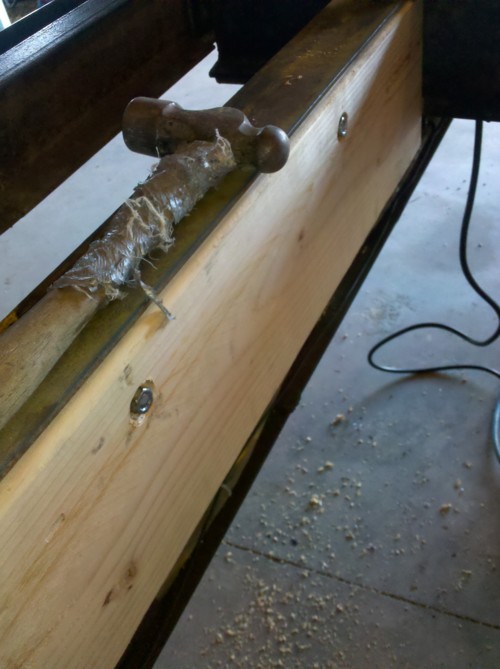
And with the bolts in.
I got a good portion of the boards attached, but like I say, not as many as I would like. I should be through with this this week I hope, though I do have a busy week ahead of me! Wish me luck on my Big Sister training AND on my fundraising breakfast to support the Victims Witness Unit for our local police station (let me know if you want to come, I’ll get you tickets or gladly take donations 😉
~Macy