
10.29.12 Update
Here is a half of an update, I am missing some serious pictures. I got lots further than I show but I forgot to take pictures… You’ll have to wait for the next post! I got a good jump on my sheetrock this weekend with lots of help from Dad and James. I am using 3/8″ sheetrock for interested parties. I am worried about it breaking but I also know how to patch drywall so I’m not TOO worried :).
Here are some pictures:
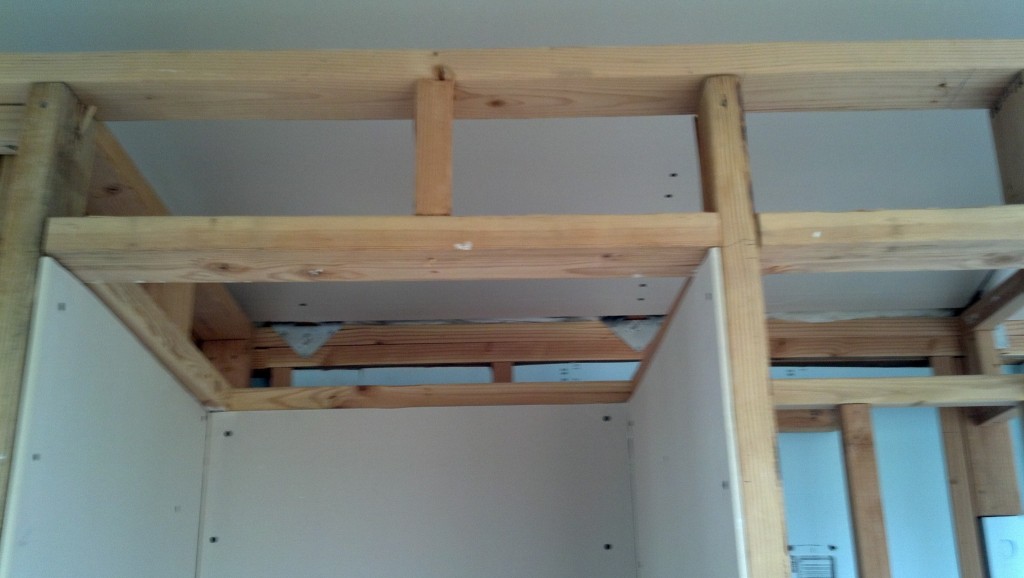
I got the blocking up for the kitchen shelves
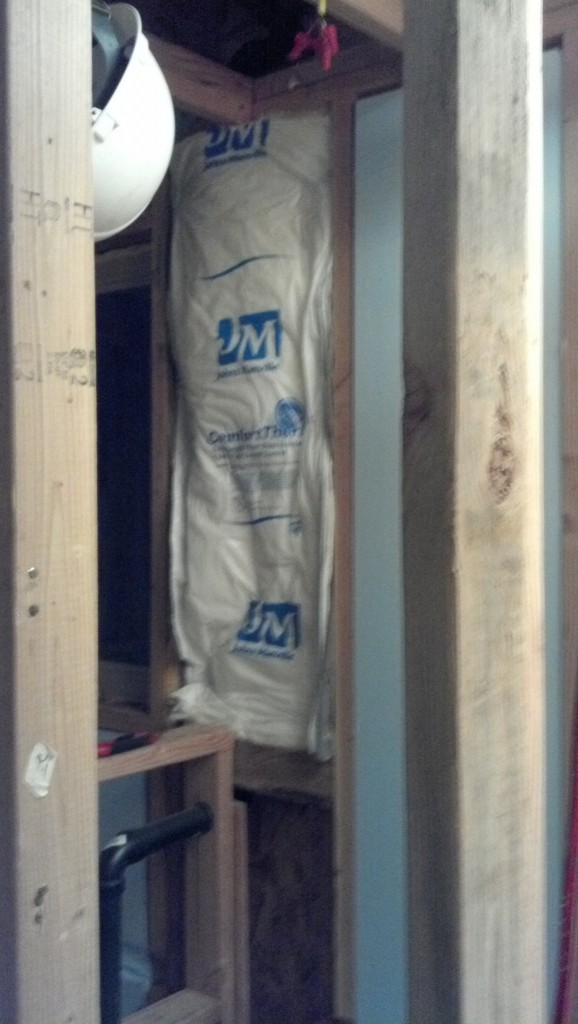
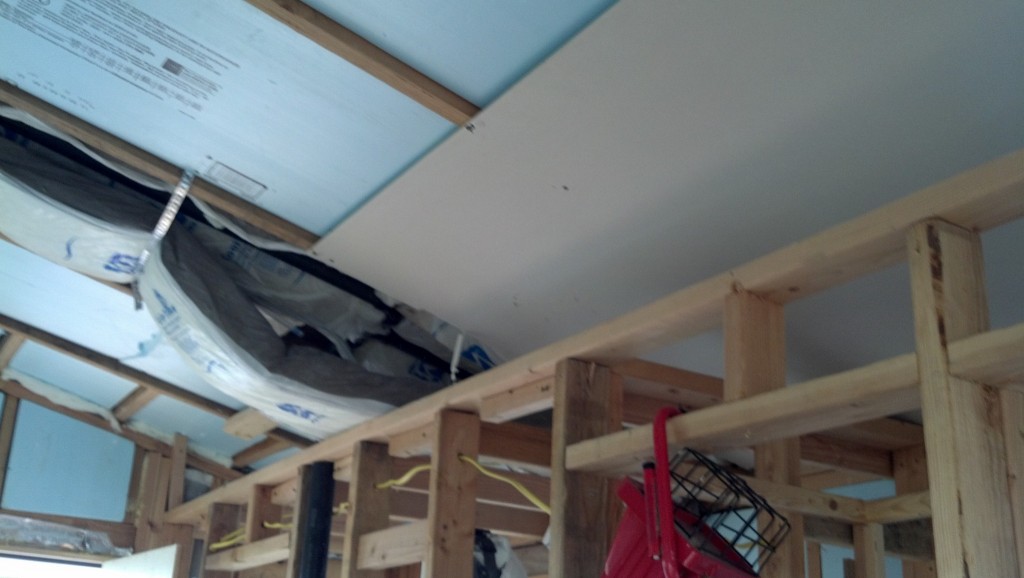
There were a couple cavities that were missing insulation, I filled them with batt insulation instead of rigid because it was easier to work around the vent pipe.
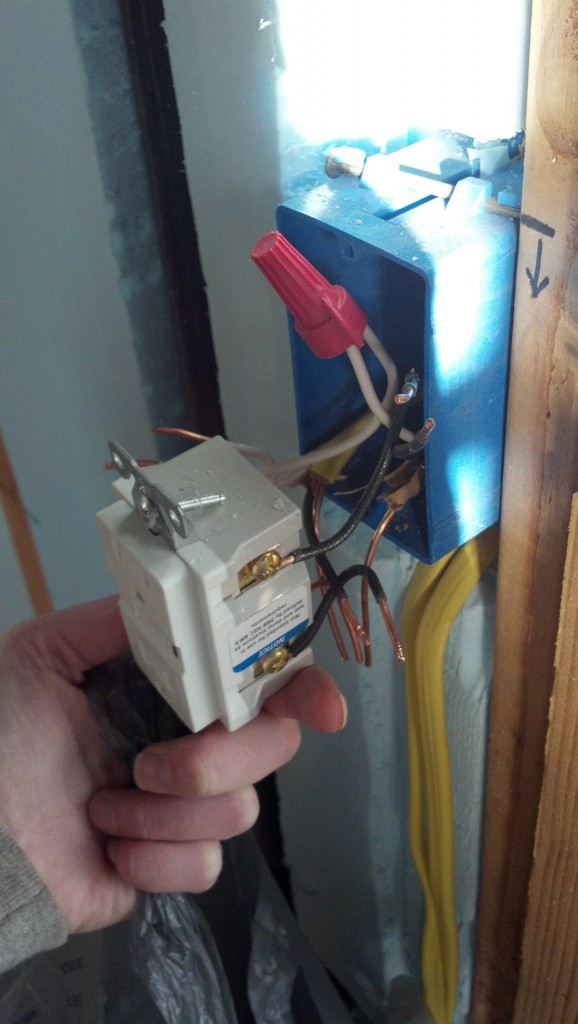
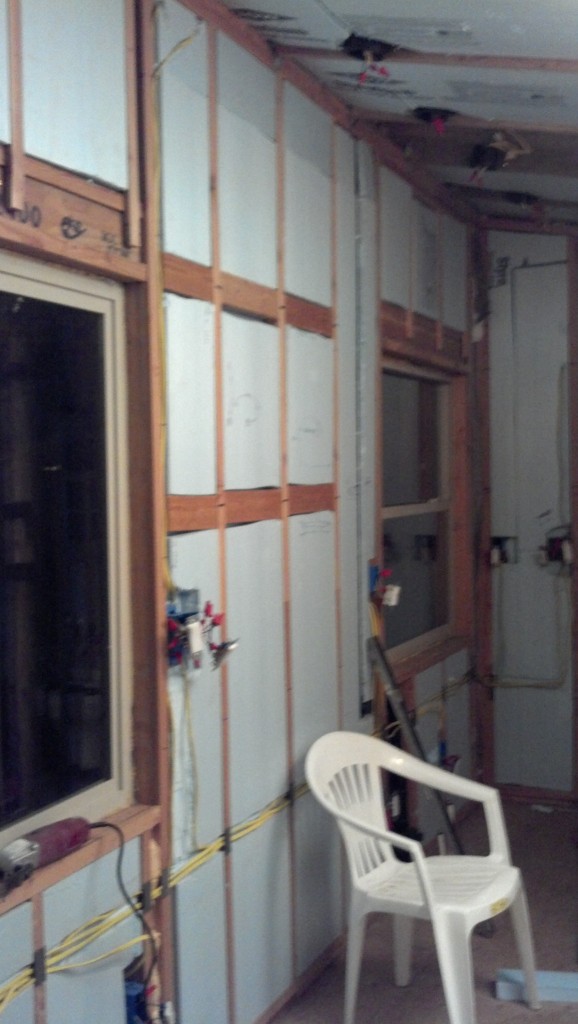
I know all my electrical stuff works but some of the stuff was complicated enough that I thought it was a good idea to take some pictures so I can remember how to put them back together. I will finish up the drywall and put all this back in!
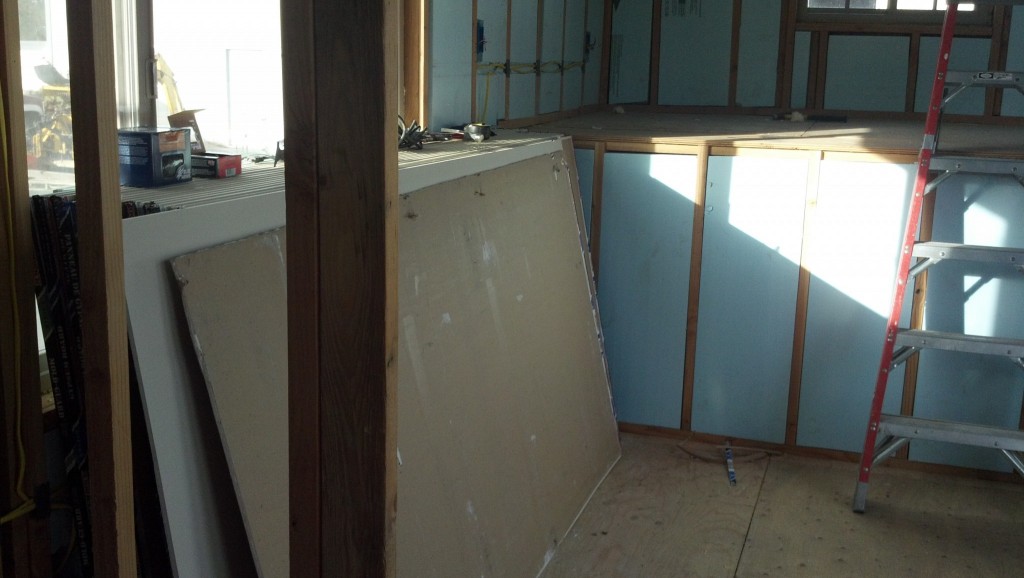
Nathan and Dad helped me move all the drywall in the house. It's just starting to drizzle and be 'fallish' here so I wanted to get it inside.. it looks once again like a lot more than I need! I have been way over on all of my quantities
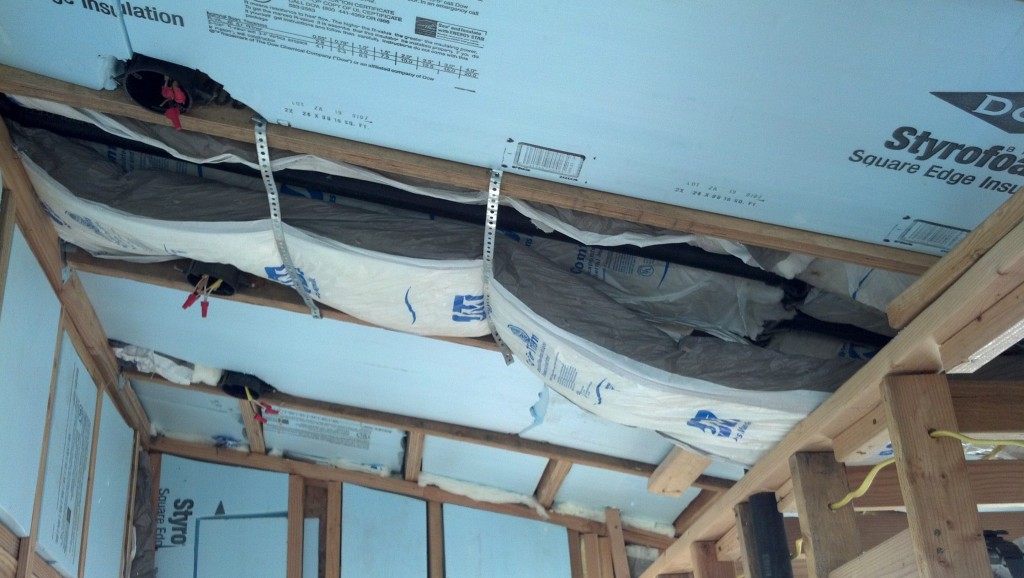
Another shot of the awkward insulation... I picked up some 16" batt insulation but the cavity is 24"... so it's awkwardly hung but now that the drywall is up you can't even tell 😉
I stuffed all the holes where the ridged didn't fill. I was originally going to fill this with foam insulation ut it was being a pain in the butt so I opted to just stuff in some batt, it should work really well still.
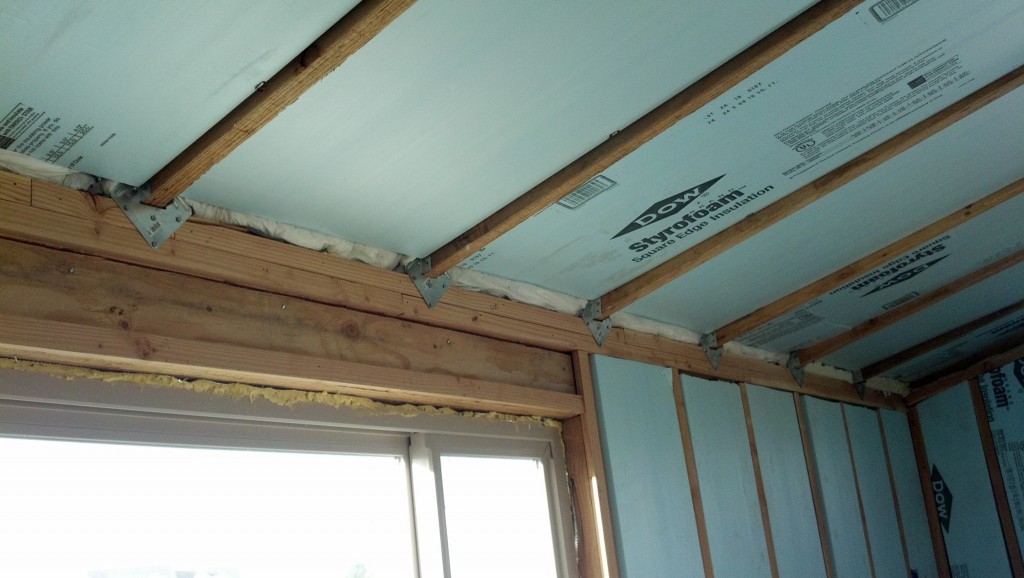
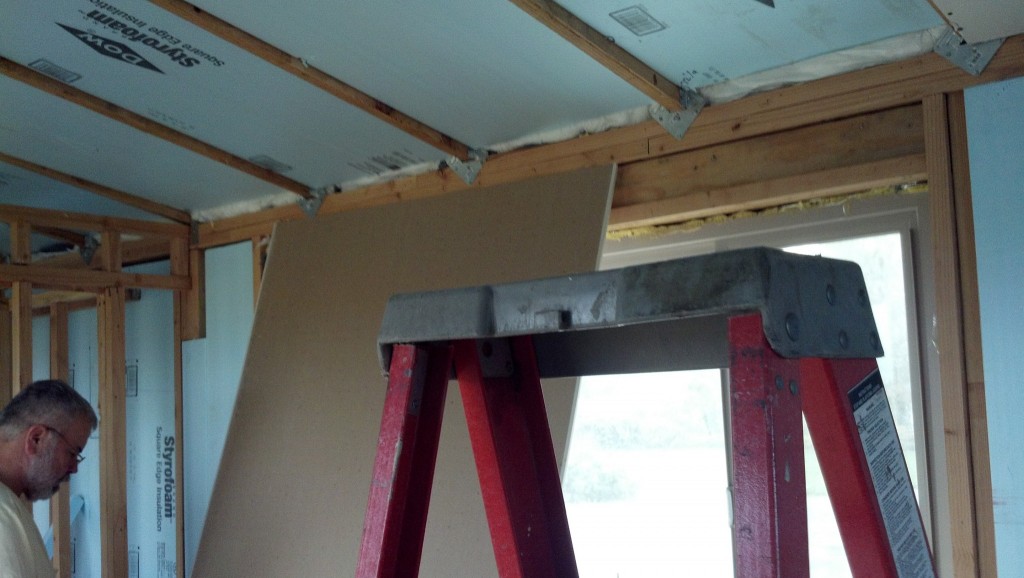
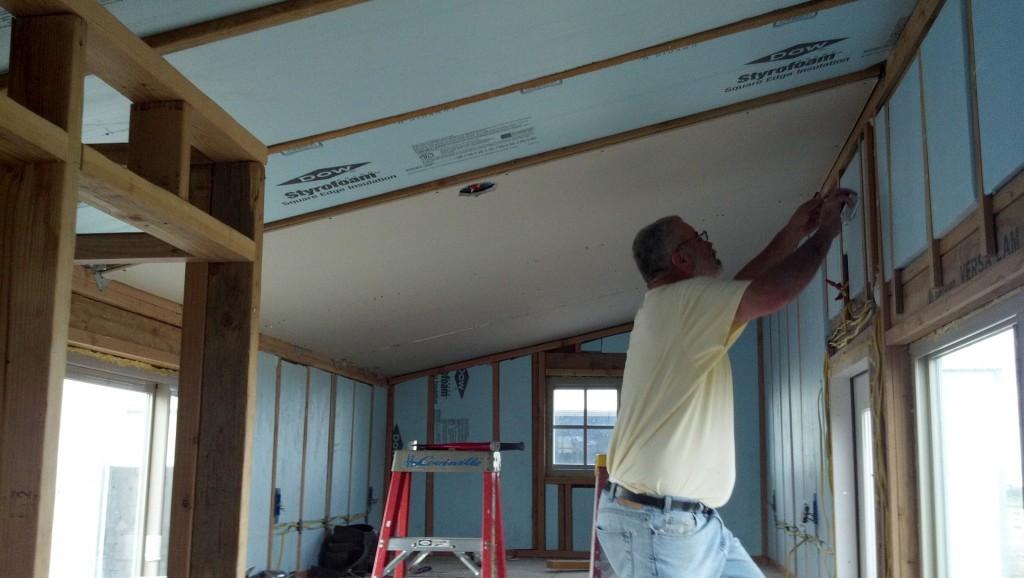
The first piece is up!
Dad thinks this was the toughest piece, I personally think the last piece we did on the ceiling was the hardest. I was exhausted and it seemed WAY heavier! 🙂
The second piece went pi really easily!
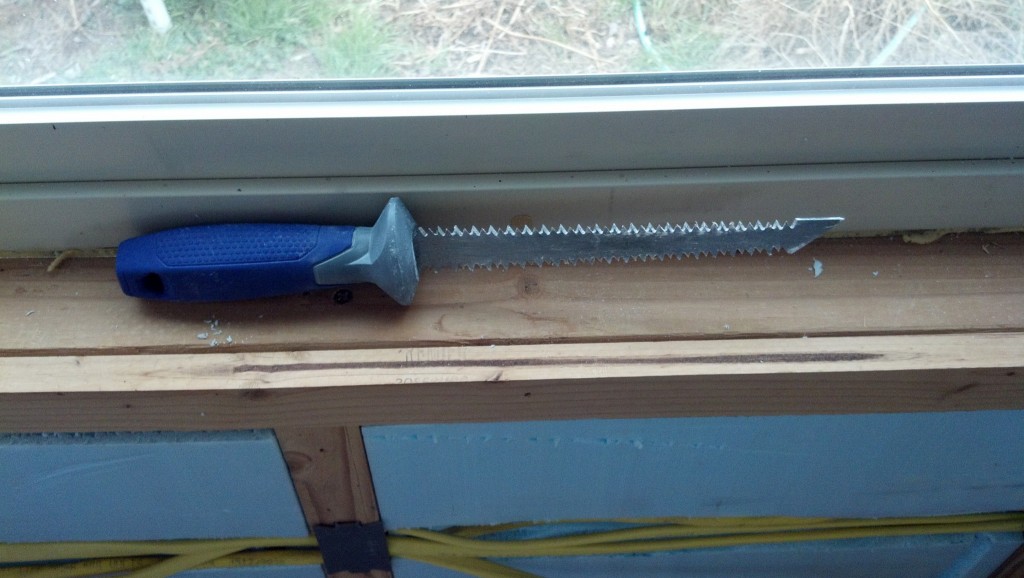
Im not sure what this picture is...
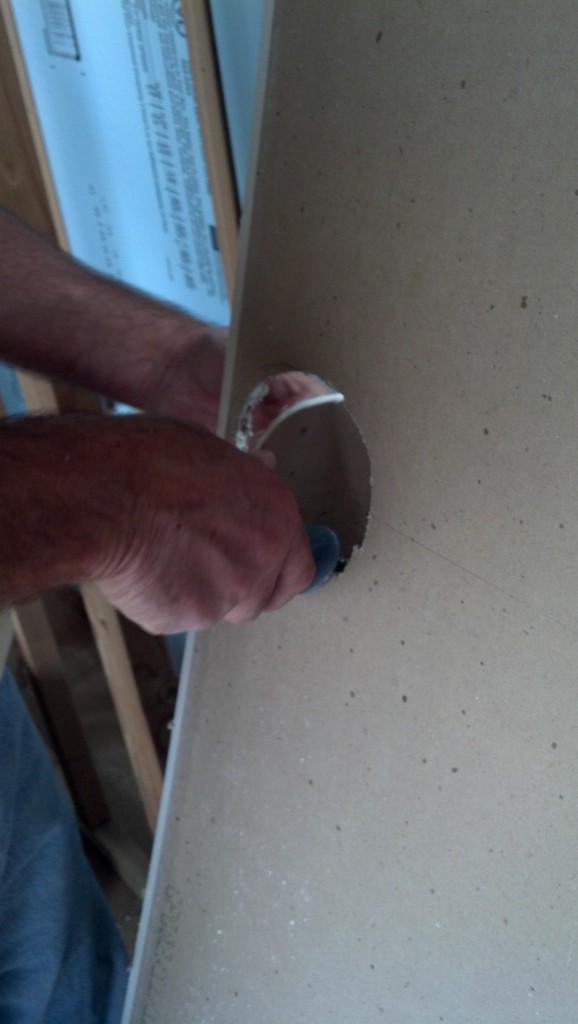
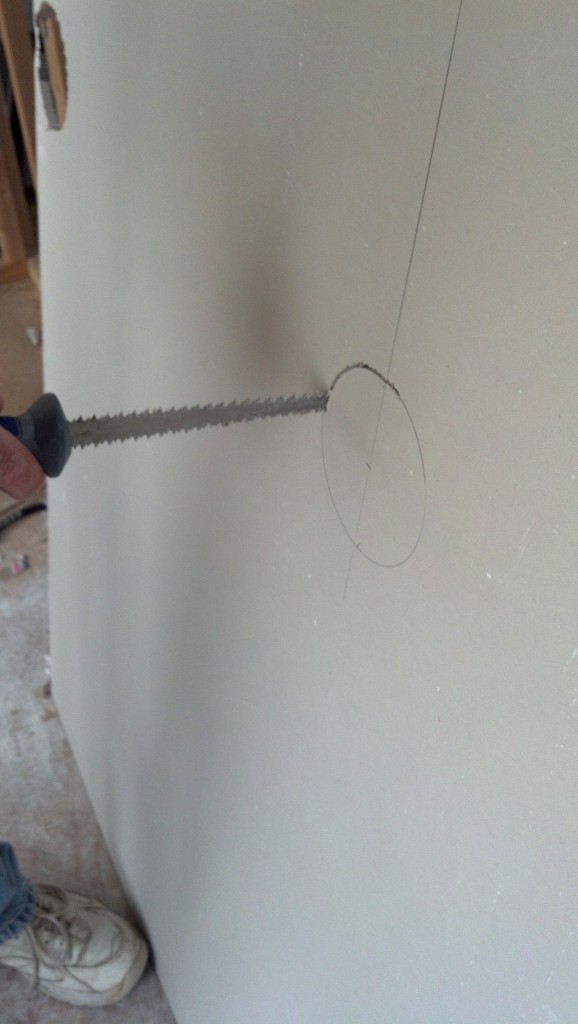
The third piece has my ceiling fan hole... was a breeze to cut out, in fact dad had it measured and cut before I could even finish screwing the second piece in.
Super handy!
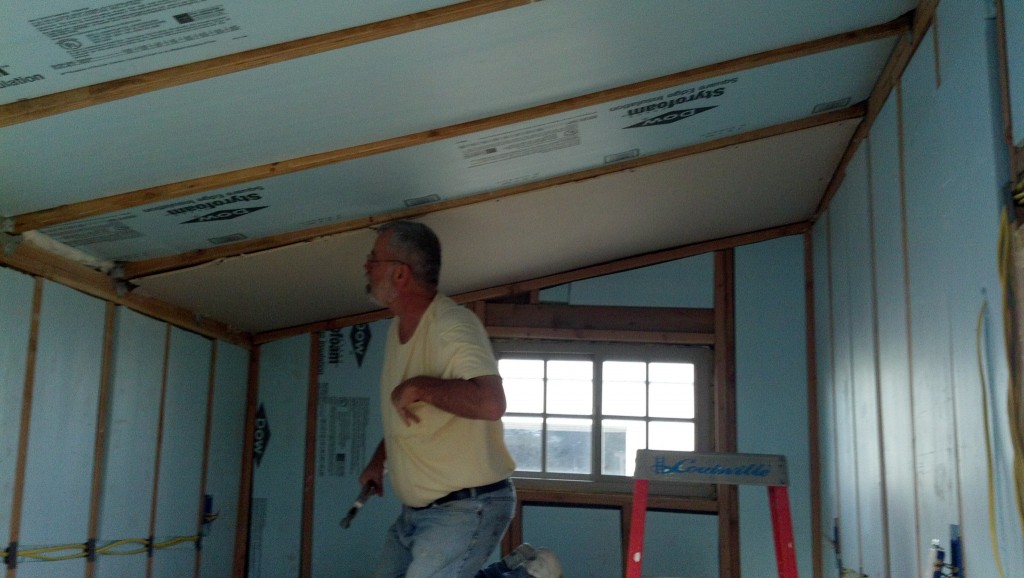
The third piece!
The fourth sheet turned the other way, it's up above the storage bin so it was easier to put it this way.
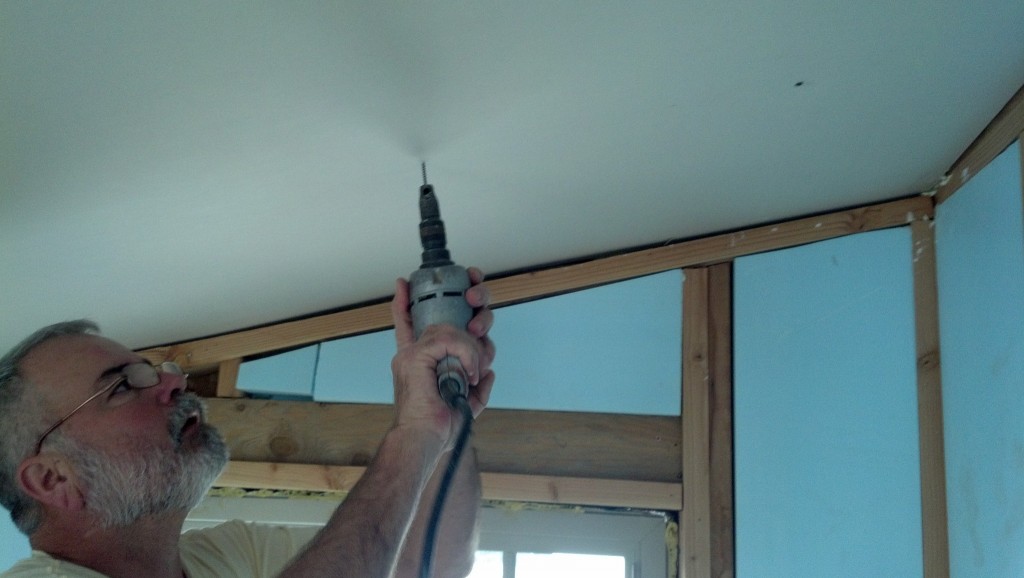
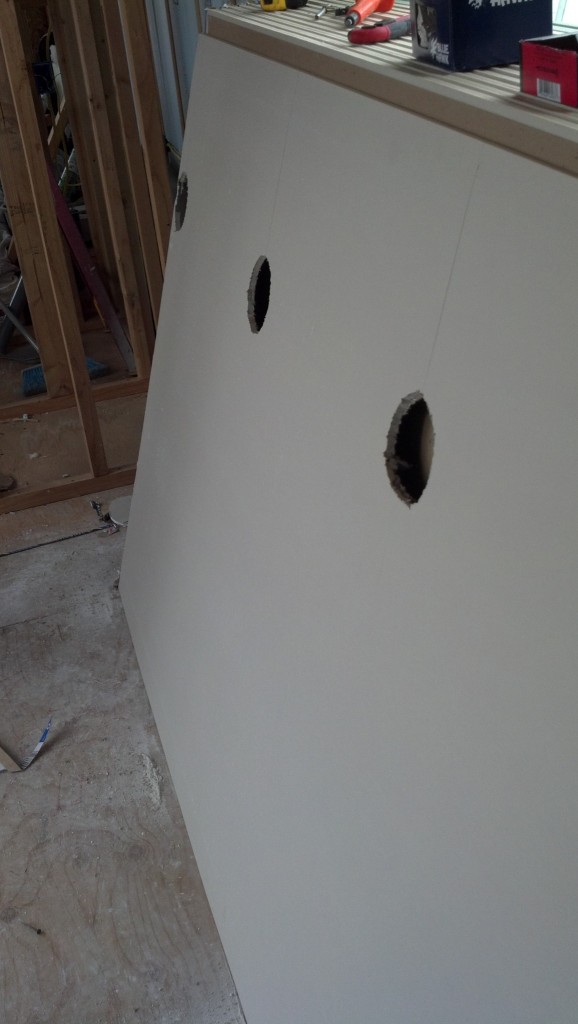
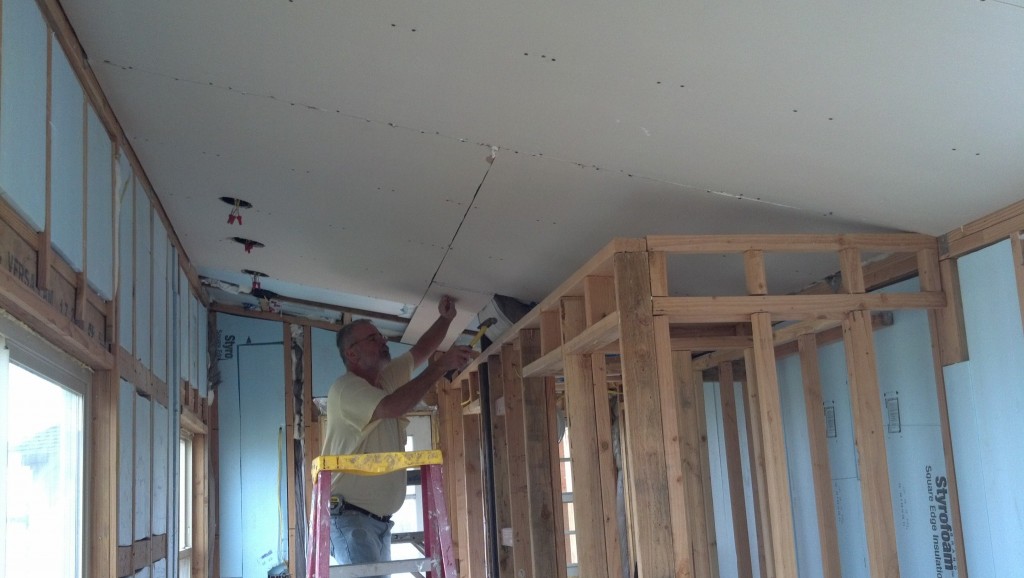
he fifth has three light fixture locations that needed cut out, once again Dad had it marked ad mostly cut before I could finish screwing in the last piece.
Ready to hang, I think this one was the toughest to hang, my back was hurting by then 🙂

And this is what I look like covered in sheetrock dust...
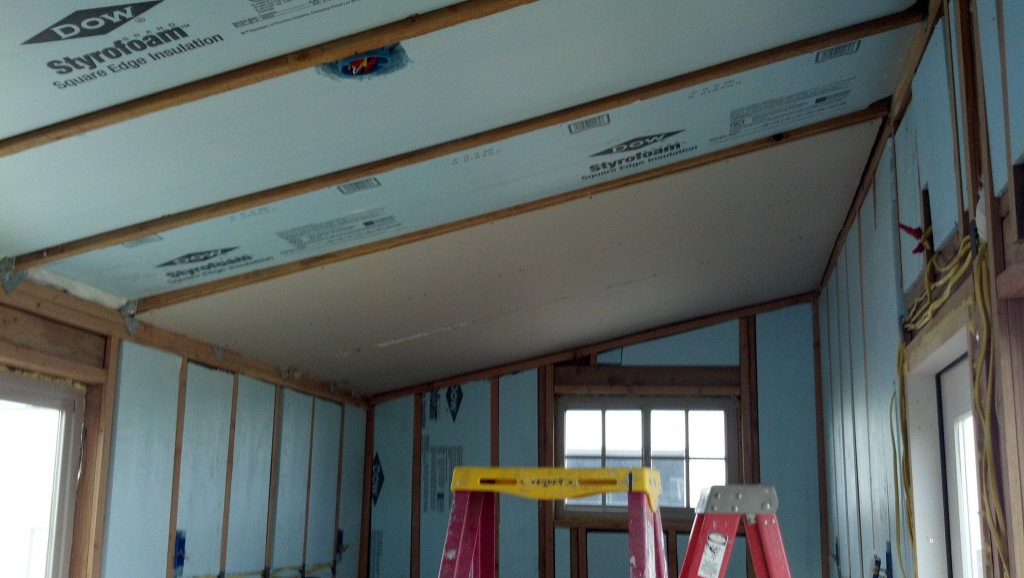
Most of the ceiling is up!
Starting in on the walls. The plan is to do th whole lower level then run through and do the whole upper piece and I will need to fill about 1 foot gap in between (9' ceiling on the high side). This way the majority of the mudding all happens at arms length.
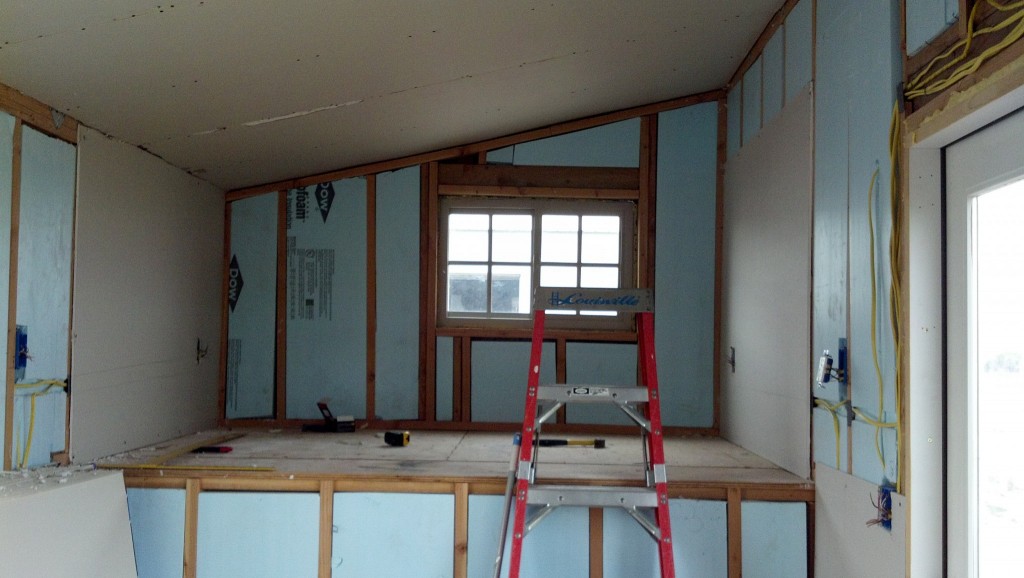
Getting there...
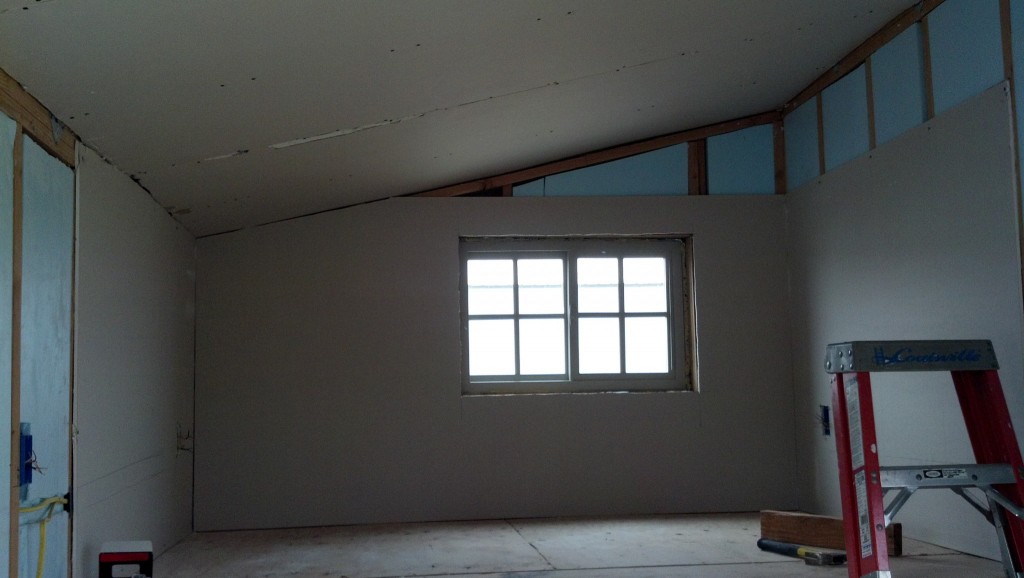
Closer!
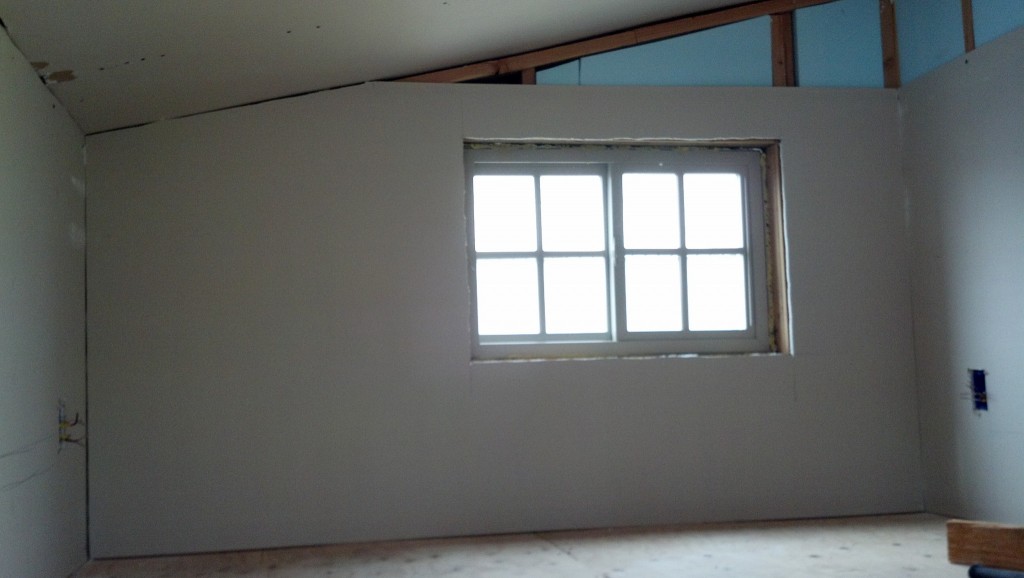
Closer!
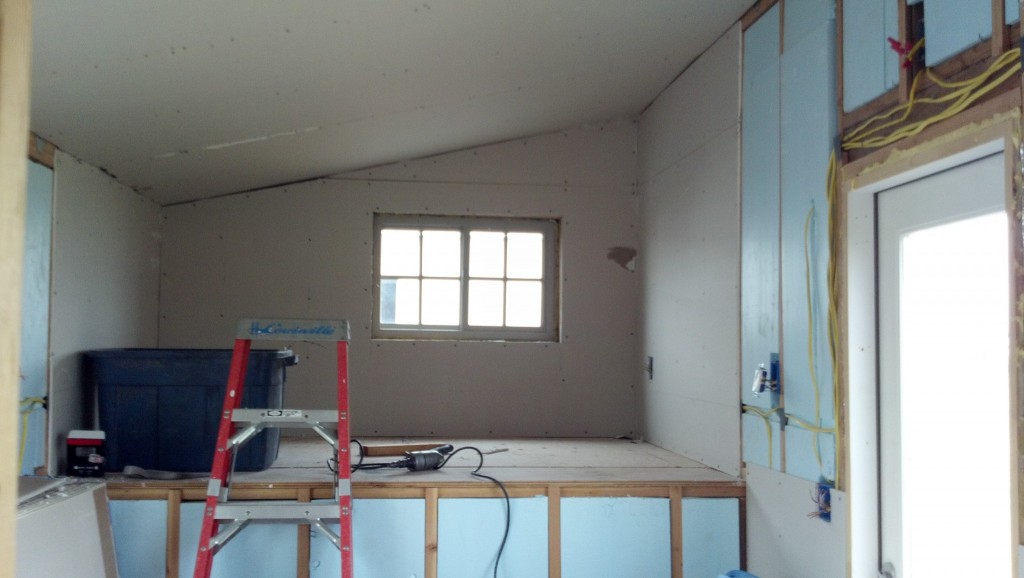
I have a loft!
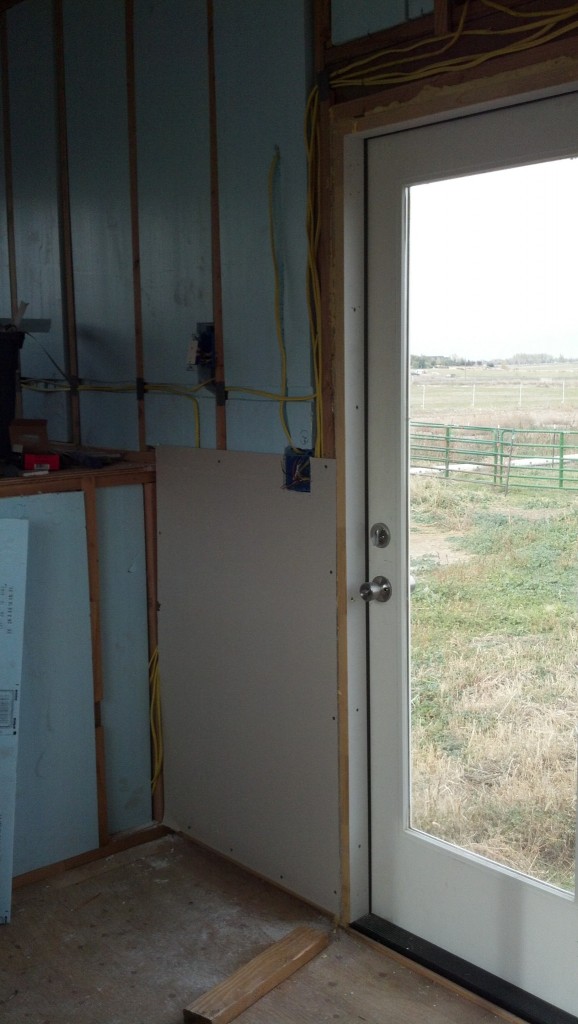
here is where my fridge goes... 🙂
I need to figure out how to do the ceiling here, this is about an 8" deep storage bin that will be above the fridge... I must have just missed thinking through this before, Ill get it though!

I was a bag of Jelly Beans (It was easy 😉 )

Tobi was a bad dog....

Mom was the wicked Witch... only she has the biggest smile so its hard to believe

The packaging was a little big and this lasted all of 5 minutes before I realized I couldn't sit down... after a day of drywalling that's just not going to work...

Dad was just scary

Jack was the obvious weiner...

You're lucky this shot is blurry, that's all I have to say about that! 🙂
It looks so real!!! How exciting to see your drywall up! And what a good idea to put your mudding at arm-height. Wish my husband and I had thought of that!
It is definitely the sort of encouragement I need to see to keep pushing forward! 🙂
Why is there 2 outlet boxes where your fridge is supposed to go? The top box looks about the right height for a wall switch but how can you reach it with a fridge in the way?
There is a microwave that will sit on top of the fridge, the top outlet is a dedicated circuit for the microwave. The bottom switch is the one for the fridge :). Neither of them will need direct access.
Looks great! I dislike taping corners; have you thought about using 1/4″ round molding on your ceiling / wall joints to save time and headaches?
I have, I really don’t care for the look of rounded corners though, I want all the lines to be clean and crisp, I have however gone with just your standard corner guard which I can hopefully get up soon! 🙂 Thank you for the suggestion!