Our Rammed Earth Retaining Wall
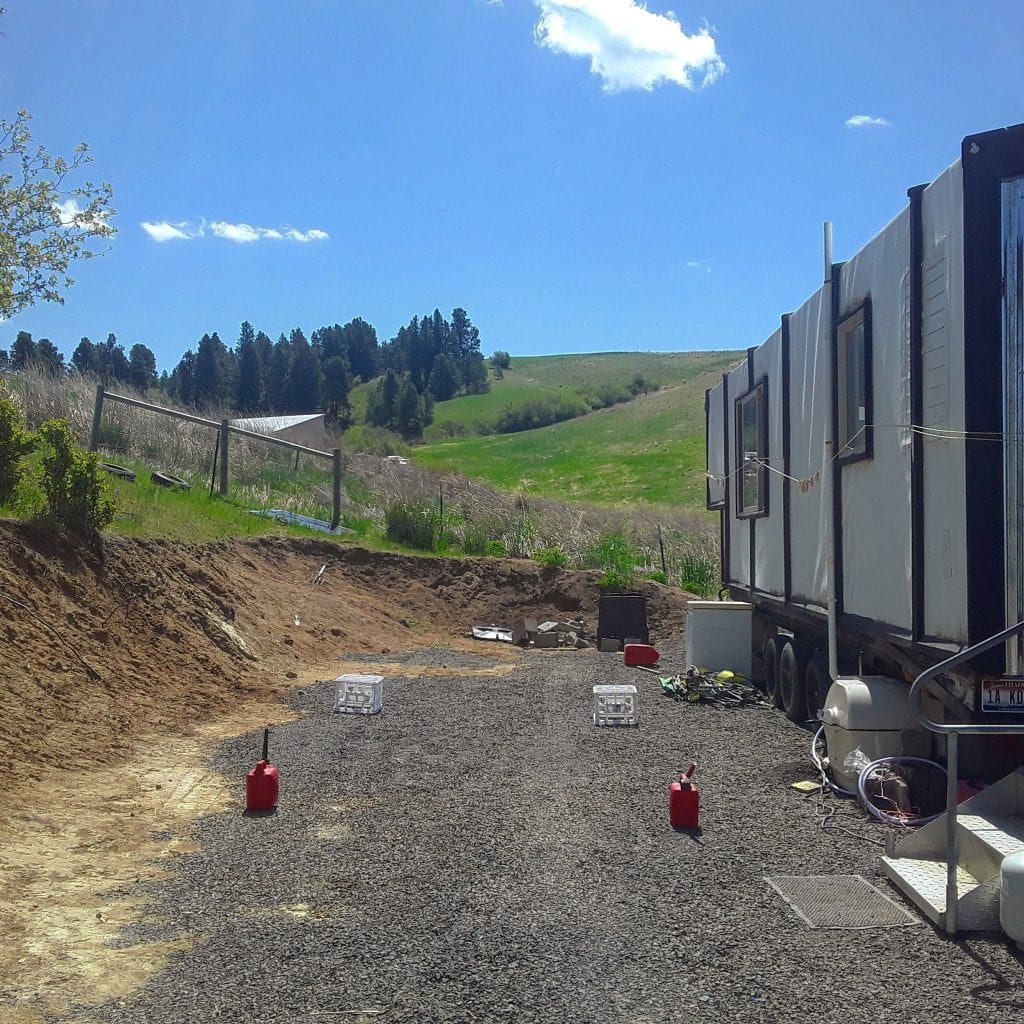
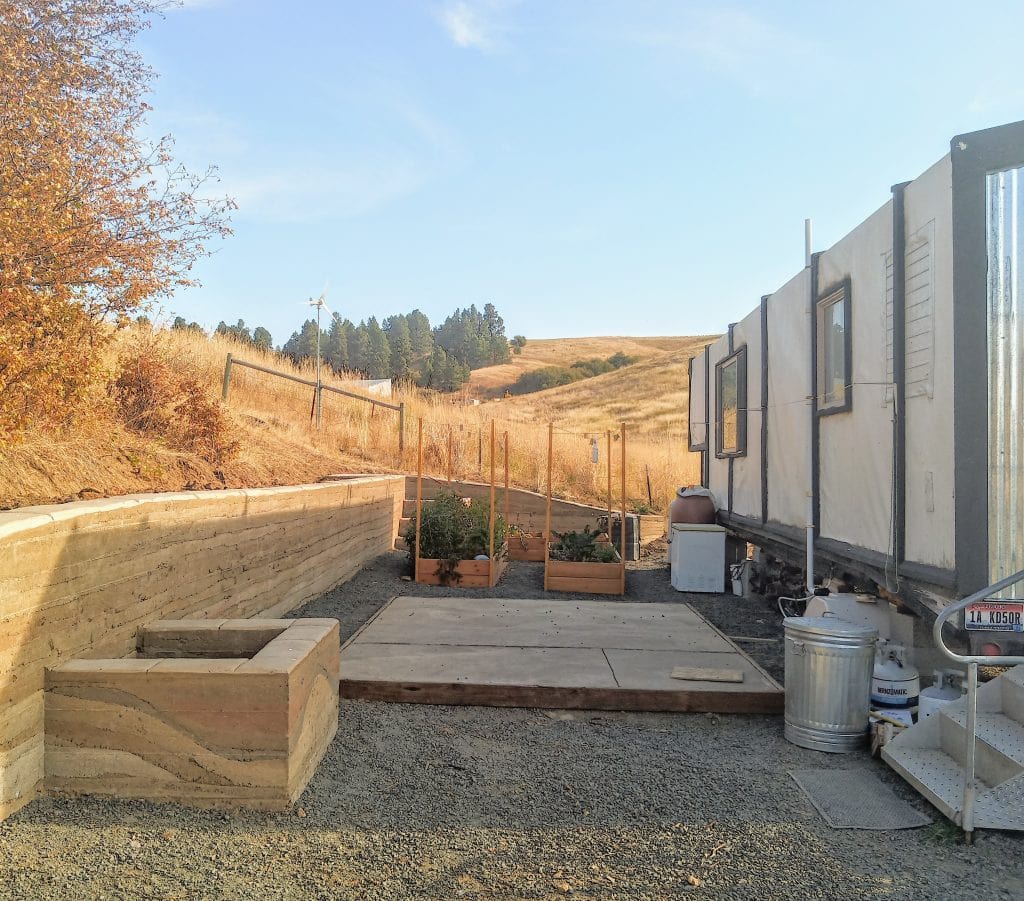
This summer has been busy! Here I thought we would focus on building a deck but a lot of our time was spent building a rammed earth wall instead! We flattened out an area for the tiny house by cutting into the mountain. Every rain brought a bit of that mountain a tad downhill. The plan became having a small garden area and a winter shed for the tiny house food and water storage. First, we had to fix that falling mountain problem. Otherwise it would be a lot harder later.
Now that you know the why, here’s the story of how we did that.
Our Options
First
We talked about a lot of options. We thought, we could just get some regular old CMU (Concrete Masonry Units) retaining wall blocks, that would have been about $7,000. Frankly, I am not a super fan of the look even though we would have had considerably less labor involved.
Second
We thought about doing earth bag construction. Earth bag is where you take some feed bags or tarps or whatever you can find that is durable and relatively uniform in size, you fill it with dirt on the site and stack it, in a stable way, then coat it with cob or some sort of facing/finish. We had a hard time sourcing some sort of uniform and durable material to pack. We could have bought a roll for approximately $3,000 and then it would have been a lot of work still. This was ALMOST the way we went, I would have likely purchased a roll of Tyvek and made my own rolls with my sewing machine. We didn’t LOVE the idea of doing earthbag for this case, we do want to build with earth bags at SOME point though.
Third
Next, we considered rammed earth with tires, akin to Mike Reynolds earthship methods. fill a whole bunch of old tires, stacked with earth. The tires give structure and a container to fill. Then you coat the outside with some sort of cob or filler material. We didn’t have enough tires to do the ~120′ of wall.
Finally
We WERE on our way to Boise to remove a deck we had placed there. That gave us a lot of board we could use as formwork. Infact, it was exactly the right number of boards to make the form for a 120′ wall! We thought, ‘we’ll use these as forms ‘real quick’ then we can take them down and use the wood a third time to frame the winter shed.’ ‘Real quick’ was a joke but three months later our wall is complete! The cost was a whopping $350. We literally reused all of the deck including the screws!
James and I both loved the look of rammed earth but it was an ambitious first project to be sure! Ours is not a pure rammed earth wall, some might even call it dirt-crete because we incorporated Portland Cement into the mix to stabilize it. This is necessary mostly because of the amount of water we get every year. We also ave a lower clay percentage in our mix compared to the ideal. I am afraid had we not added it, that wall wouldn’t be here next summer.
The steps
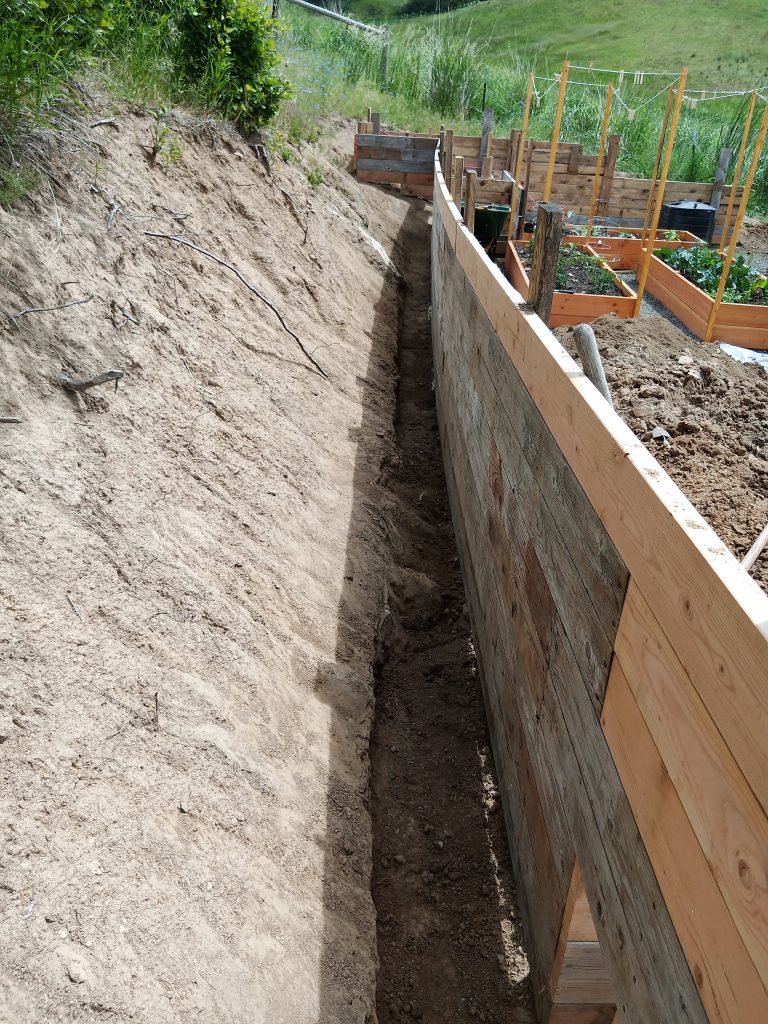
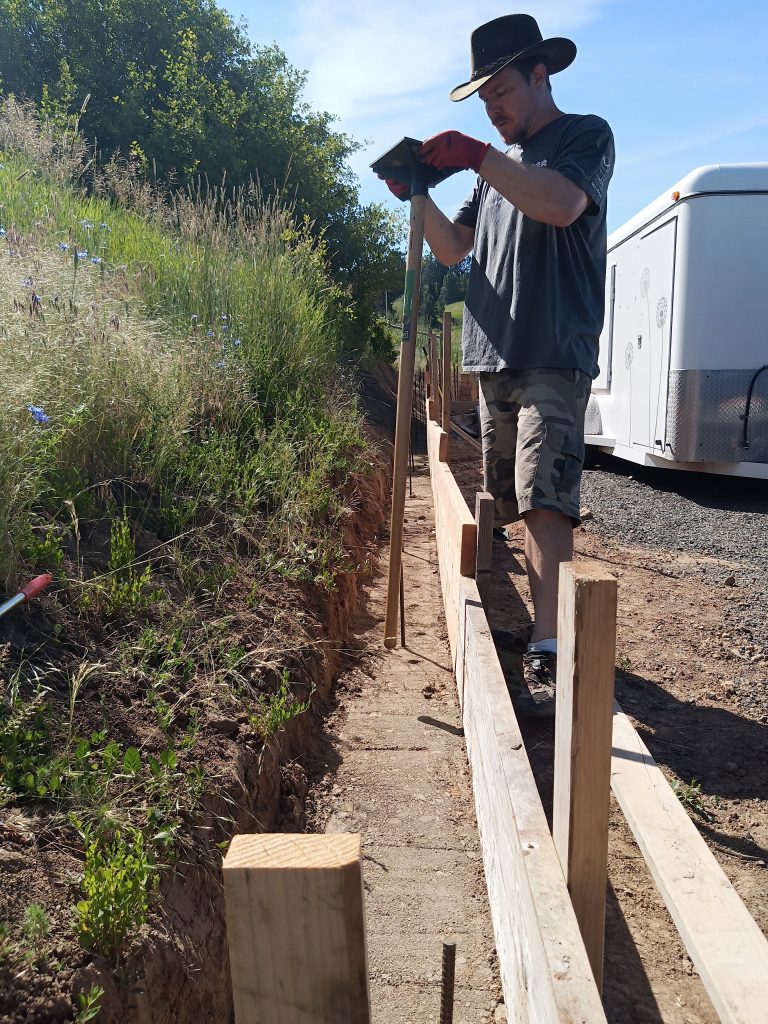
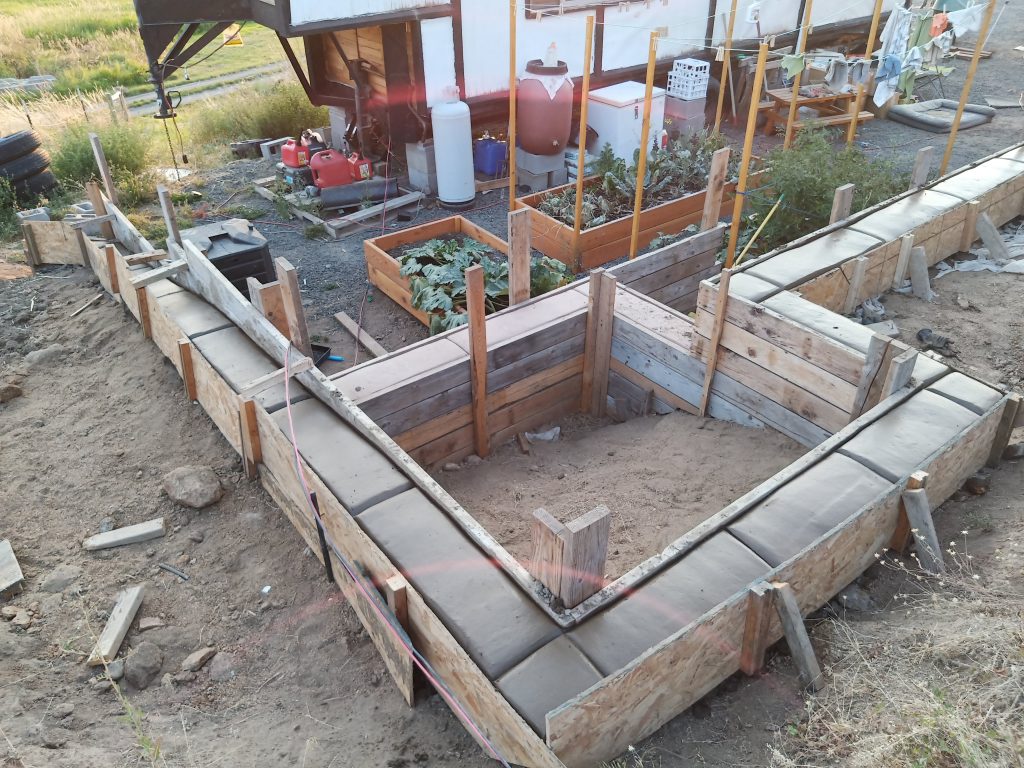
First we had to dig down to the earth as far as we could for a foundation. This area sits on a huge bunch of boulders so we couldn’t get down at all in a lot of areas. We did the best we could. We then started setting up the formwork to define the shape. On the really long stretch we broke it up and added support by incorporating a planter box for a tree down the road. After the forms were build, we went through with a masonry bit and drilled a hole, 12″ deep, every 4 feet into the boulders below. We then drove rebar – that we had leftover from the barn project – down into those holes to tie the wall to the footing (boulders) below.
Building back
Once that was all set we started infilling the rammed earth wall. At first we were mixing by hand and we did the whole first 18″ of the wall that way. we’d mix, 60% clay 30% sand (in our case, decomposed granite) and 10% cement. throw in a little water but not too much then ram it down into place with a tamper. we did the entire wall 2″ at a time. dump about 4″ of our dirt mixture in and tamp it down to about 2″.
Once we got to ground level we had to add a back wall to compact between. We took some scraps of OSB, ripped them into 12″ strips and held them in place with some scrap wood from the deck we remove.
The first 12″ above ground were a flop!
Hand mixing stunk and we didn’t add enough water. Our thought was that the ground water would draw up into the wall. Since it’s sitting on boulders though, that plan didn’t work out! After a week the layers were crumbling too easily for our comfort. We ended up breaking it all apart and starting over! A minor setback but we figured it would be the difference between the wall staying or falling apart. We opted to buy a concrete mixer to go forward and I on’t think we’d be done if we hadn’t! It made all the difference. We stopped being so stingy with the water and mixed it to the same consistency as you would a batch of concrete. Dumped it in and tamped it down. There was much less compaction happening with more water but the cement was doing it’s job of holding it together better.
Other steps
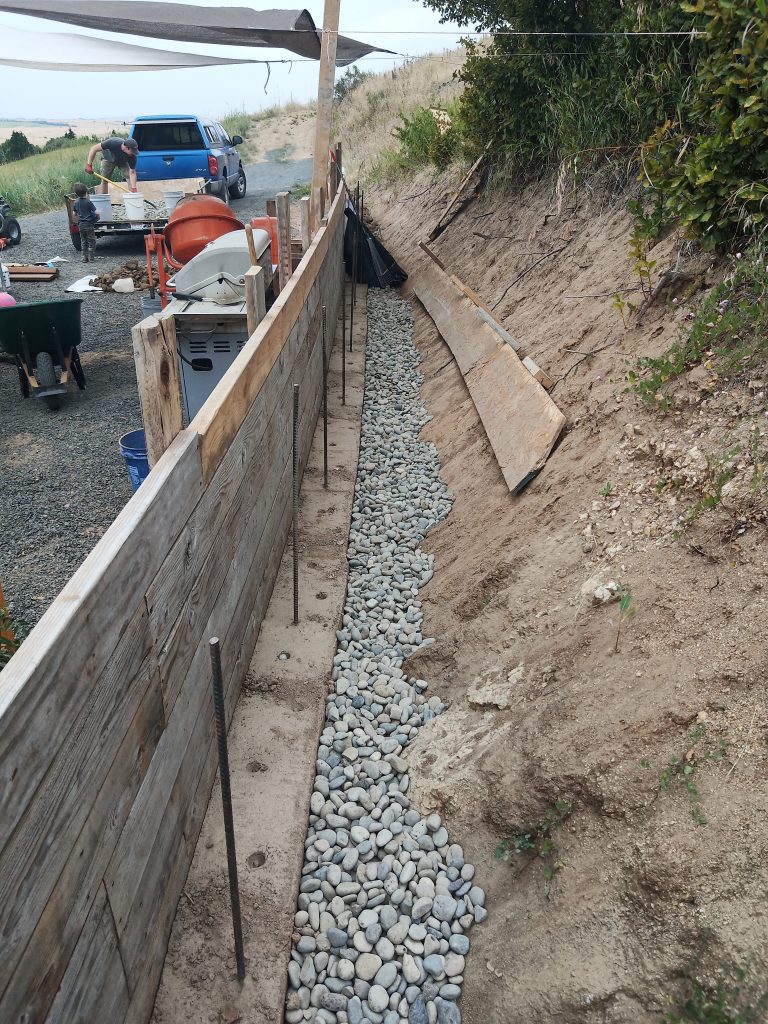
On the bottom, inside of the wall we placed drain pipes. Behind those is 12″ of drainrock. The wall itself has a plastic barrier on the interior side. The idea being that any water coming down the hill would hit that barrier, go down and drain out the bottom. This will hopefully stop the wall from crumbling in the freeze/thaw cycles of winter. We did add a little colors in parts to give the wall some subtle definition. I would have loved to run with Hazels idea of using a huge rainbow of colors. James was more reserved. We settled on earth tones.
We did lay rebar horizontally every 18″, we also tied the vertical rebar back into the earth behind it halfway up. After every 12″ lift we backfilled the dirt and reset the interior forms. It was a heck of a process but once we got the hang of it we were doing 12″ a week (working around homeschool and our ‘real jobs’.
Here are some process photos


Some detail shots of the whole messy process