
Update 12.30.12
In this weeks progress! I have some exciting metal work beginning! I found a more cost effective solution for my shower floor as well. Painting is also complete and outlets are back in…. now I need to re-figure out how to wire my two-way switches. They are tricky but then I’ll have my own lights in there too!
Below is a list of the metal I ordered, I was happy to find out the total came to about $140 bucks, that combined with the reclaimed hard wood floor that Stacey found makes for some pretty cheap furniture!
Barndoor (not shown)
5/8″ flatbar
(1) 6′-8′ (barndoor)
Dresser-
5/8″ flatbar:
(8) 1′ sections (Stairs)
(1) 20″ section (dresser base) (might need to be angle?)
(2) 72″ sections (dresser base) (might need to be angle?)
5/8″ Angle Iron
(5) 4′ sections (dresser height)
(1) 88.5″ section (back of dresser)
(8) 16.5″ sections (front of steps)
(2) 18″ sections (side of steps)
(2) 24″ sections (side of steps)
(4) 30″ sections (side of steps)
(1) 20″ section (top of dresser)
(1) 12″ section (top of dresser)
1 1/2″ T-Bar
(1) 88.5: section (top of dresser)
(1) 8″ section (top of dresser)
Kitchen-
5/8″ flatbar:
(2) 22″ sections (sink)
(2) 34″ sections (sink) (may not need??)
(1) 10′ section (large shelf bracket some sort of peg to go inside it) (may not need??)
(1) 5′ section (small shelf bracket some sort of peg to go inside it) (may not need??)
5/8″ Angle Iron
(5) 22″ sections (ends and stove)
(1) 10′ section (kitchen edge)
(1) 38″ section (kitchen edge)
(2) 5′ sections (smaller shelf)
(2) 10′ Sections (large shelf)
5/8″ Tube Steel
(5) 12″ sections (kitchen shelves)
1 1/2 T-Bar
(1) 10′ section (kitchen edge)
(1) 38″ section (kitchen edge)
I hope everyone has a happy and safe new year! Here are some pictures:
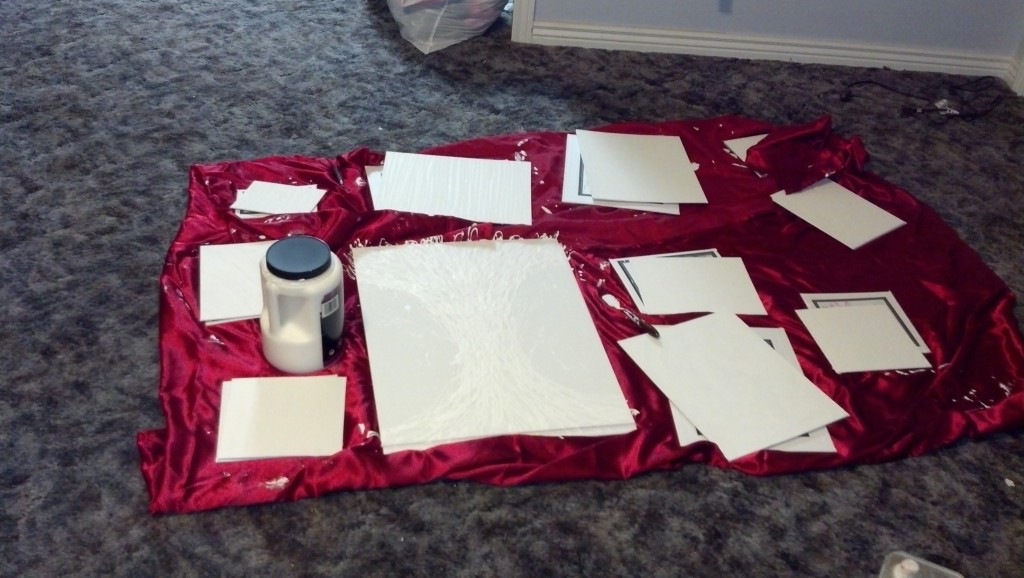
Art Project. This is just a sneak peak I suppose, its kinda lengthy to explain but in short I m doing an art project to separate the living area from the bedroom area. More to come soon!

My shower floor!
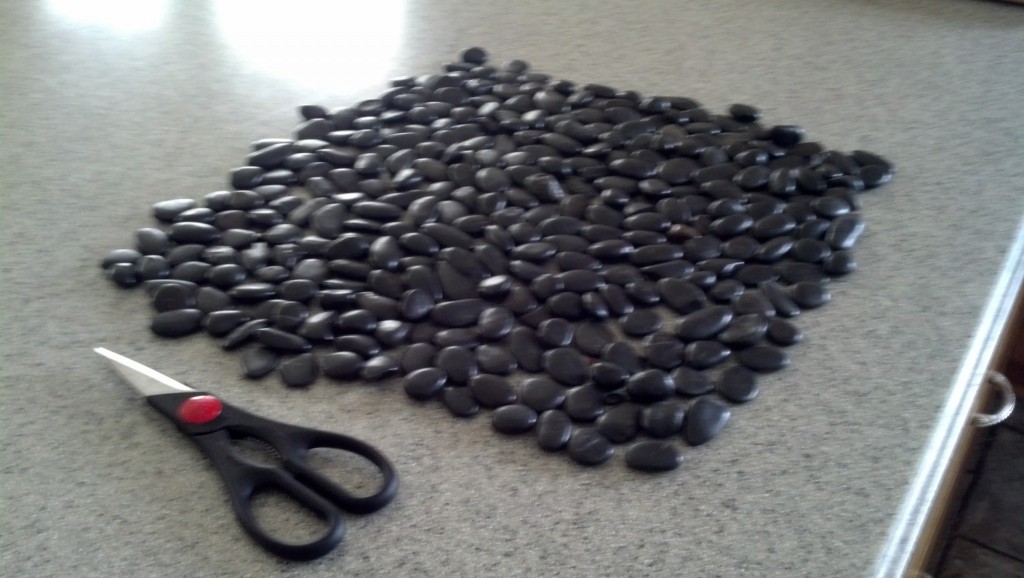
I was looking previously at buying some floor tile sheets of black stones, I went a little cheaper...
I actually drove around to 5 different Walmarts today, that is saying A LOT for me, I hate that store. It was the only place after going 4 others that carried these stones. The square foot sheets are around 12 dollars, if I buy them in craft packs it works out to about 4 dollars a square foot... much more afordable but still more spensive than just finding some at a river 🙂
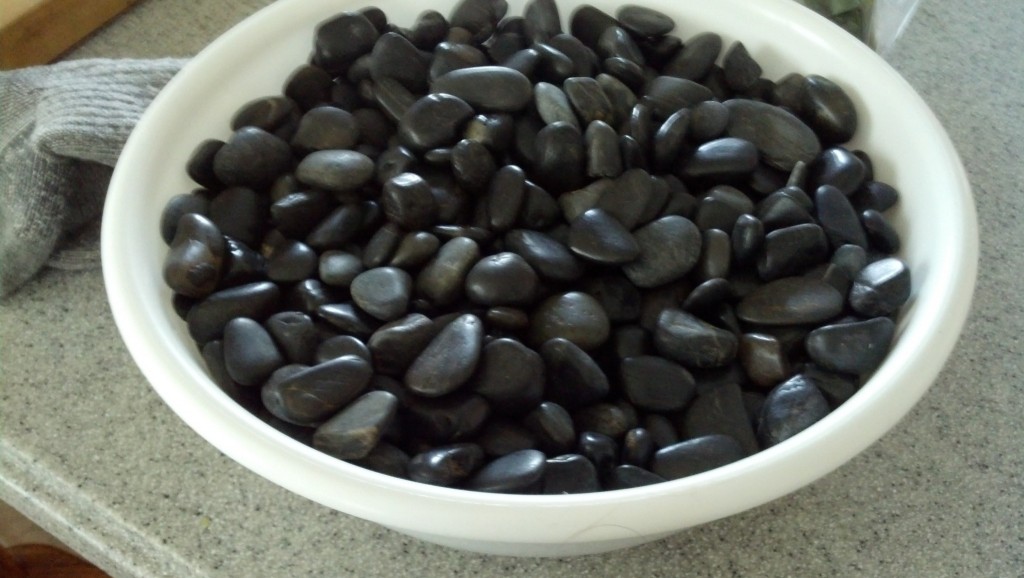
I got 10 packages which was just short of enough, I had to run to more stores to get enough for the whole 9 square feet. If it was more area I am sure I would have gone a different route, as it is this should work out pretty well.
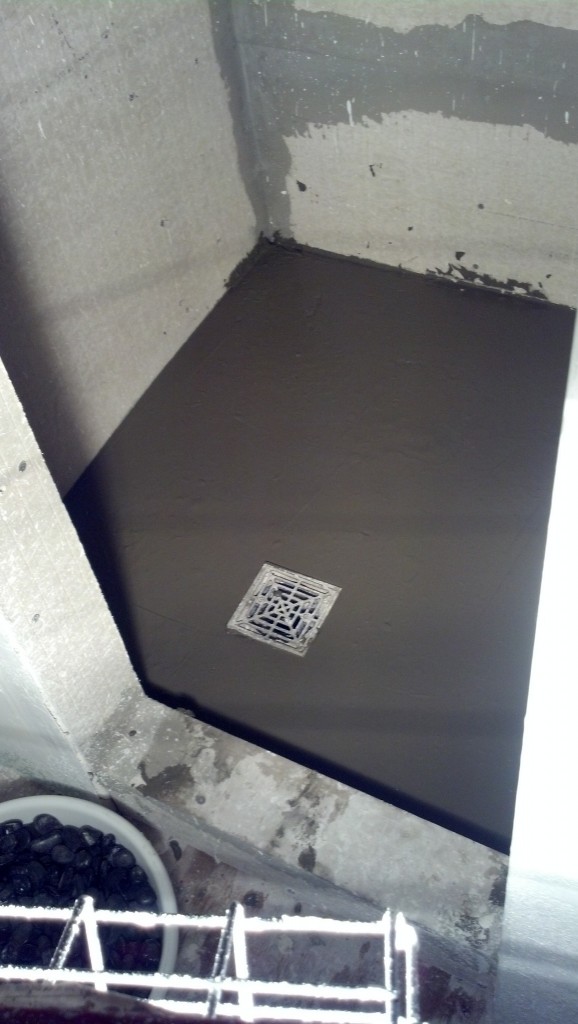
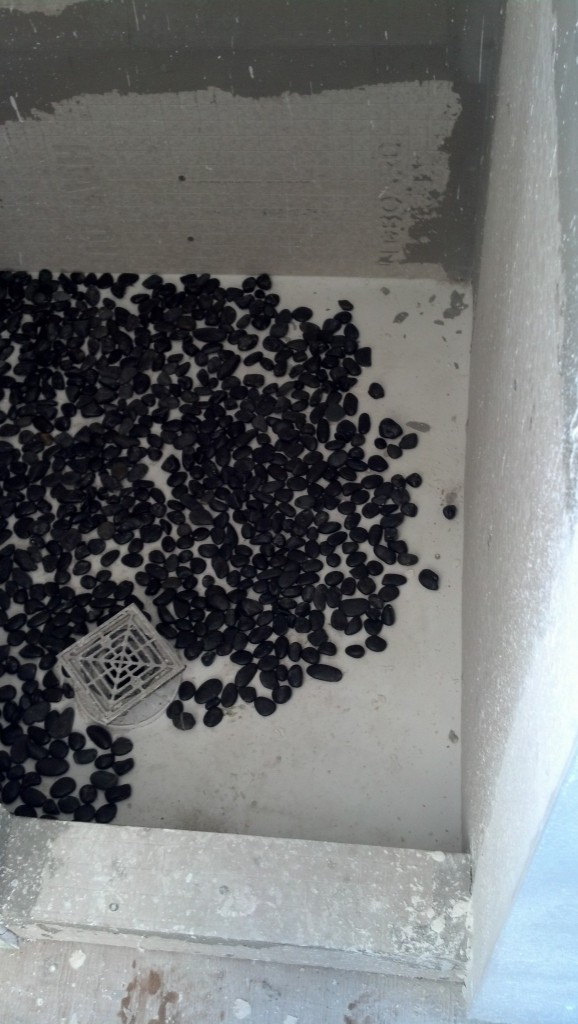
I filled up he shower with the thinset, I am going to let it set through the night and add the stones tomorrow. I set one in and it slowly just sunk, so setting is necessary 🙂
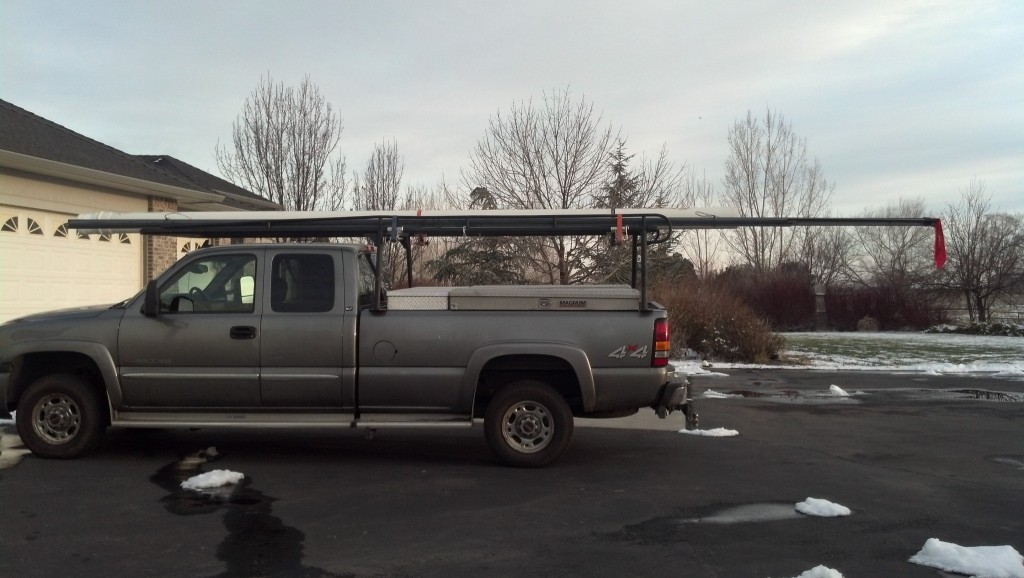
In other news, I picked up the metal for my dresser/stairs and kitchen counter. Nate was kind enough to help me out here, I don't know the metal lingo

I got some 3/4" angle, 3/4" flat bar and 3/4" tube steel.

There is some extra up there for a little project dad is working on too!

Here is the scchematic for the kitchen counter for the welding
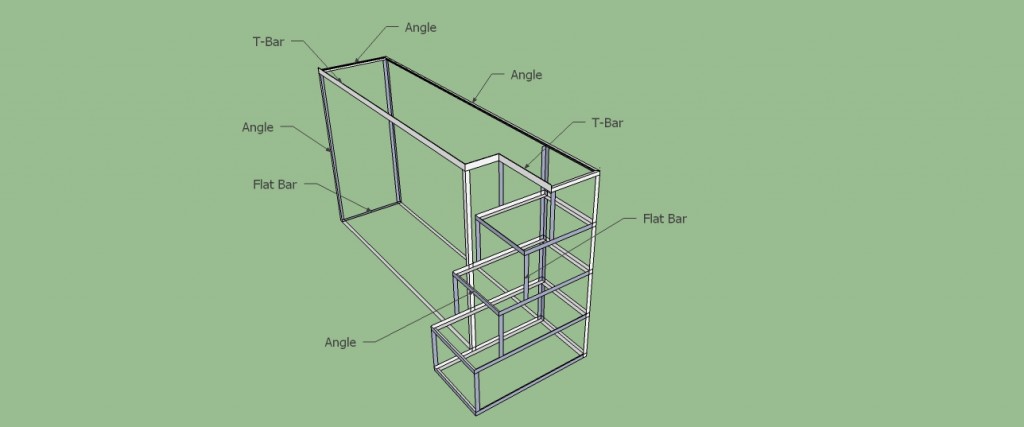
And here is the schematic for the steps/dresser, this is what we started on this weekend!
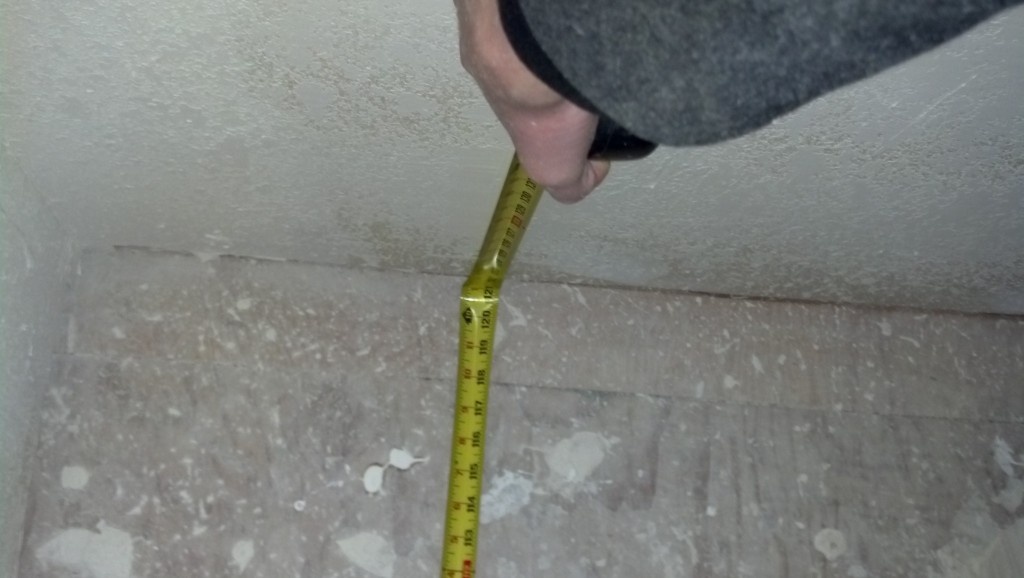
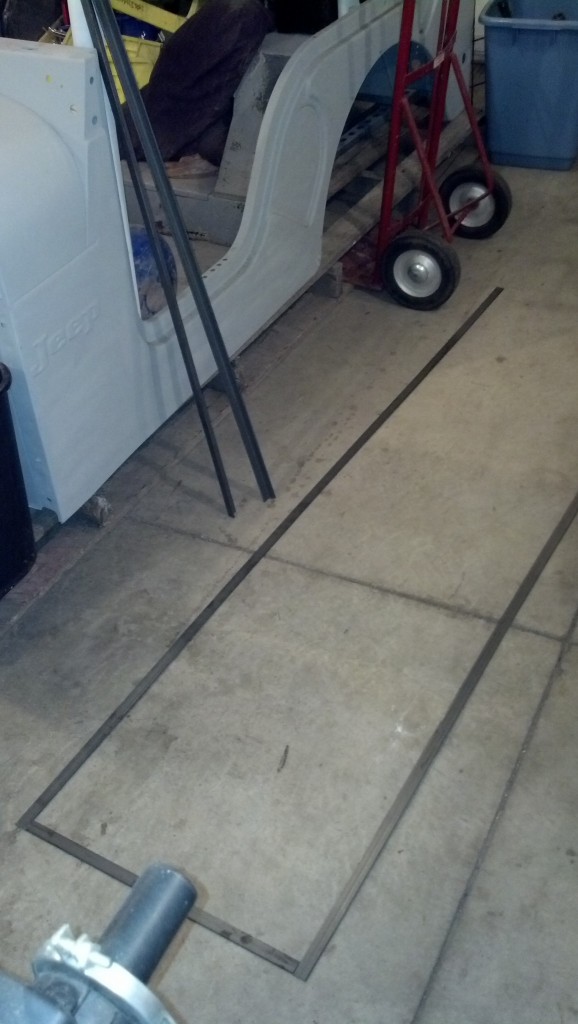
I took some measurements
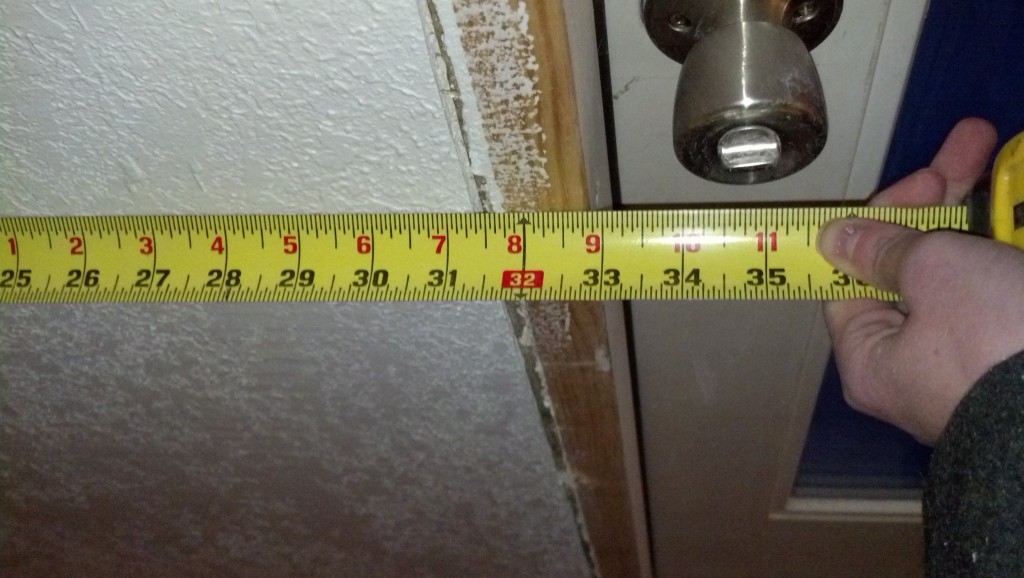
Measure twice cut once
this is the total clear width of the inside of my trailer, just fyi.
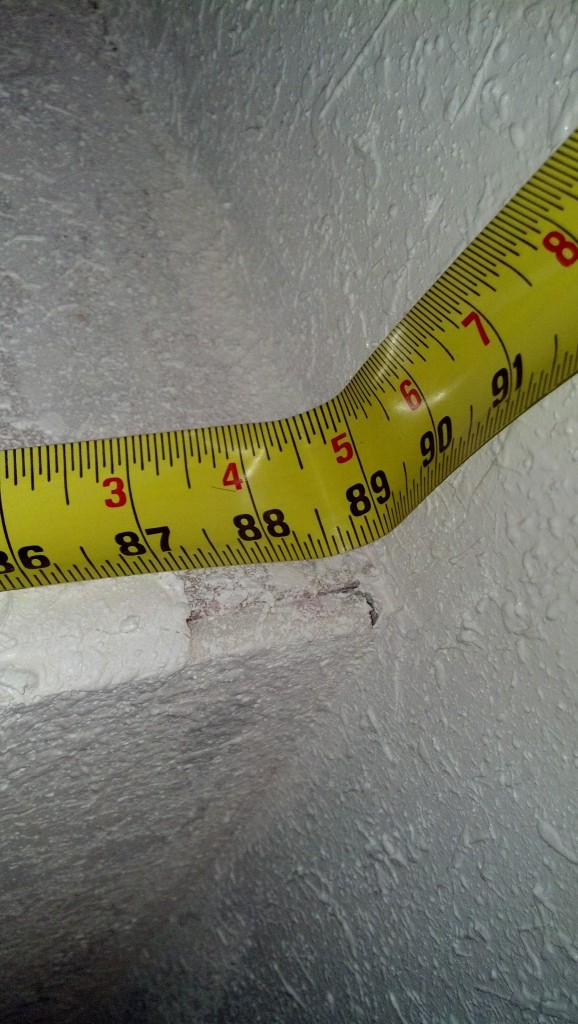
window sill height
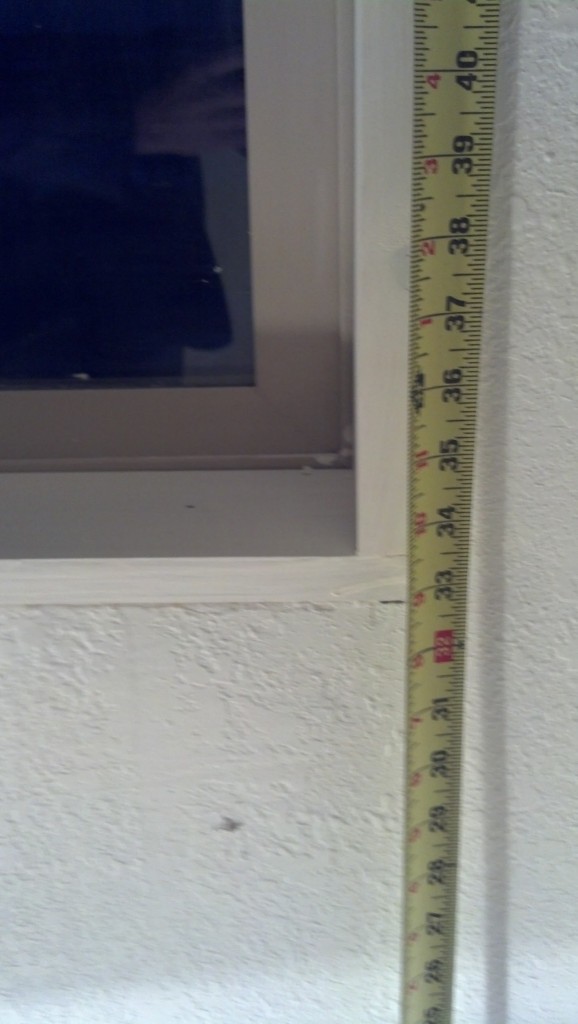
Loft height
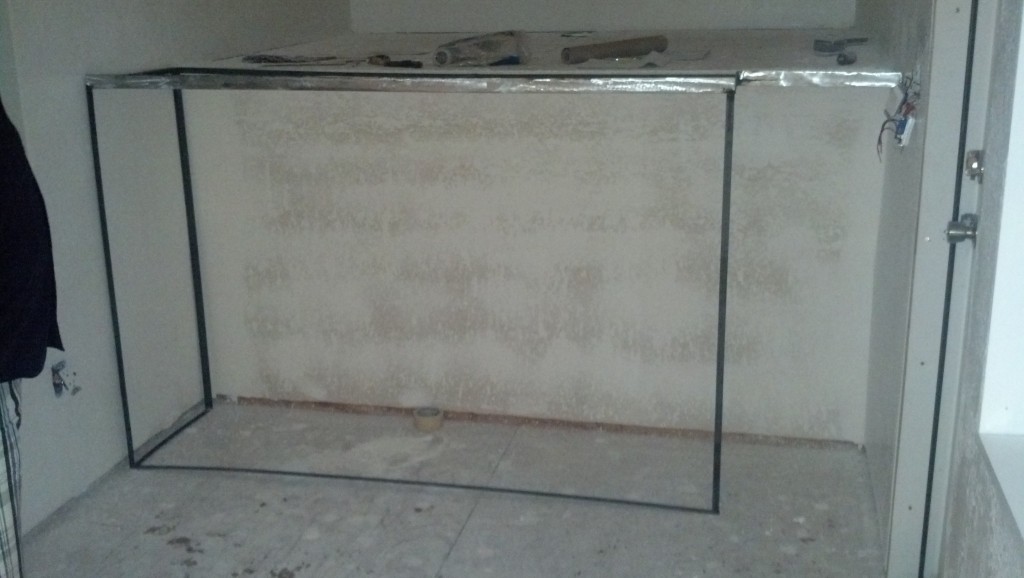
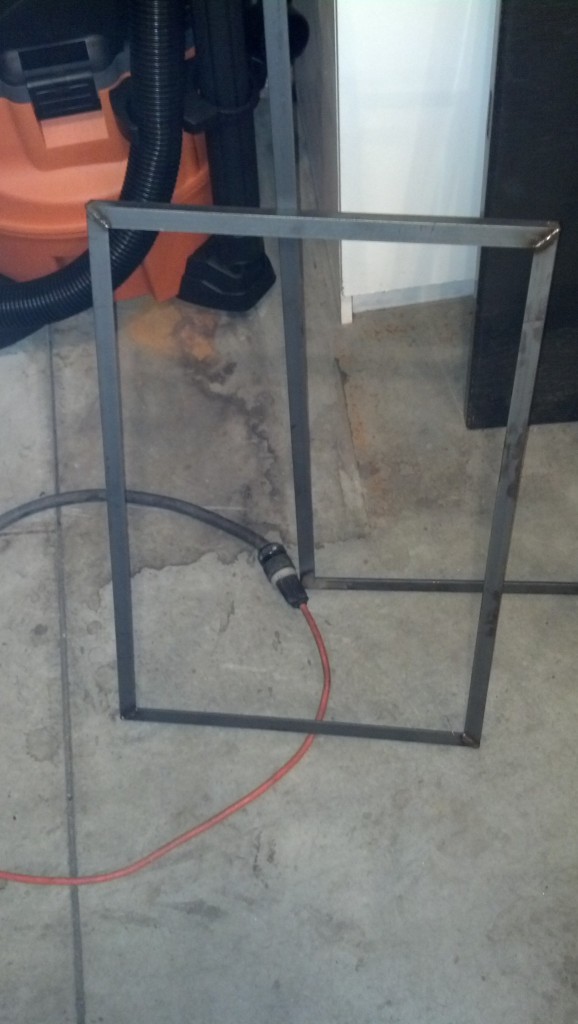
After cutting up everything Nathan tacked some in place and we put it in the house to check the dimensions before going gangbusters on the welding, we wanted to make sure it would fit, it was like a glove!
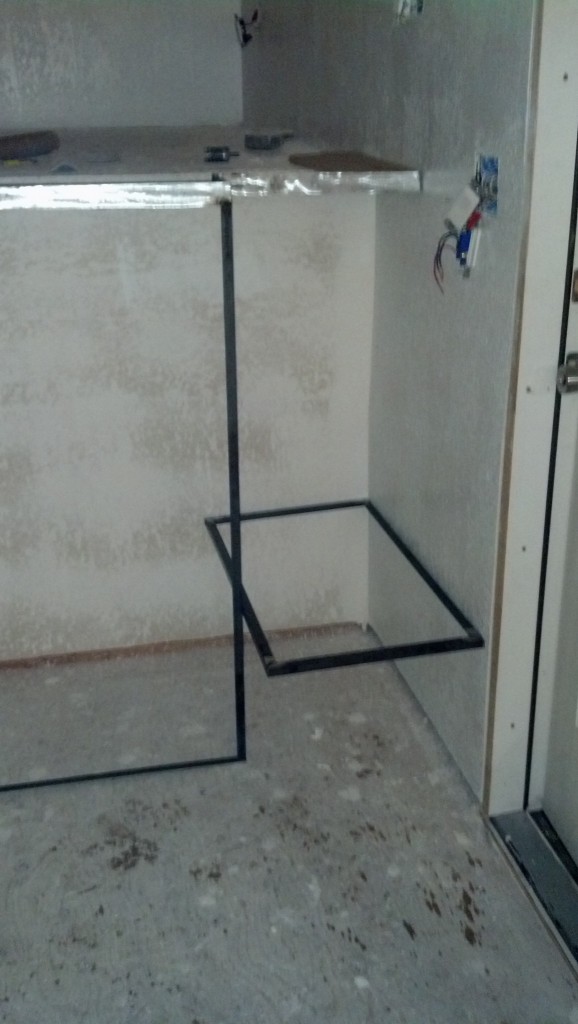
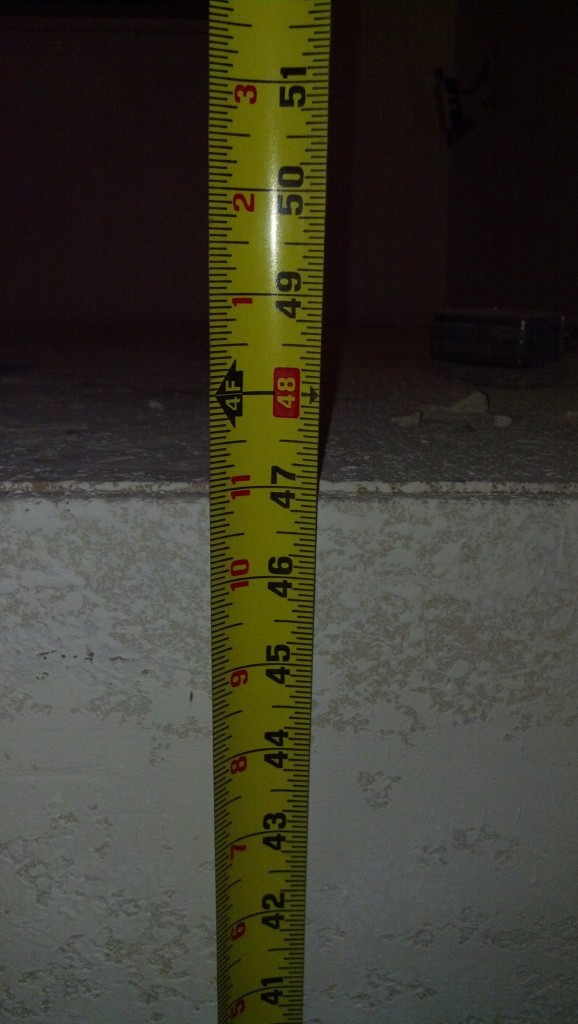
This is how deep the biggest step is, there will be cubbies in each of the steps
overall
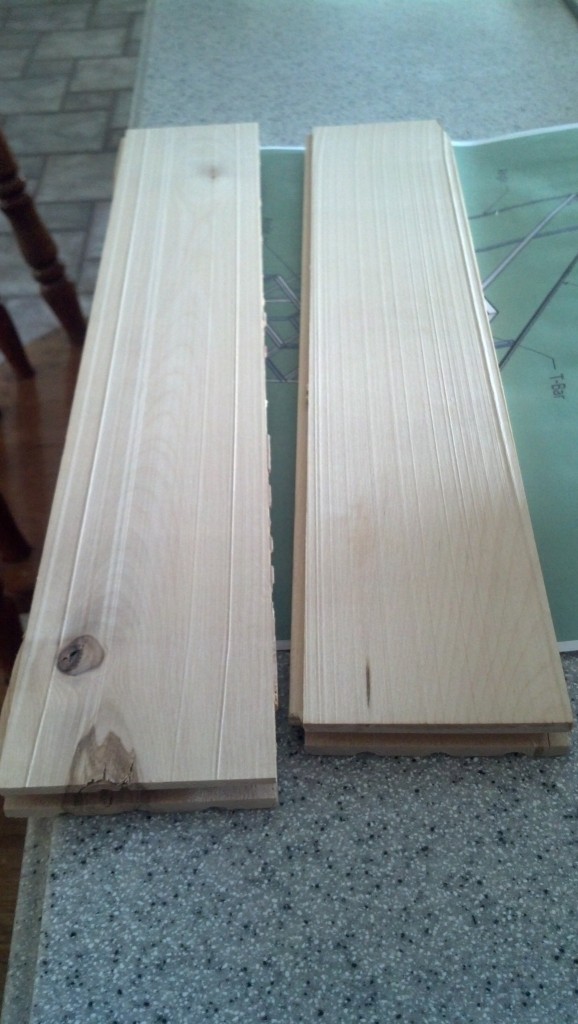
This is some of the hard birch wood floor after I took the stain off. It was stained a yllowish color but I am going to stain it more of a brown/reddish color.
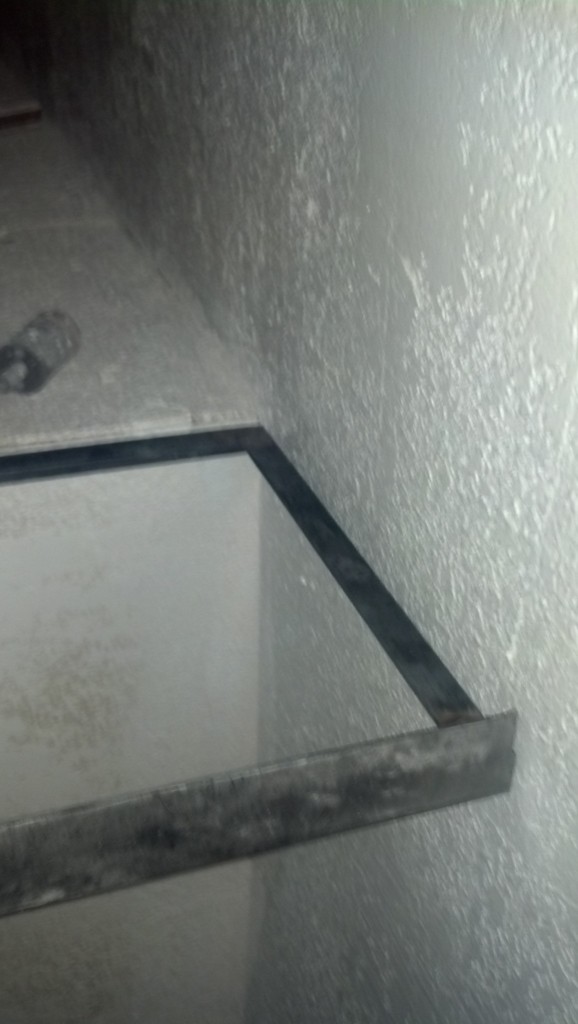
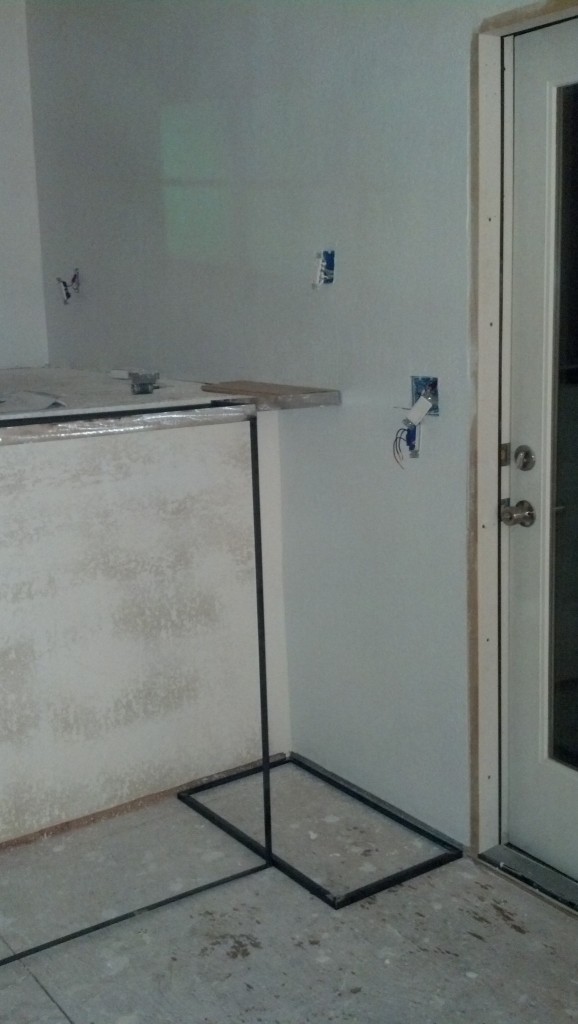
Here is how the metal meets up with the loft
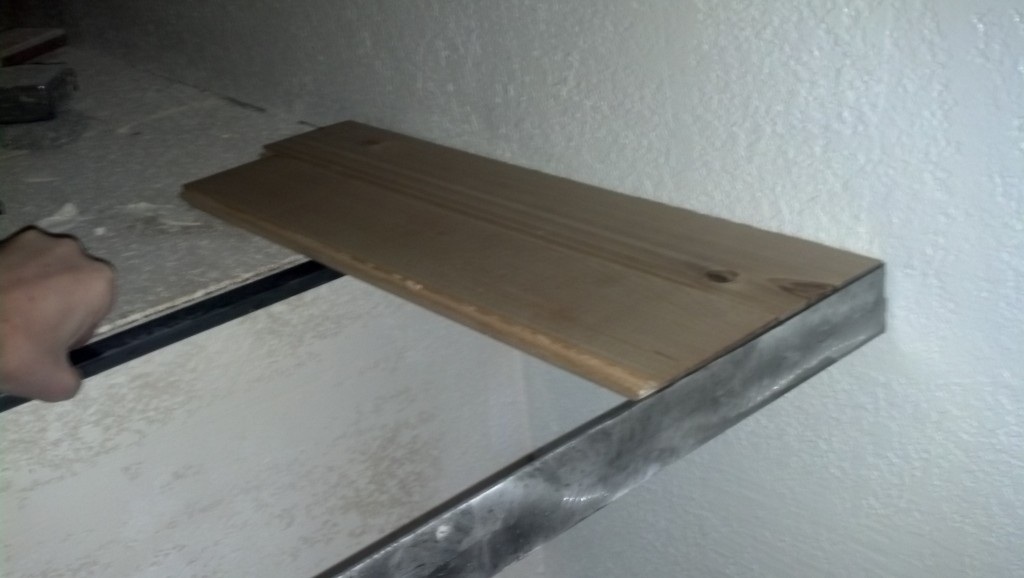
Here is about how it will go together with the wood. The loft will all be this hardwood floor. I am really happy with how this piece is turning out already!
Here are some process pictures

Nates set up. Nate has lots of projects going on too! Check out his jeep he is rebuilding, it's pretty awesome!
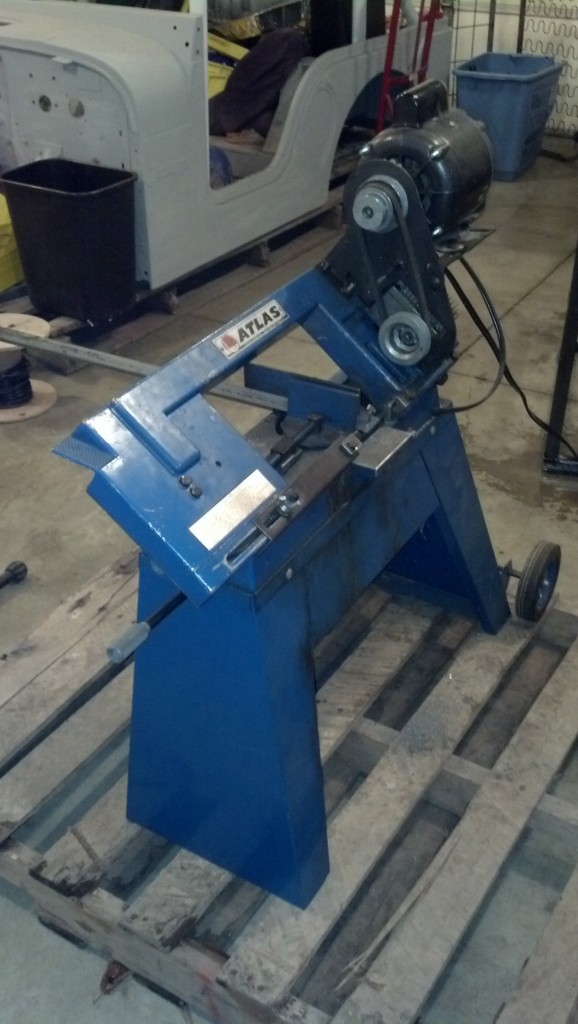
The metal cutter, this is pretty slick!
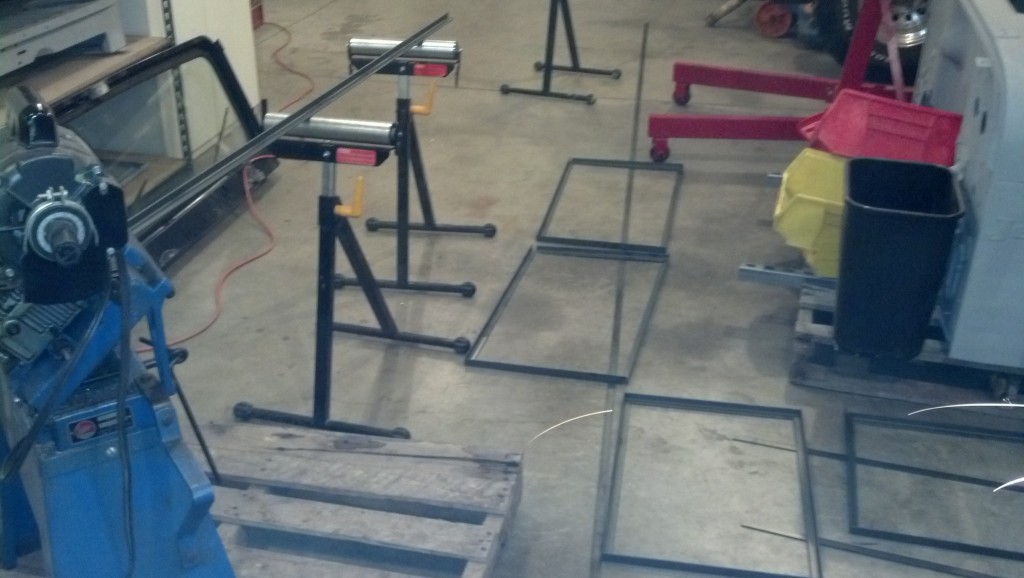
After cutting up all the pieces
Here are the first pieces I cut, the bottom frame.

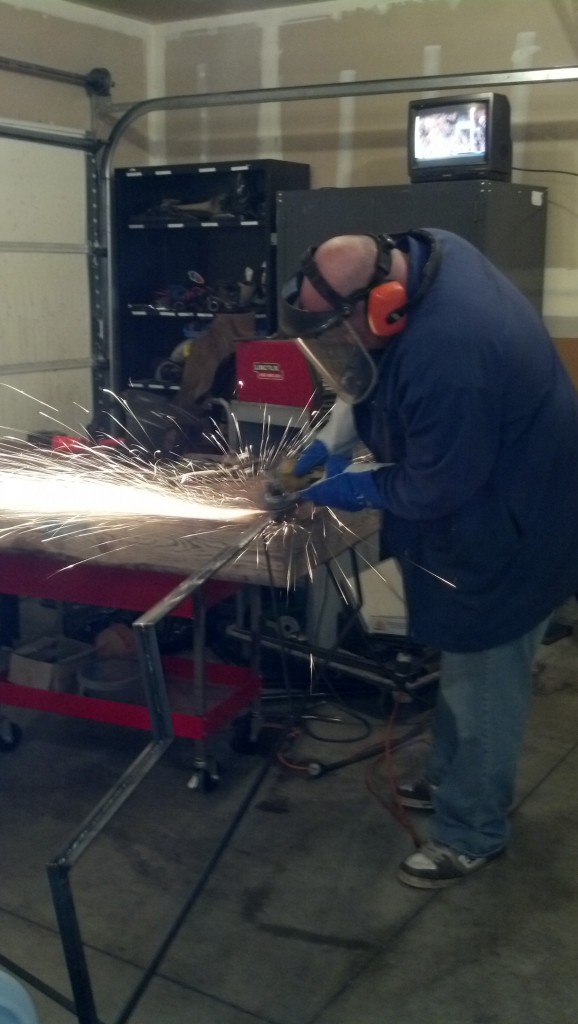
Nater welding it up!
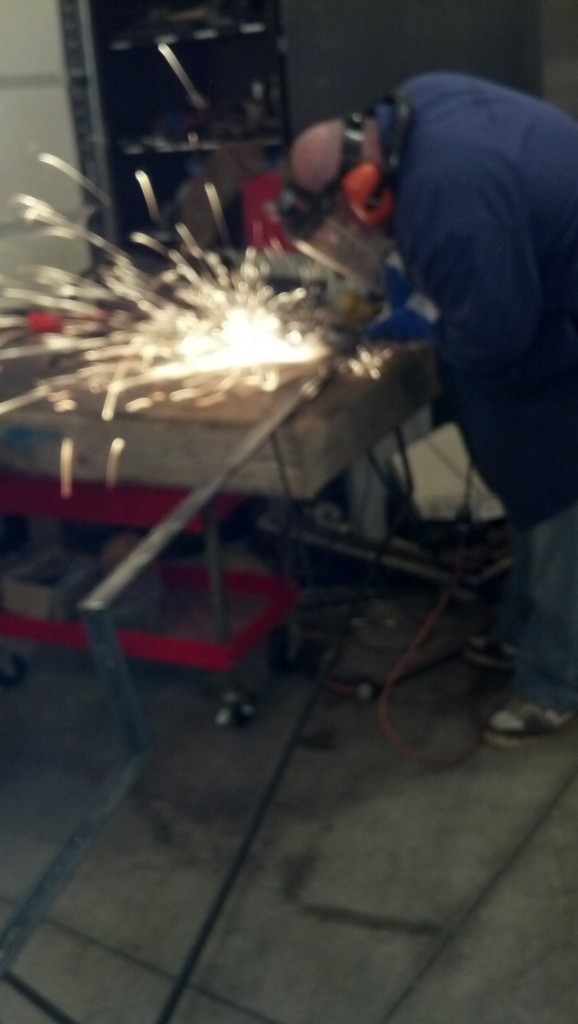
And grinding the front face
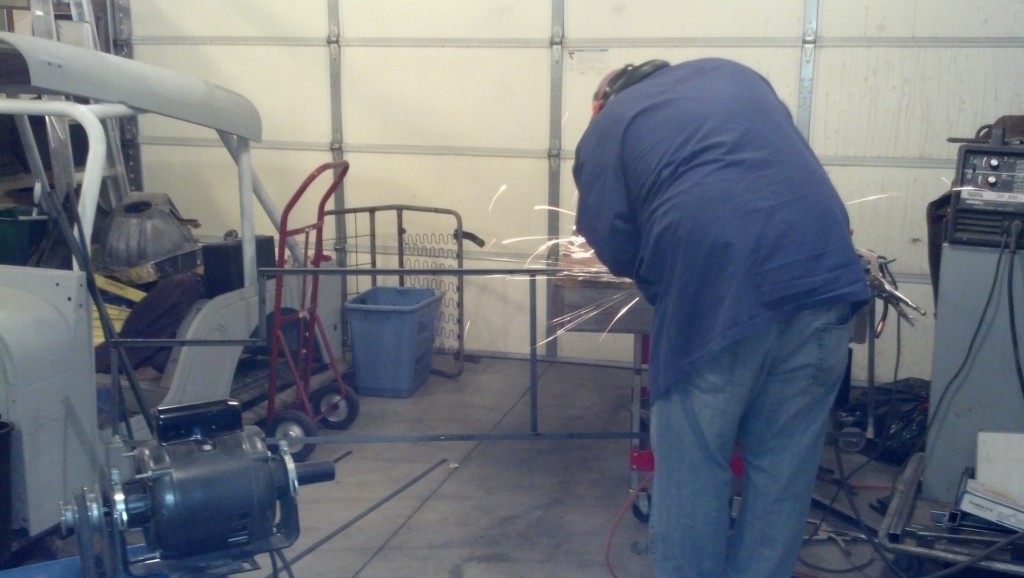
More grinding
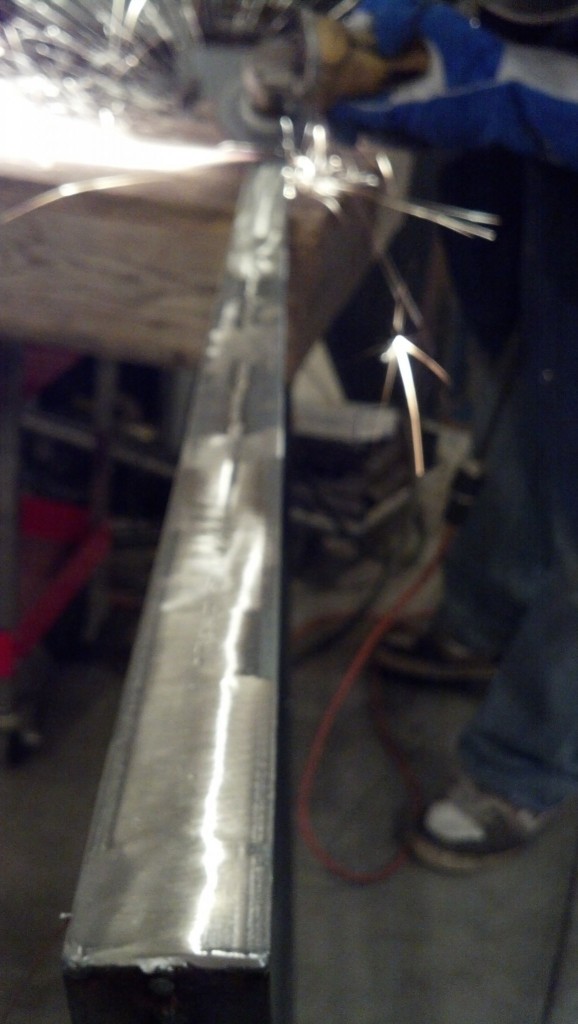
Here is waht it looks like all grinded!
The steps, these would make greaat picture frames, and with the costs I was really shocked at how inexpensive these would be as frames.... and they are so cool looking

and a calf. I want. Does anyone know how much it costs on average to bottle feed a calf? I have heard they need it for about 90 days after being boorn and then can transition to calf food, does that sound about right?
This is looking fantastic! I’ve been working on my own tiny-house designs and being able to see your process is pretty helpful when making all the considerations for my own plans.
Are you planning on smoothing down the top of the rocks so that the floor of your shower is level or leaving them bumpy and uneven to create a more visceral texture?
Thank you! I’m gad you find my build helpful! Do you have a site documenting your process by chance?
I am keeping the rocks as is, it’s actually pretty comfortable to stand on the stones, I was curious and a bit worried about keeping them bumpy but with testing it out an lots of encouragement I’m going for it, I will be sure to update about if that was a good idea or not :). I am told by a few people that it is a great massage for your feet!
I’m currently only in the planning (and saving money) stages, but am using the blog format to help me keep track of my research. I’m over at http://luminautilus.wordpress.com/ but there’s not very much there at the moment.
I’ve found that with the planning stages of a Tiny House, one has to fully consider *everything,* since every little use of space and energy can make the difference between workable or unworkable.