How Moving Affected The Tiny House
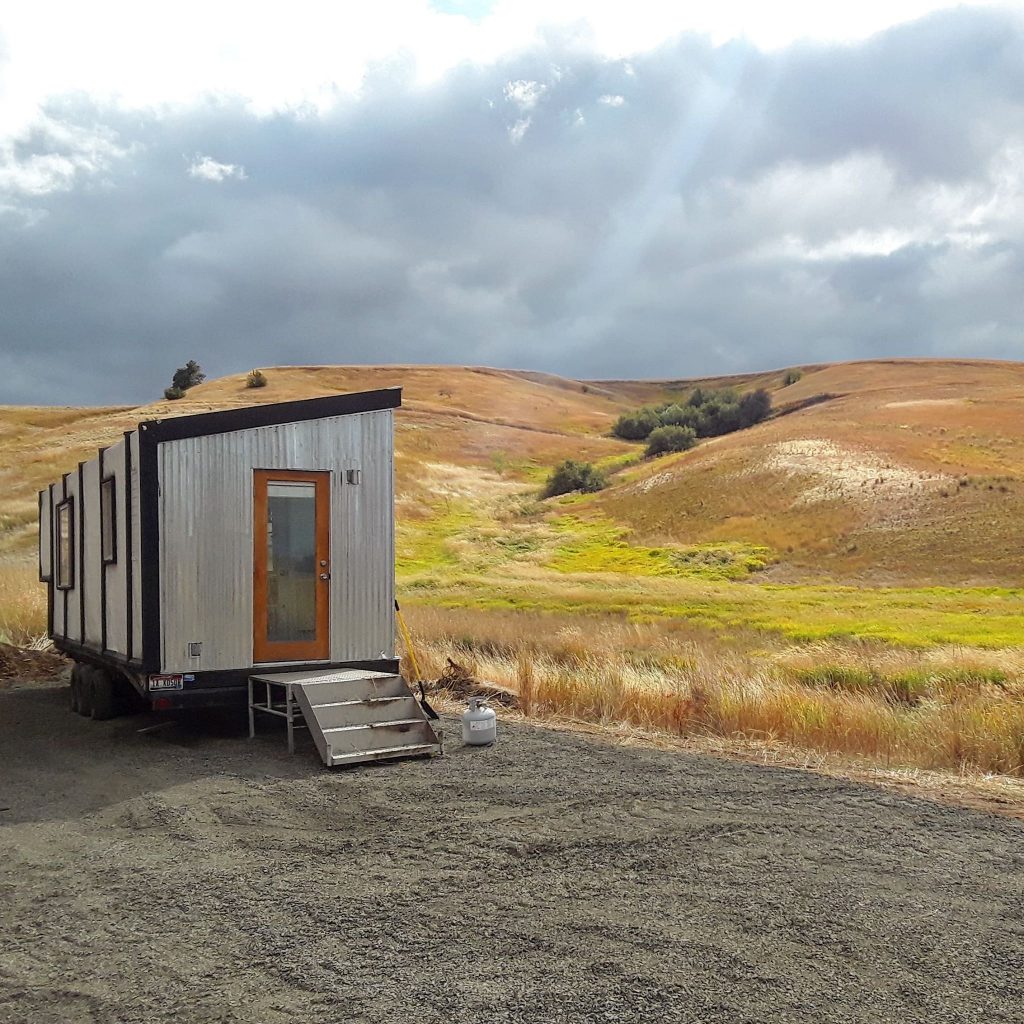
Now that the dust has settled from our back-and-forth-ing from Boise to Moscow and Christmas-ing is completed I’m going to do a little post about how the tiny house has coped with it’s new setting.
Things I have been concerned about
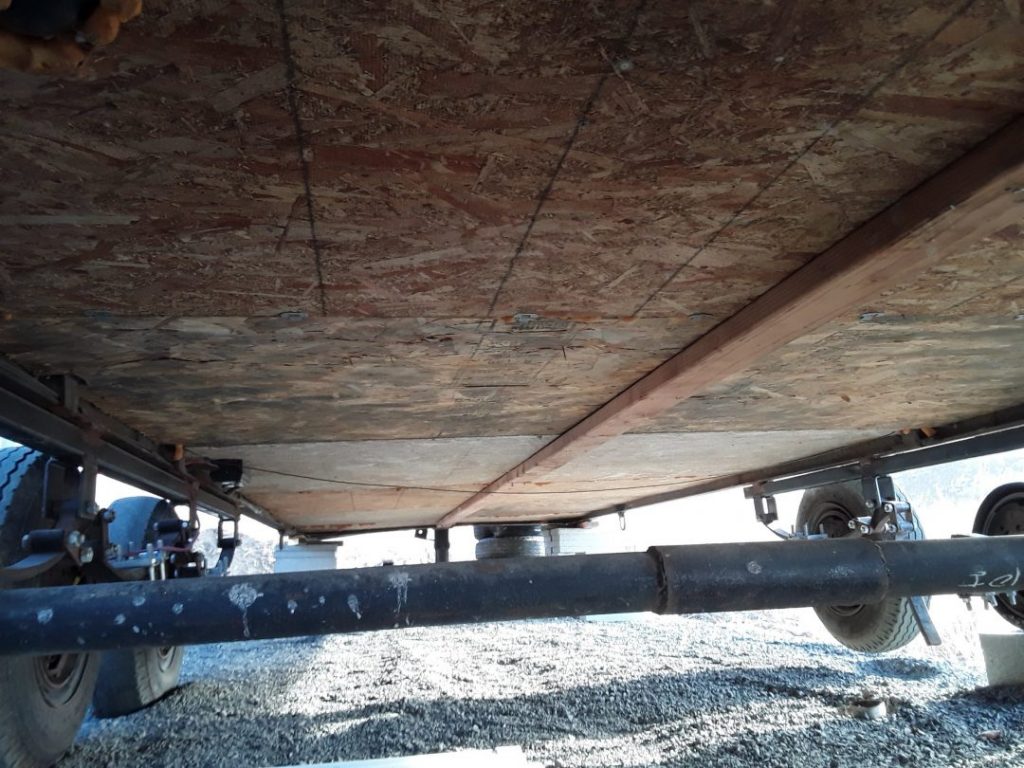
When I built the house my goal was to use a protective coating on the underside of the house. I was thinking Rhino Lining. The internal portion of the trailer bed is where the plumbing and insulation is. I didn’t want to cover it with a waterproof coating right away lest I sprung a leak! I ended up never getting around to it in the last 8 years. It kind of sat in the back of my head on my checklist. Here it is, 8 years later, and I finally crawled under there to check it out. It looks exactly like the day I installed it! I am officially checking that item off my list.
The Drywall
Guys, it cracked!! Oh noes! To be honest, the cracking occurred about 4 years ago, it was only ever the thinnest hairline but that is all very normal in our region with expansion and contraction throughout the year. We have a normal temperature swing of over 100 degrees through the year. After the move the hairline crack is now more noticeable, maybe 1/16″. You can just barely see the crack across the ceiling in this photo. It’s right about the end of the countertop, over to the pantry.
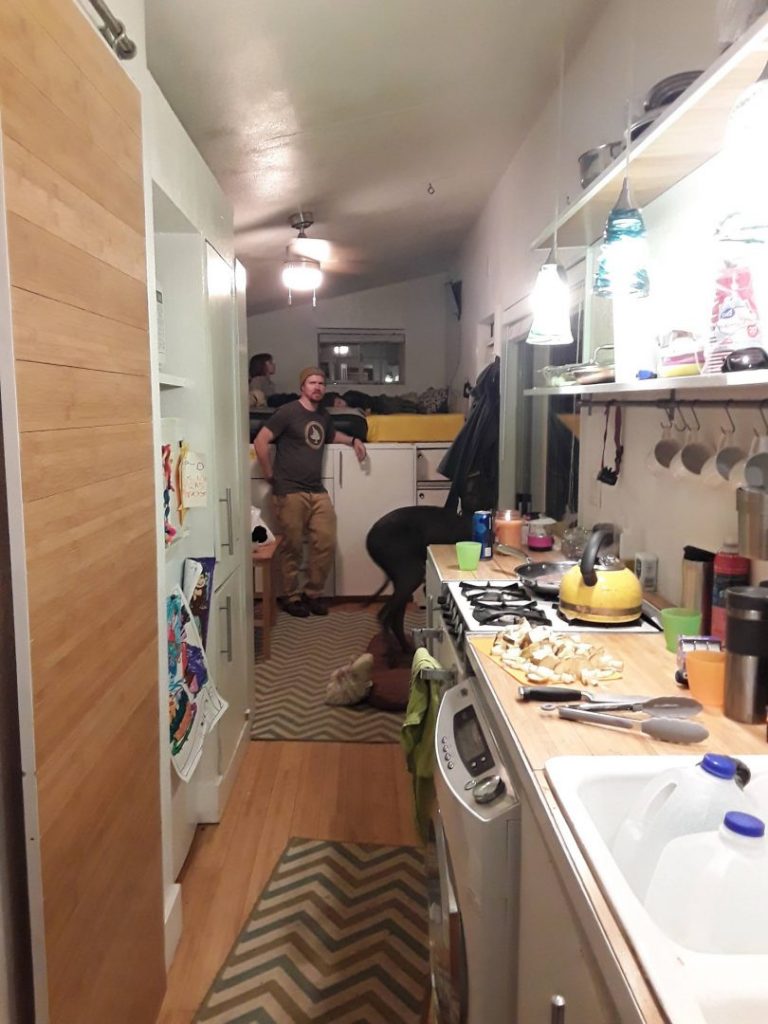
It’s somewhat predictable because I remember that seam before mudding and taping. I had my broken back at the time and it was one of the first seams I taped and painted. I probably didn’t do the best job but I am not scared to fix it and then it will be a-o-k! I kind of want to put a new coat of paint in the house too so it’s a good opportunity to justify that! Drywall is NOT a bad way to finish a tiny house. The risk is that it sometimes cracks. The good news is it’s super easy to fix!
The axles
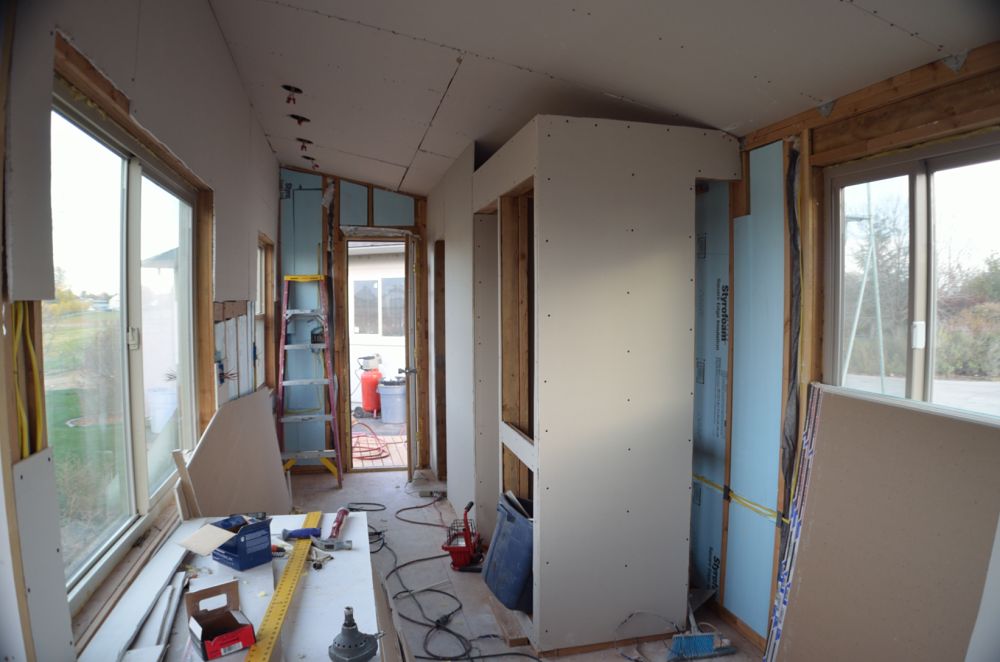
If you followed my build early on, you know that I initially bought a 2 axle trailer. I was concerned about it being able to handle the weight so I added a third axle. I had to do a good deal of research and quickly learned that a triple axle trailer’s axles are oriented differently than a dual axle trailer. This meant that I had to cut off the original axles, reposition them and add the third. This was my first major project of the build. In addition to being a daunting project, the third axle didn’t match the original two. After loads of discussions with a local trailer supply store and machine shop I came to the conclusion that it wasn’t a deal breaker. Still, not ideal. I worried how they would handle the move. Also, mobile home tires are known for blow outs.
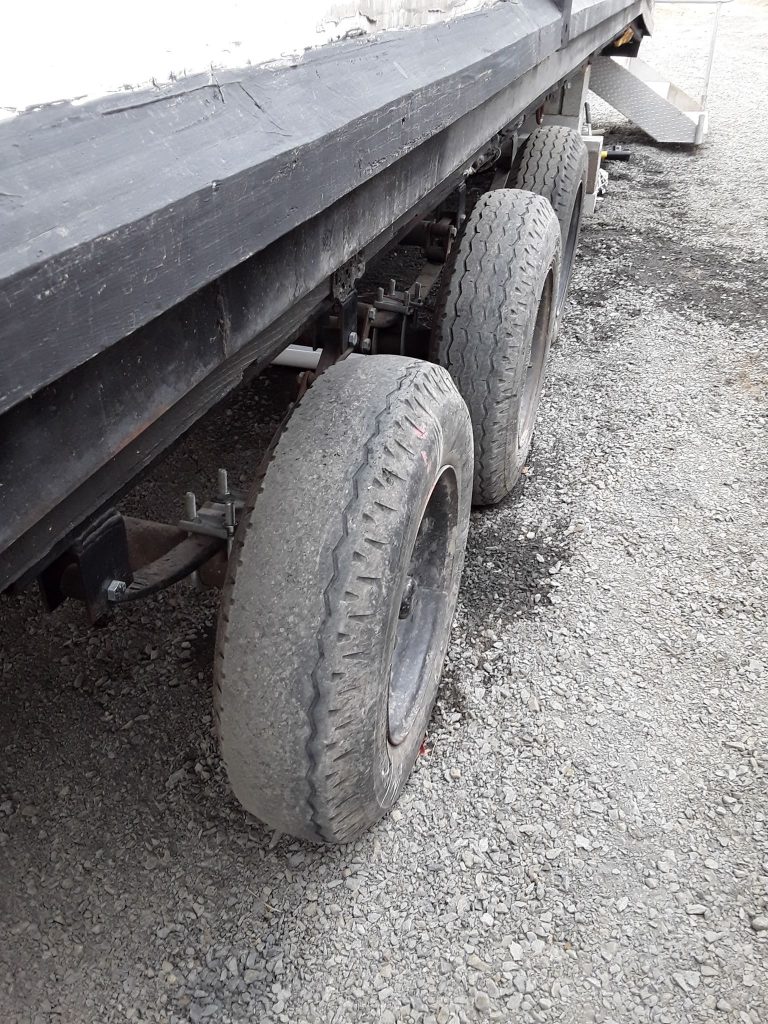
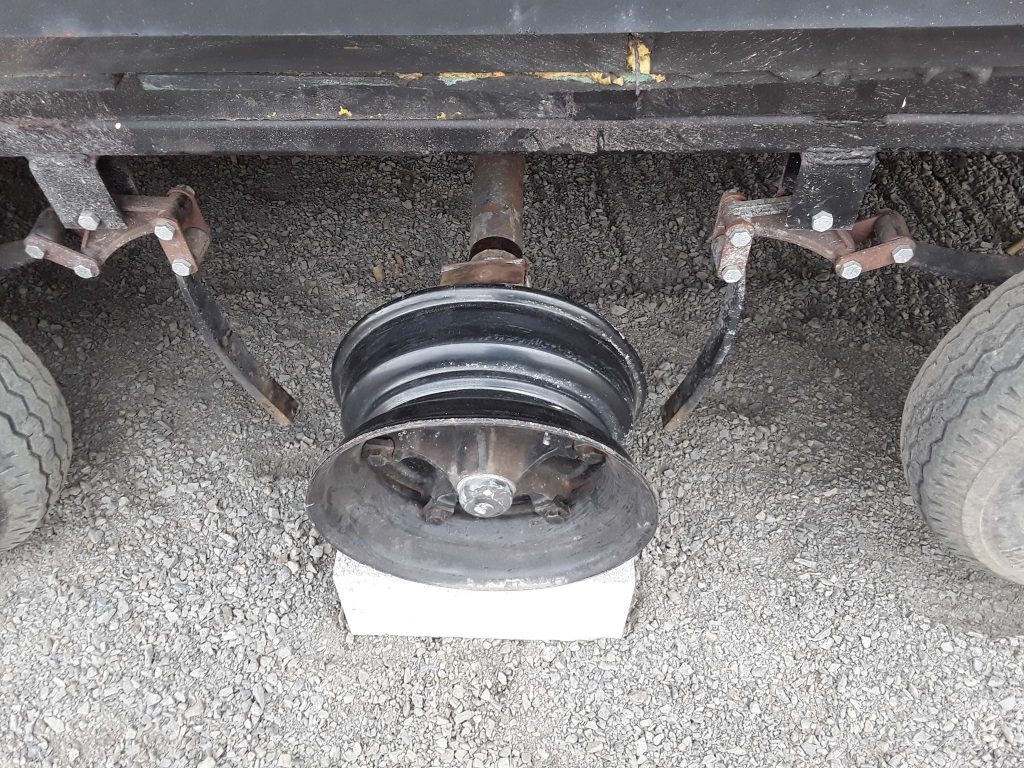
This happened on the other side. Shockingly it was not a tire bow-out that caused this but a broken leaf spring. That absolutely shocked me! I would think every single other part would break before a leaf spring. I have since found out that it was likely due to a problem with the u-bolt and how well it was tightened. If not tensioned correctly they can put undue stress on the spring. When I heard this it completely made sense. We should have checked the u-bolds before we took off. In either case, we got really lucky! I am sure any other driver we almost hired would have pulled over, disconnected and left our house on the side of the road. Instead, our driver, jason, chained up the dropped axle and babied the house to it’s final spot! We feel SO lucky to have got such a competent and dedicated driver.
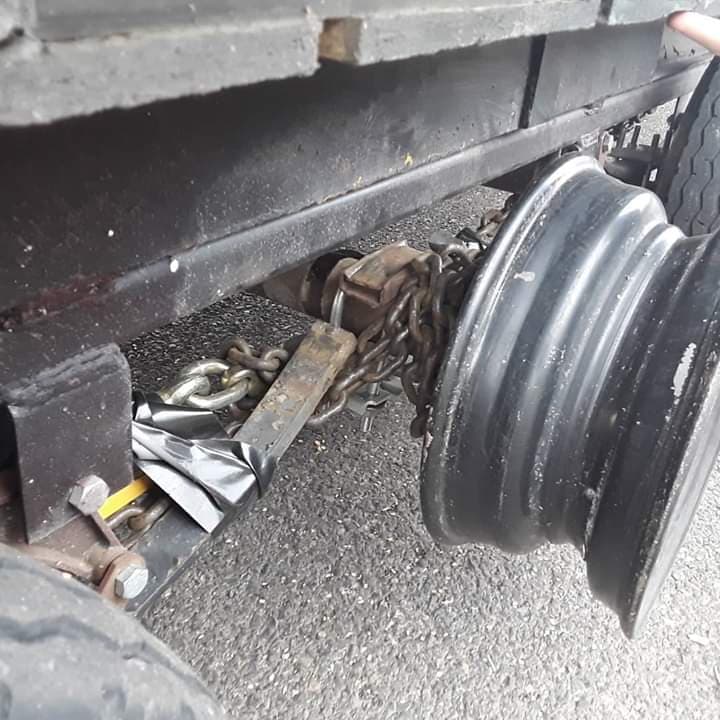
Our plan will likely include removing the axles all together so we never even tried to fix the mess. It just sits like this. Once it gets skirted you wont even know.
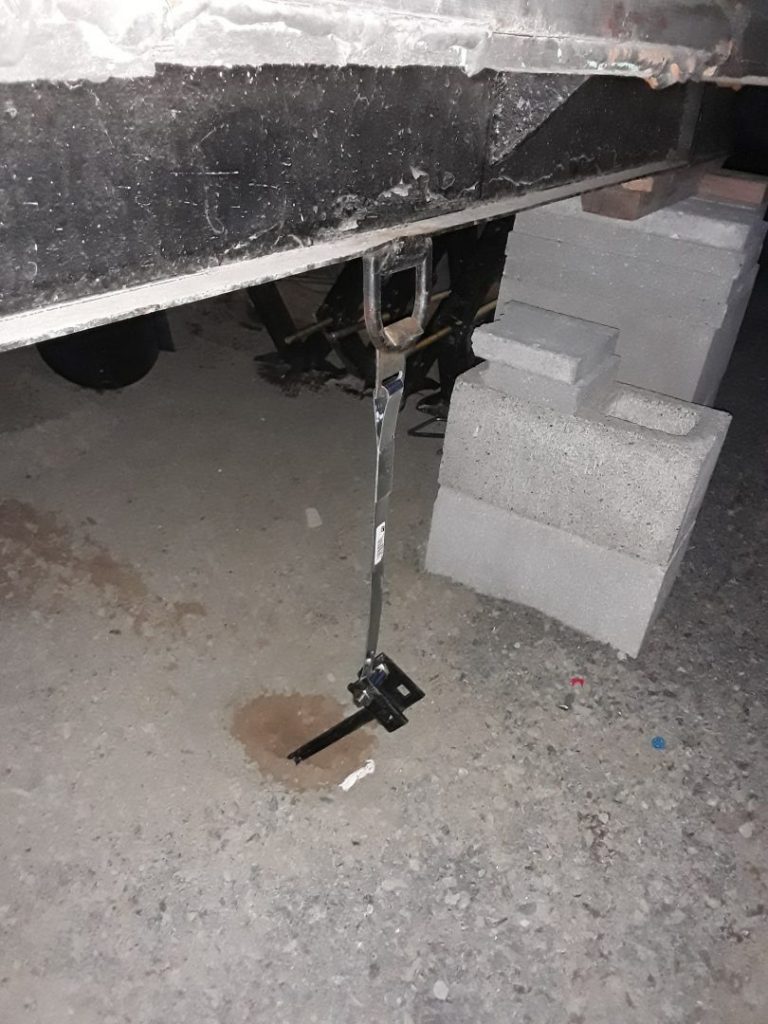
Tying the house down
We had never actually done this before but I did weld on D-rings to the trailer frame in anticipation of doing this. In Moscow the house sits in a little valley that gets major wind. We went ahead and tied the house down to help stabilize the house. We just used standard mobile home tie downs that go about 2.5 feet into the ground at an angle.

1 Comment