Pendant Lights! The Making of… I have mentioned before that the pendant lights in my kitchen, which I used mason jars for are going to change. The mason jars were just a temporary situation so the bulbs didn’t break in construction or anything. Well, we did the major part of phase two of those lights this weekend. A couple months ago I purchased a Groupon voucher for a glass blowing class for four at Zion Warne Studios , also on Facebook HERE . It’s rather convenient that I have three brothers and four pendant lights. The deal is that we each get to take a piece (a vase or bowl) home. So, I called to see if there was flexibility in that and if maybe we could each take a light sconce home, he saw no problem with that at all! I also mentioned that I wanted to do some green tones, no problem he said. Game on! Here are pictures from each of our adventures, each of us did a very different style of sconce and a different technique, I think I am going to love these SO much more than that mason jars, you might too! I will show the finished product as soon as I get them back (at 2100 degrees they need to slowly cool to avoid shattering so they remain in his shop a bit longer).
(one last thing, for those of you in Boise, if you’ve ever wanted to dabble with glass blowing Zion was absolutely great, he is HIGHLY recommended by me, he really lets you do the work, not just doing it for you and he’s calm and patient to be around, he really made it an enjoyable experience, I liked his set up and personality so much better than the other shops I stopped by to talk to about doing this and he is very reasonable! There is my plug, I promise, I make nothing off of that ;-))
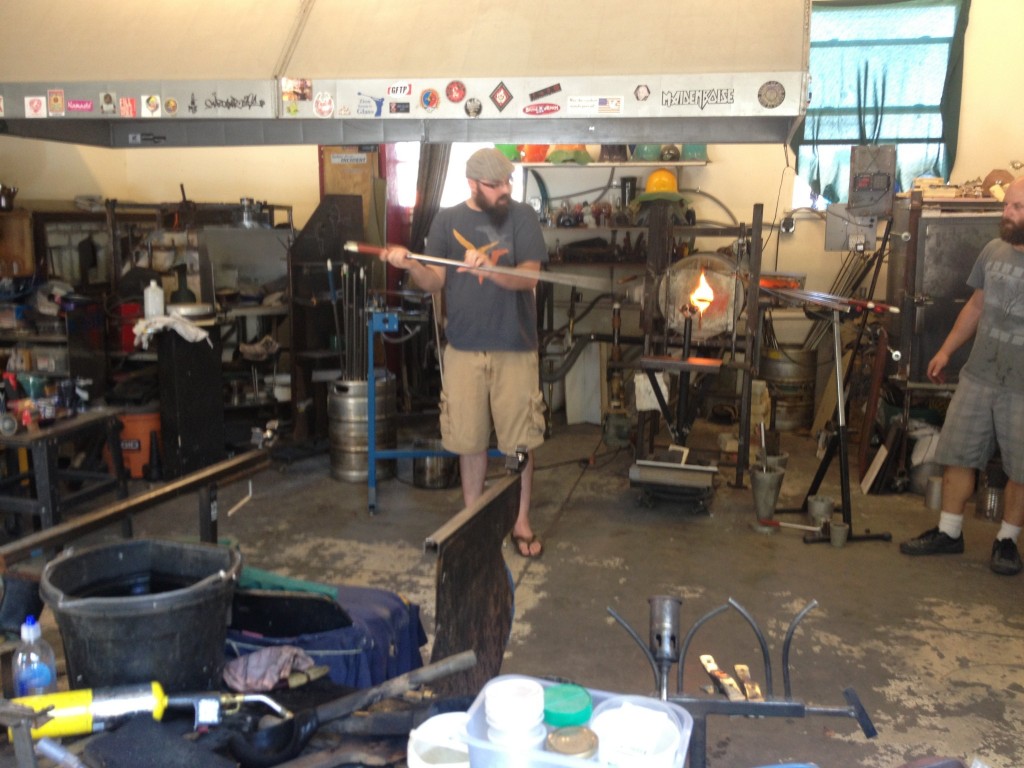
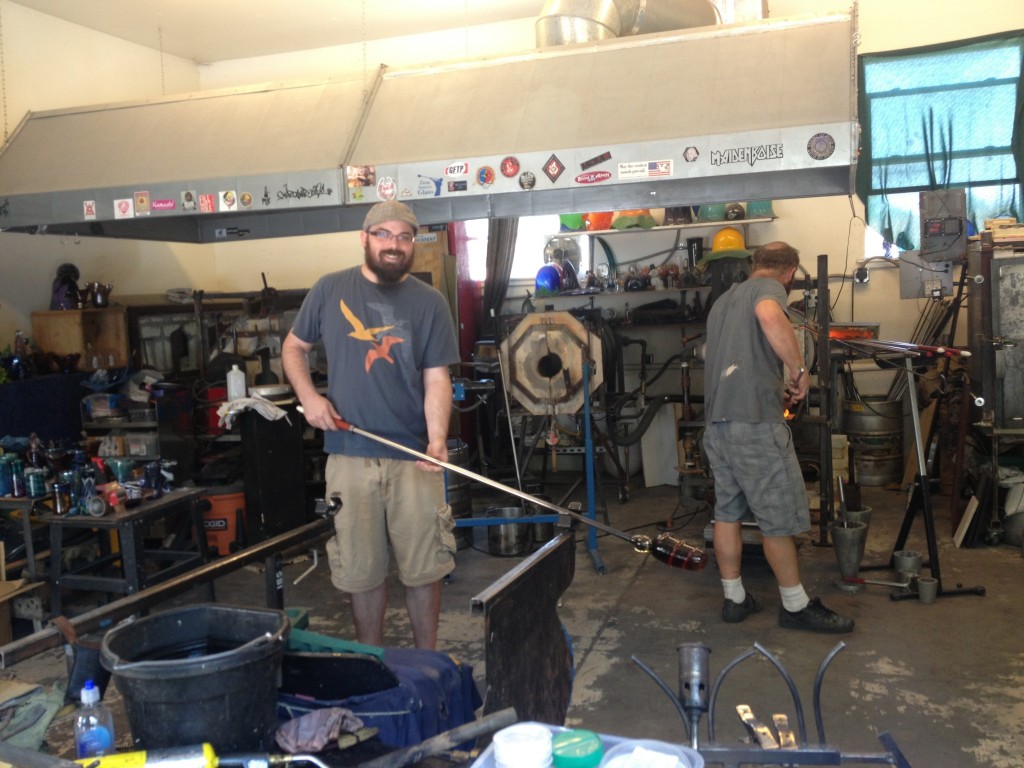
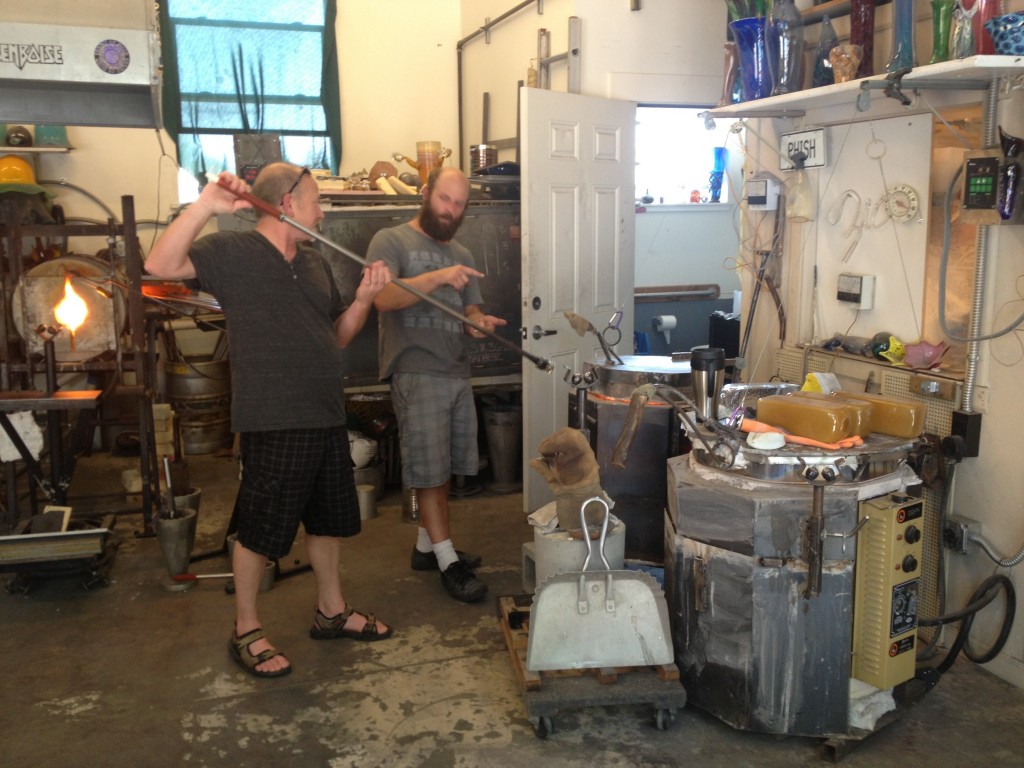
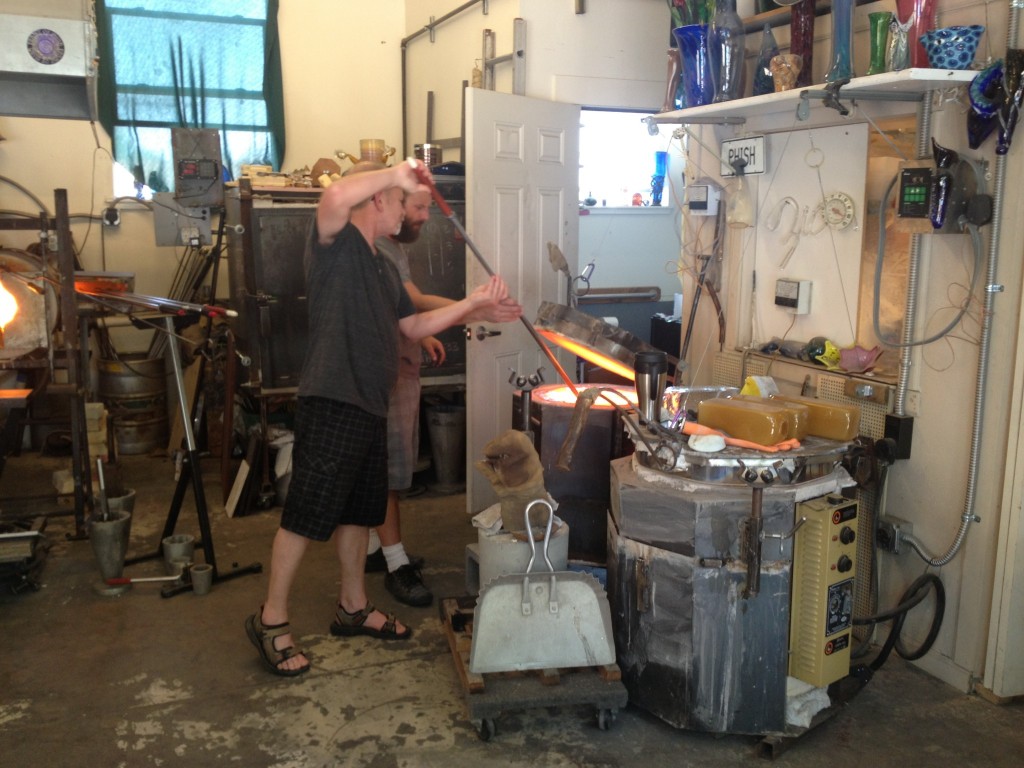
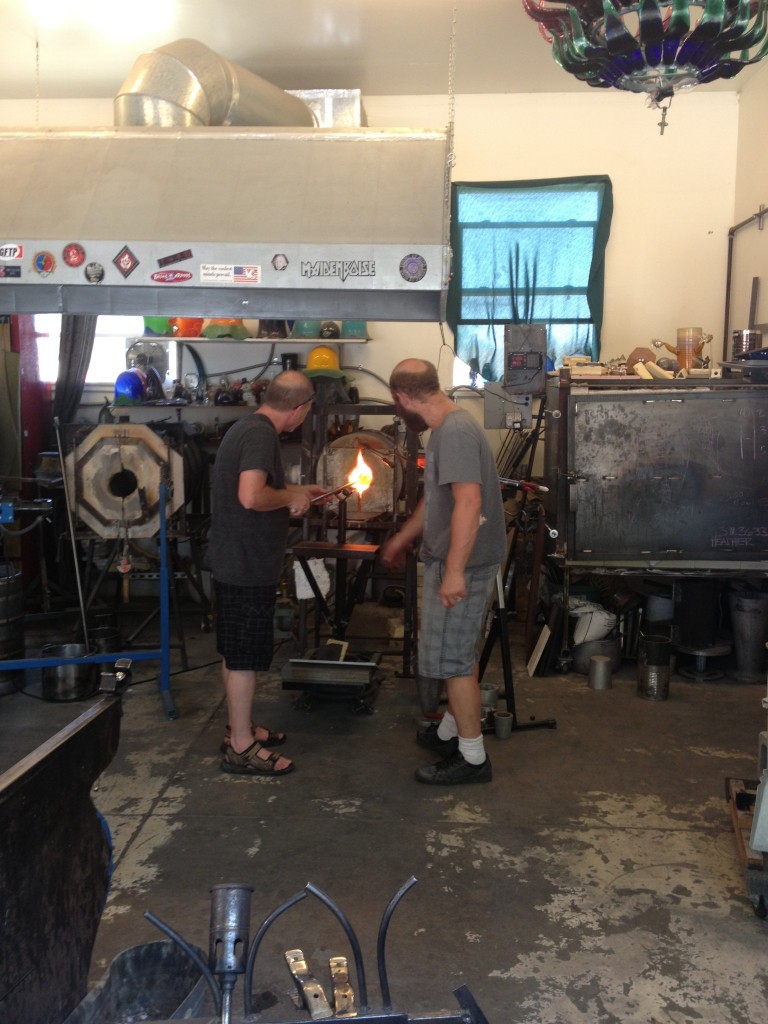
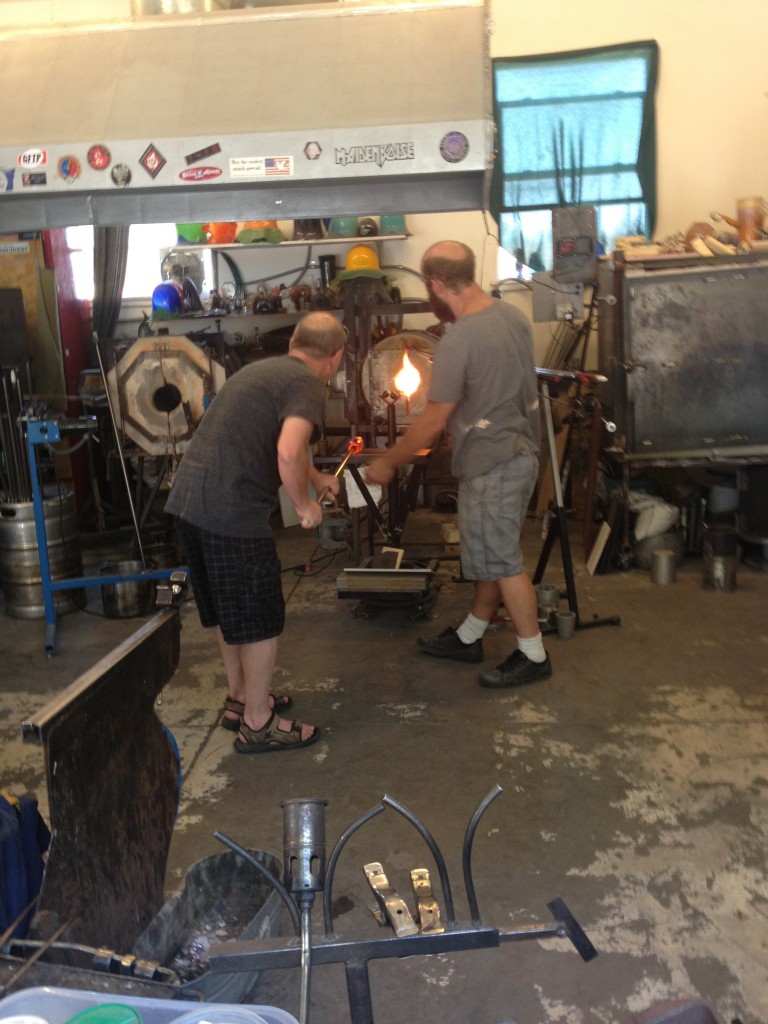
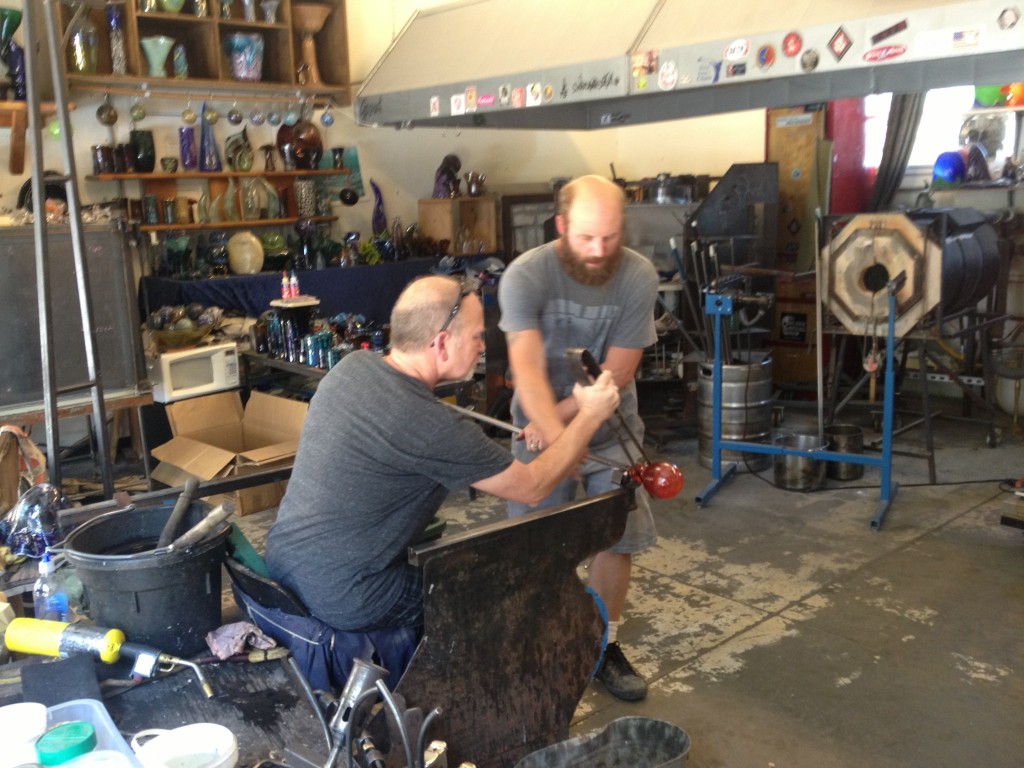
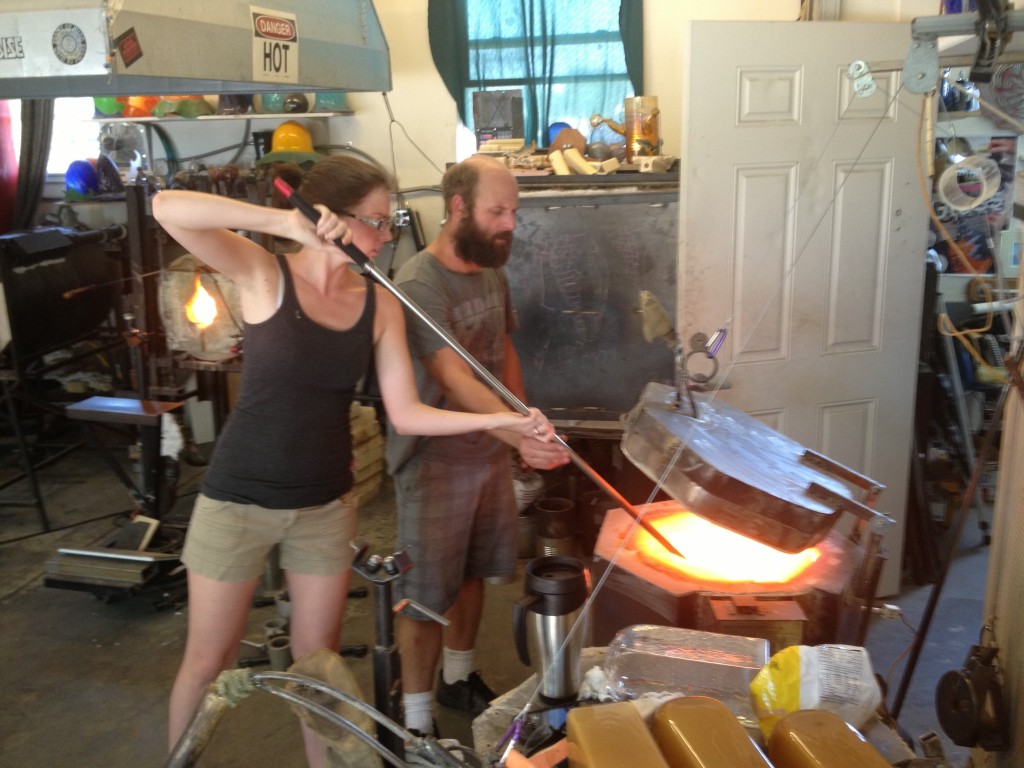
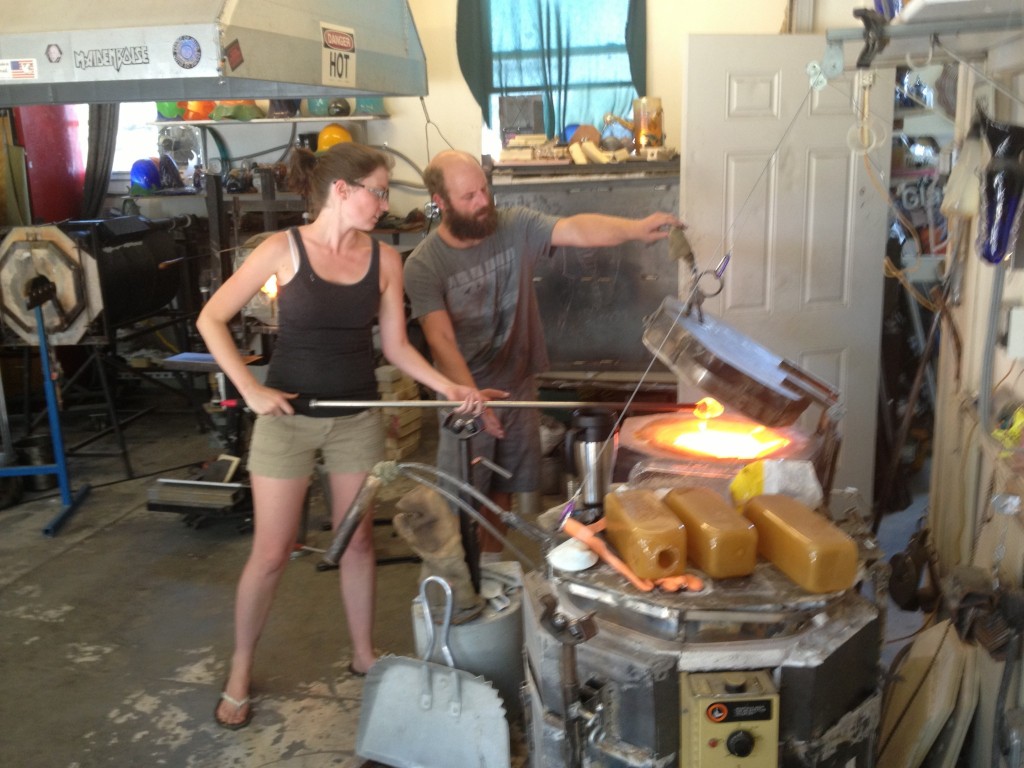
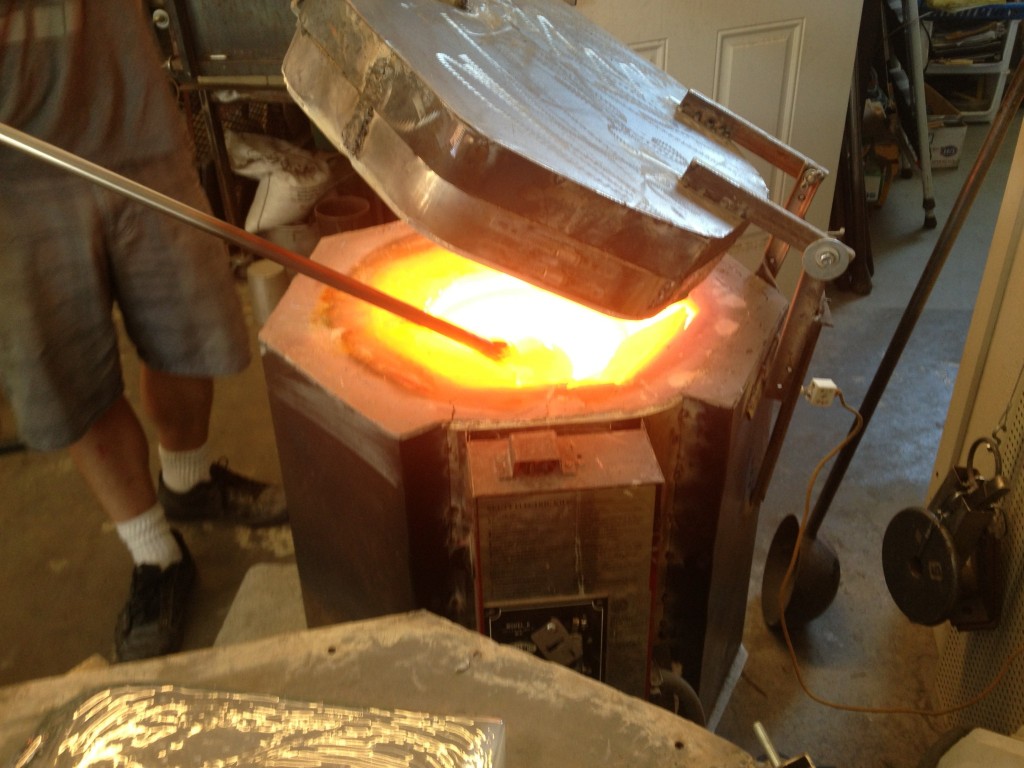
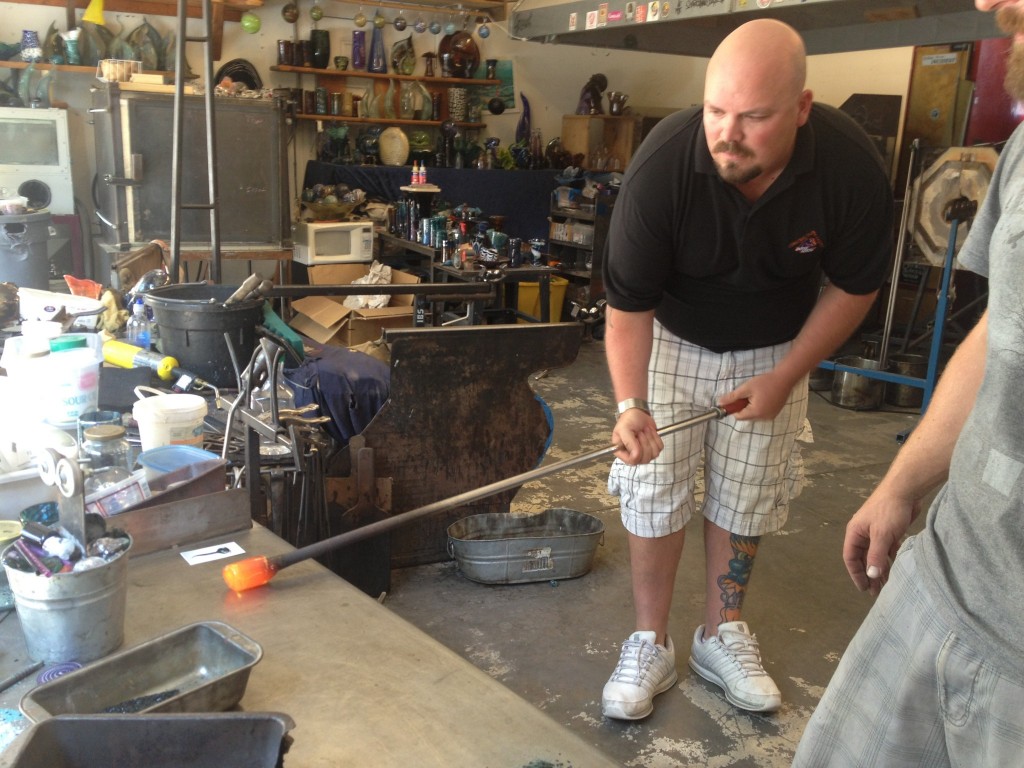
My brother Dan is brave enough to volunteer first, or rather be volunteered first! 🙂 Here he is taking the metal tube (I don't know the names of these tools so I am just going to describe them 🙂 ) and dipping it in the vault of melted glass, the temp inside this kiln is between 2100 and 2200 degrees, just a couple hundred degrees hotter than lava!
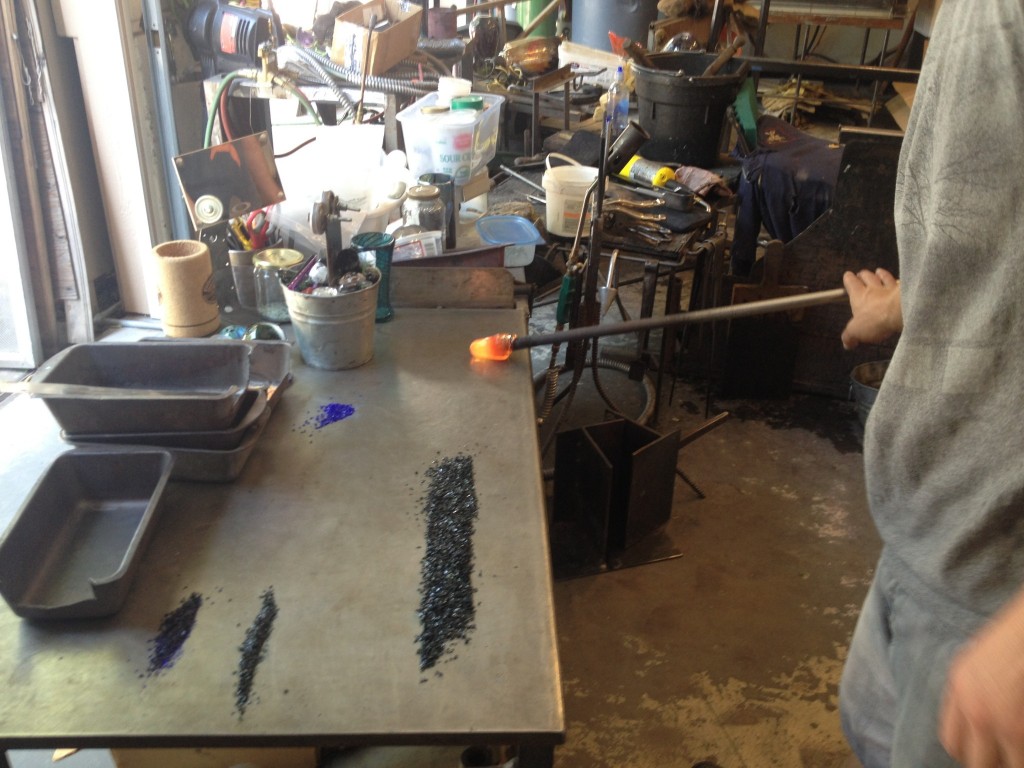
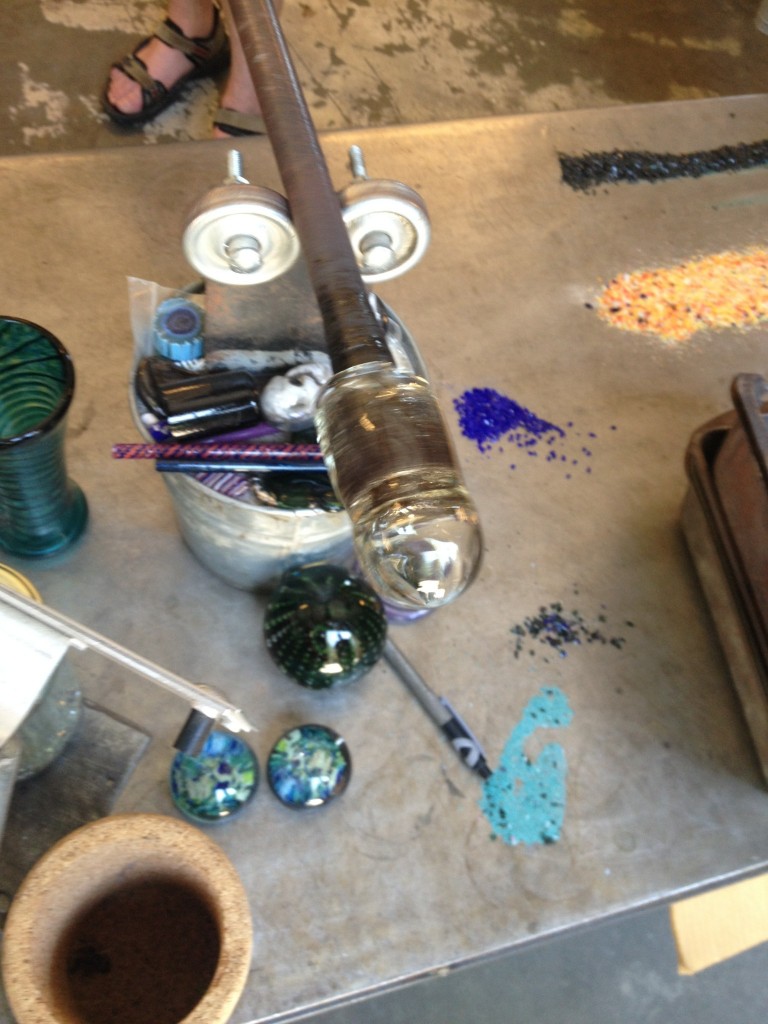
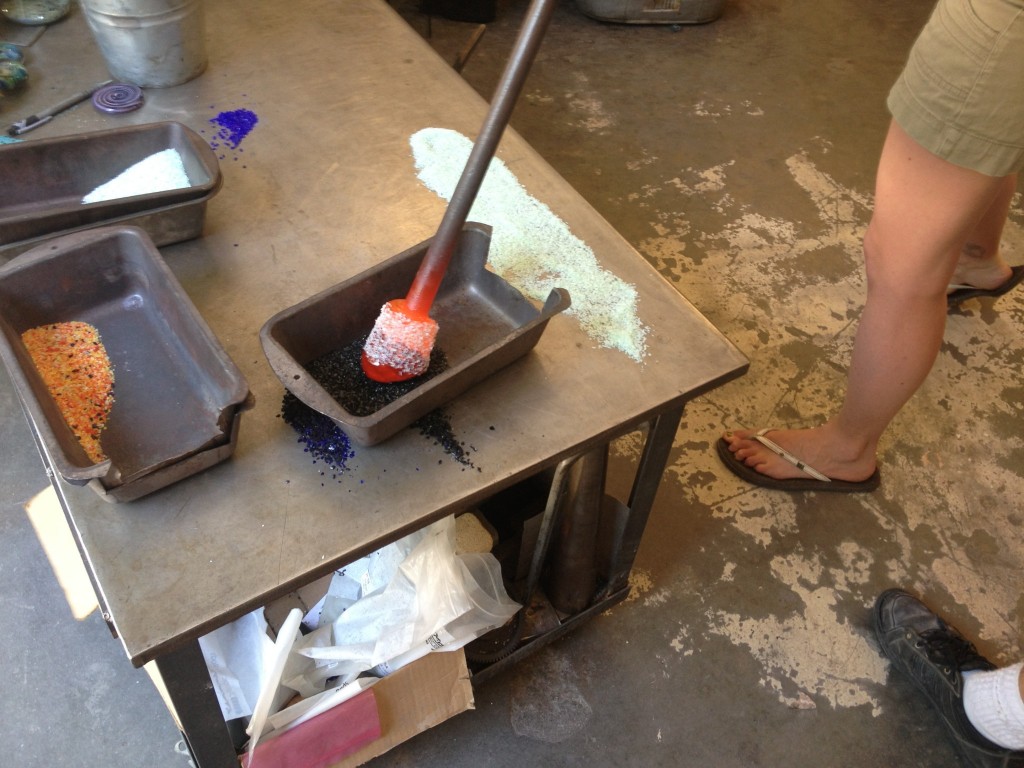
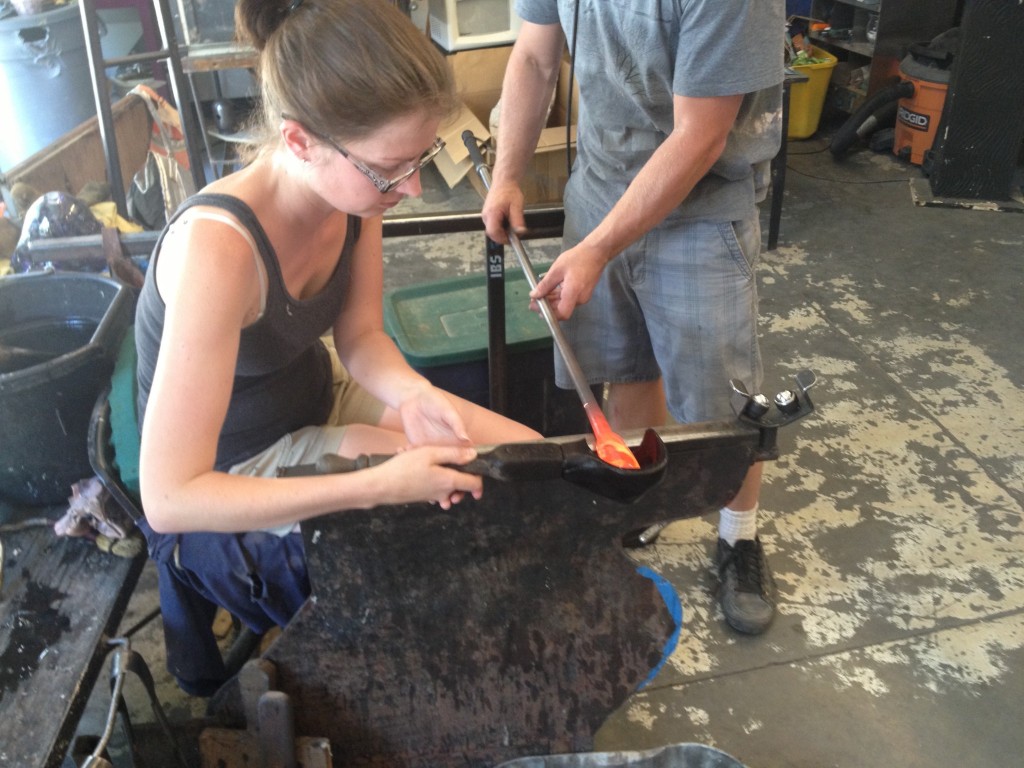
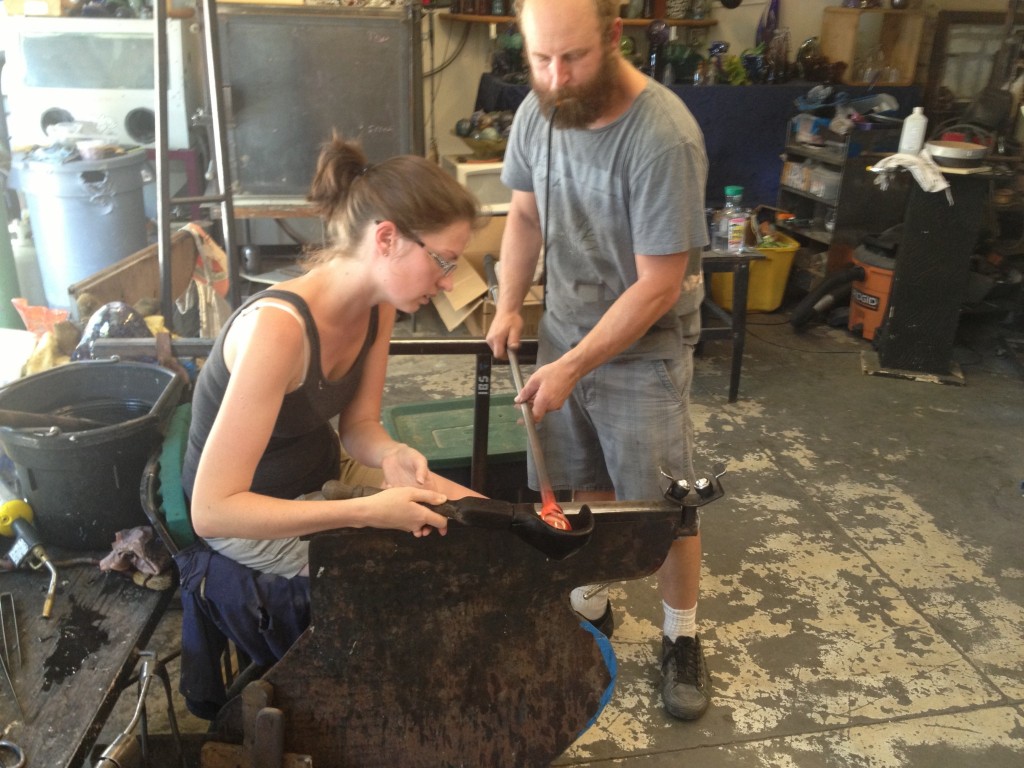
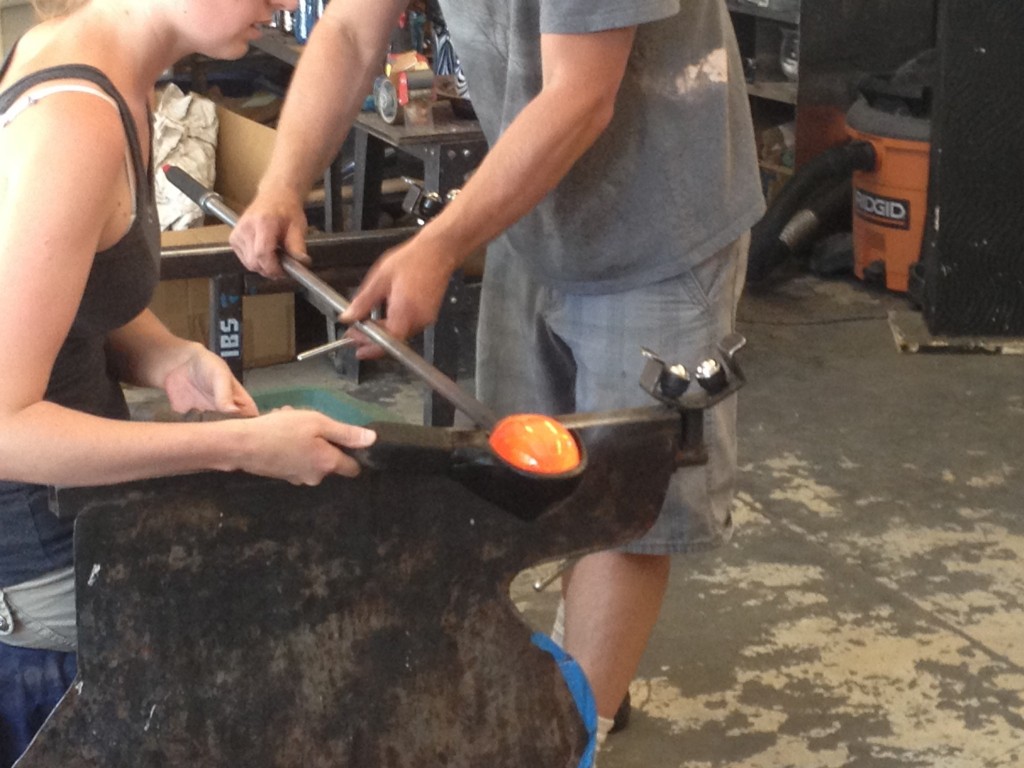
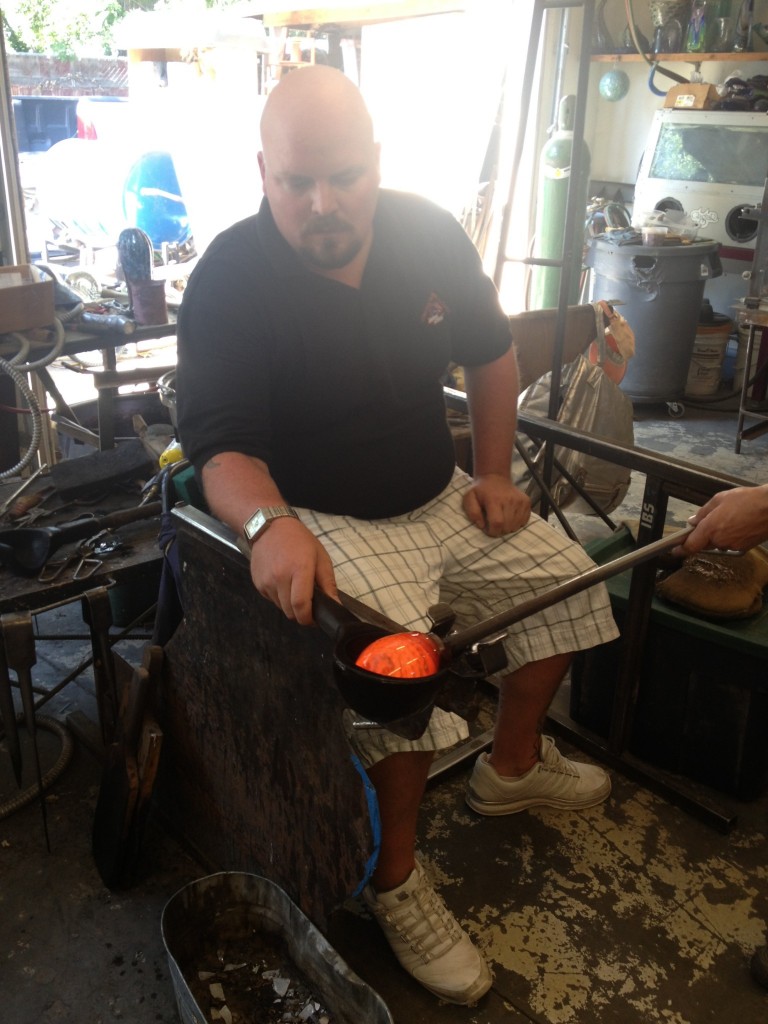
He chose to make a swirly emerald green sconce that has two spiral pieces of clear glass running down the sides. Here he is collecting the glass by rolling it in the steel table. the point of this small gather is to get the piece started, you roll it on the table to push the glass down sort of off the pipe.
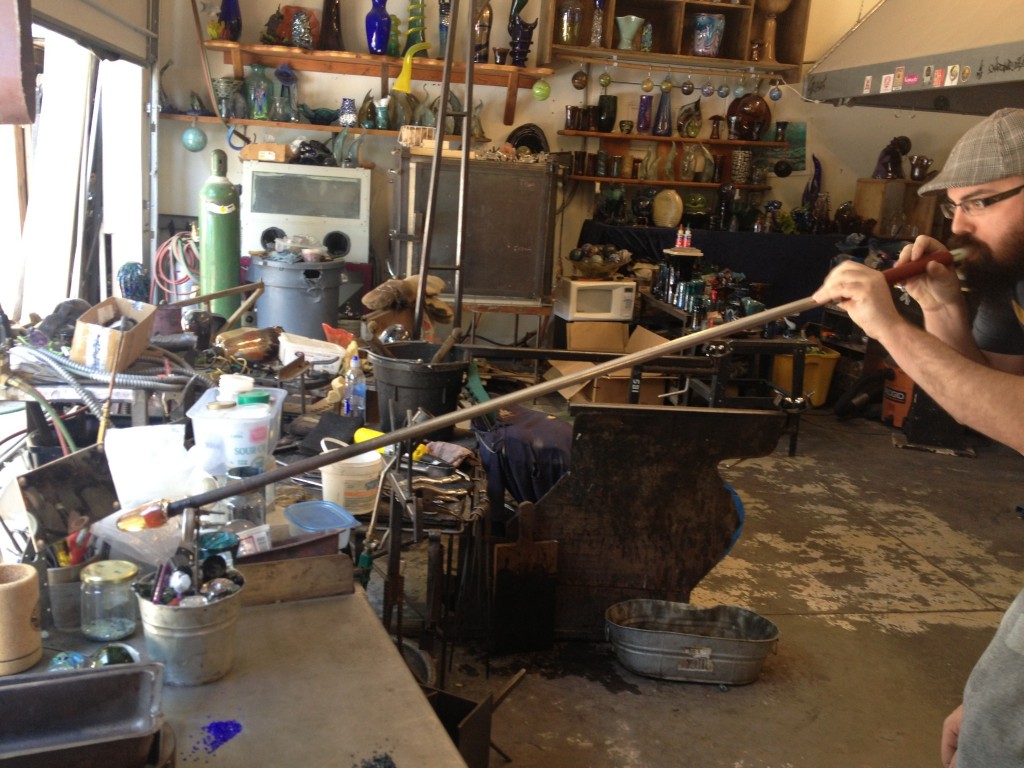
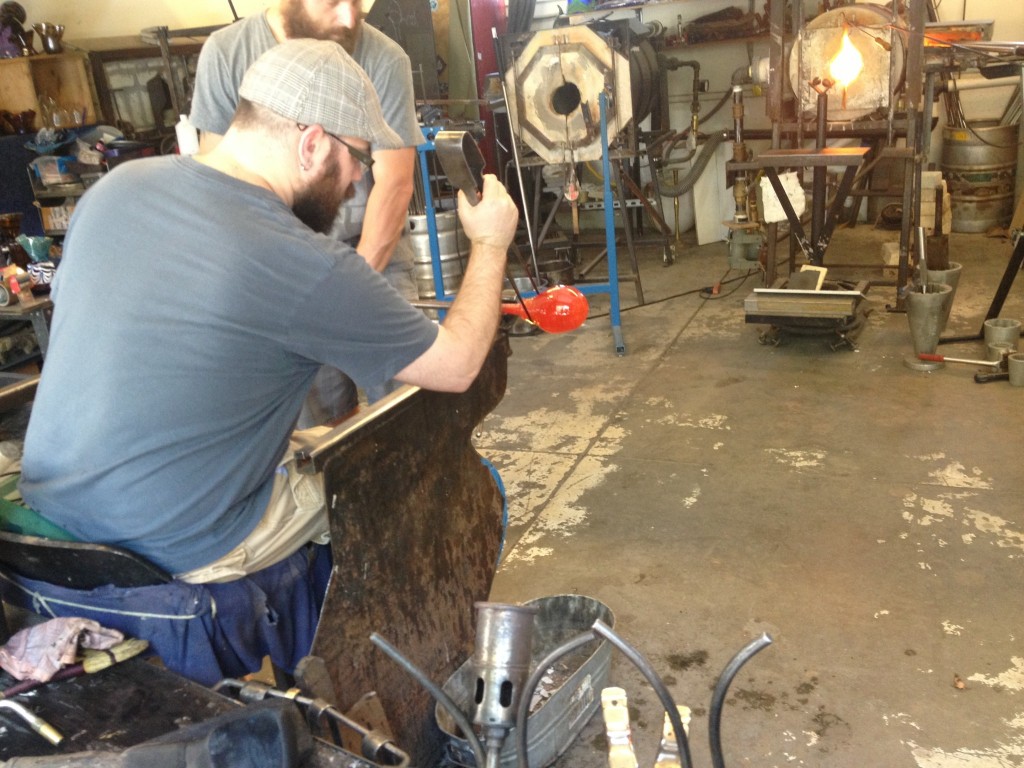
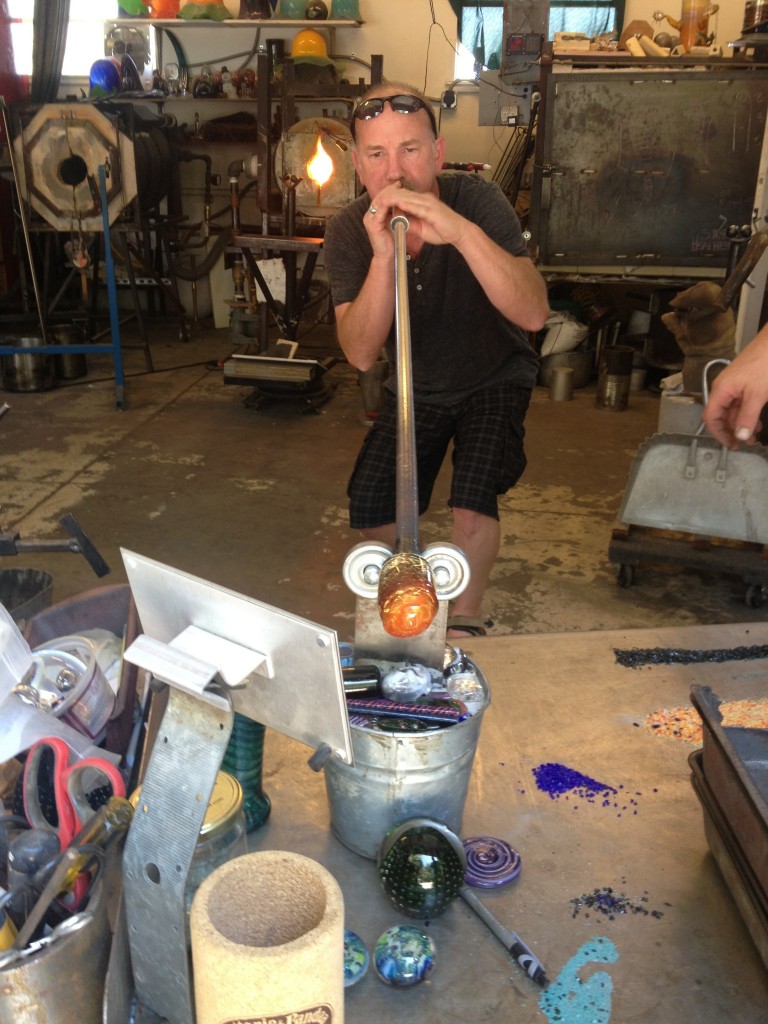
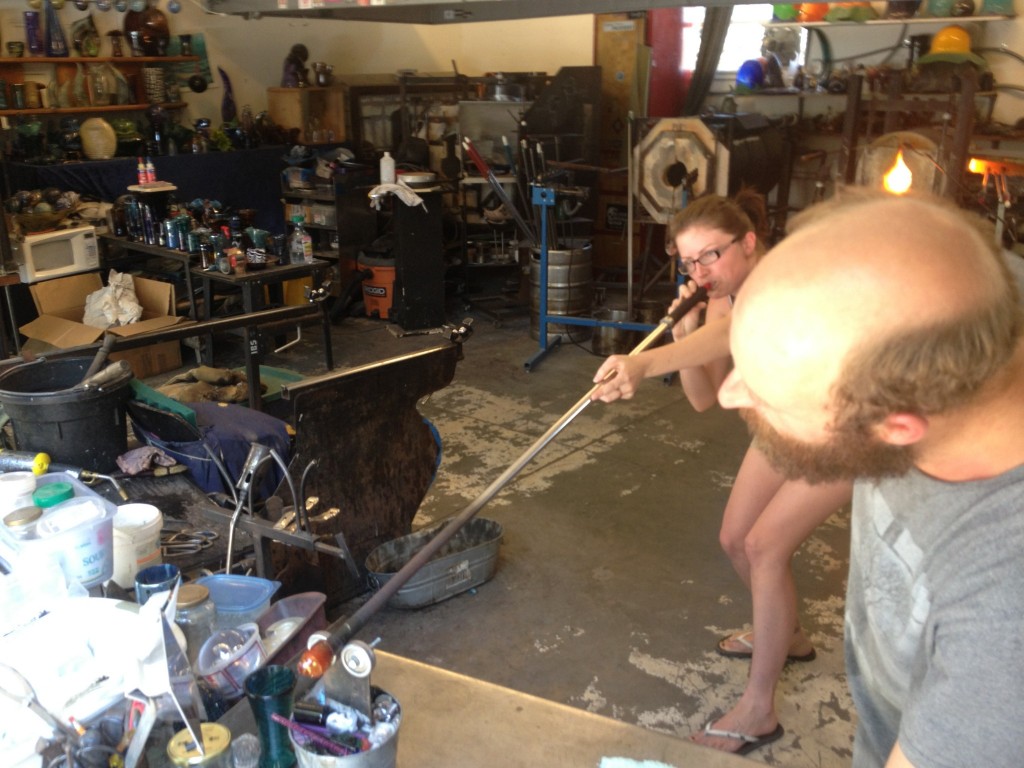
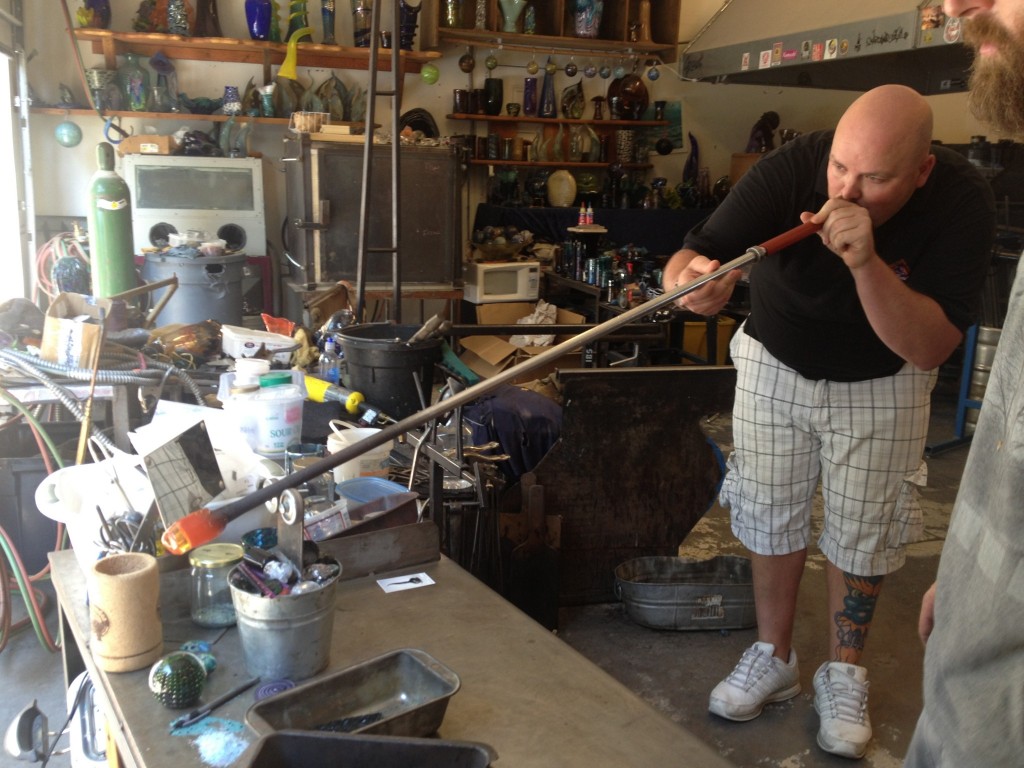
Then you blow into it to start a bubble on the inside. It is much tougher to start the bubble initially than it is to make it bigger. If you had a great big gob of glass on the end I could imagine it would be much tougher!
Once the bubble is started he let it cool just a bit before the next gather of glass.
Here he is going back for his second dip which is when the color gets applied
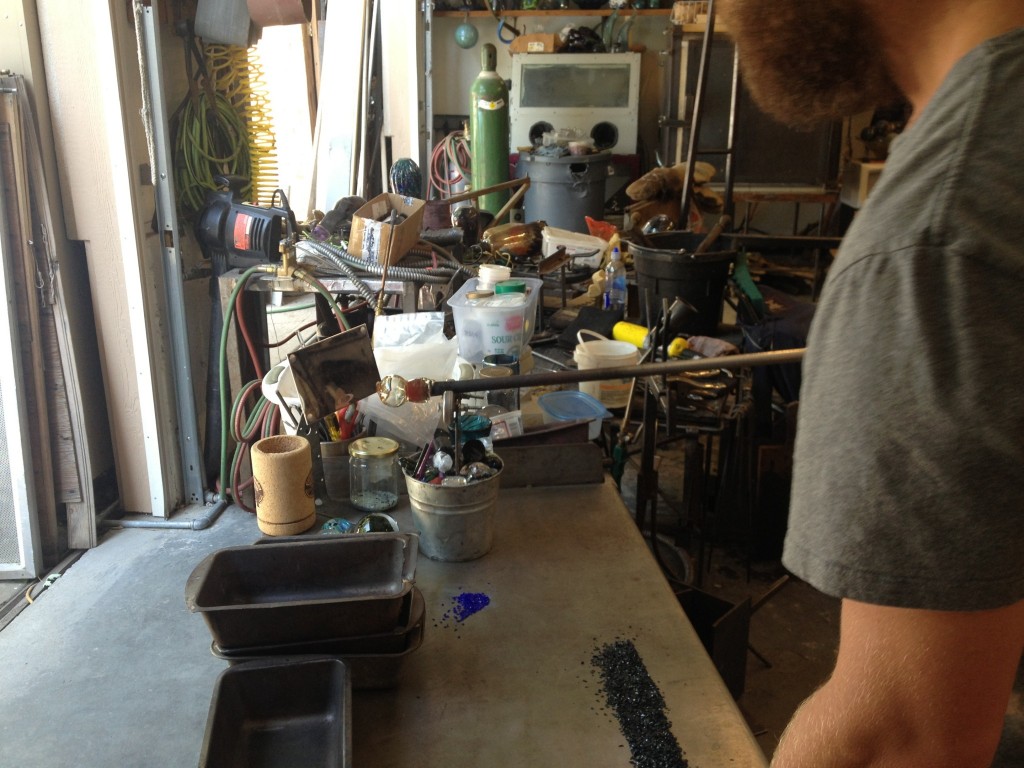
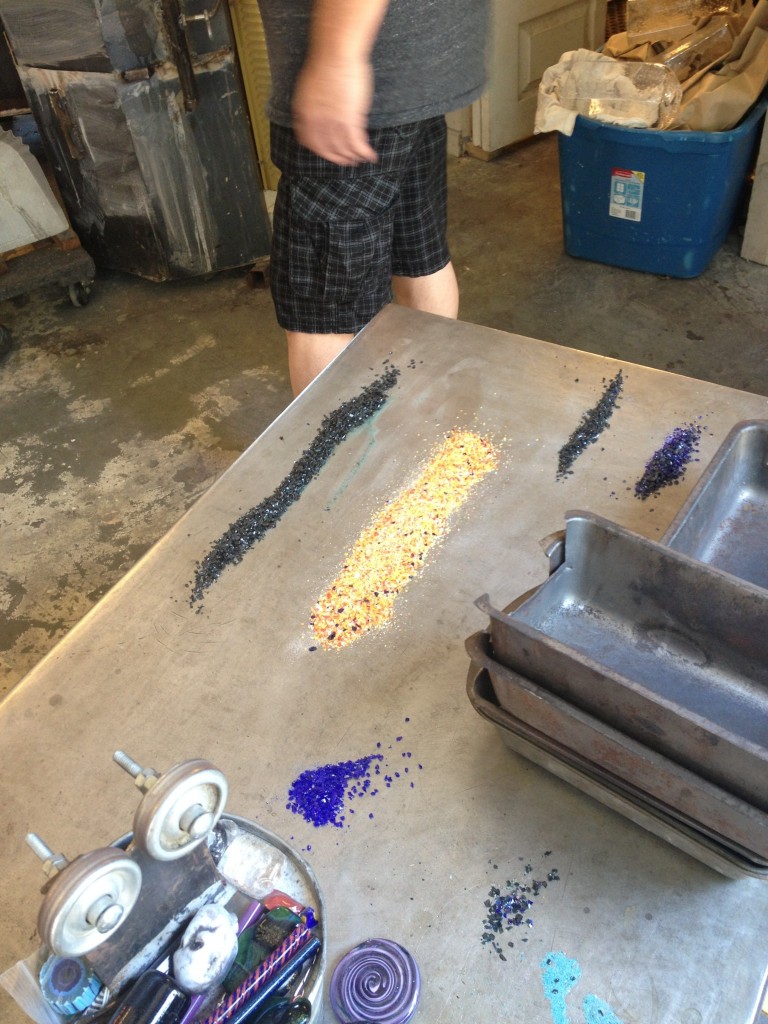
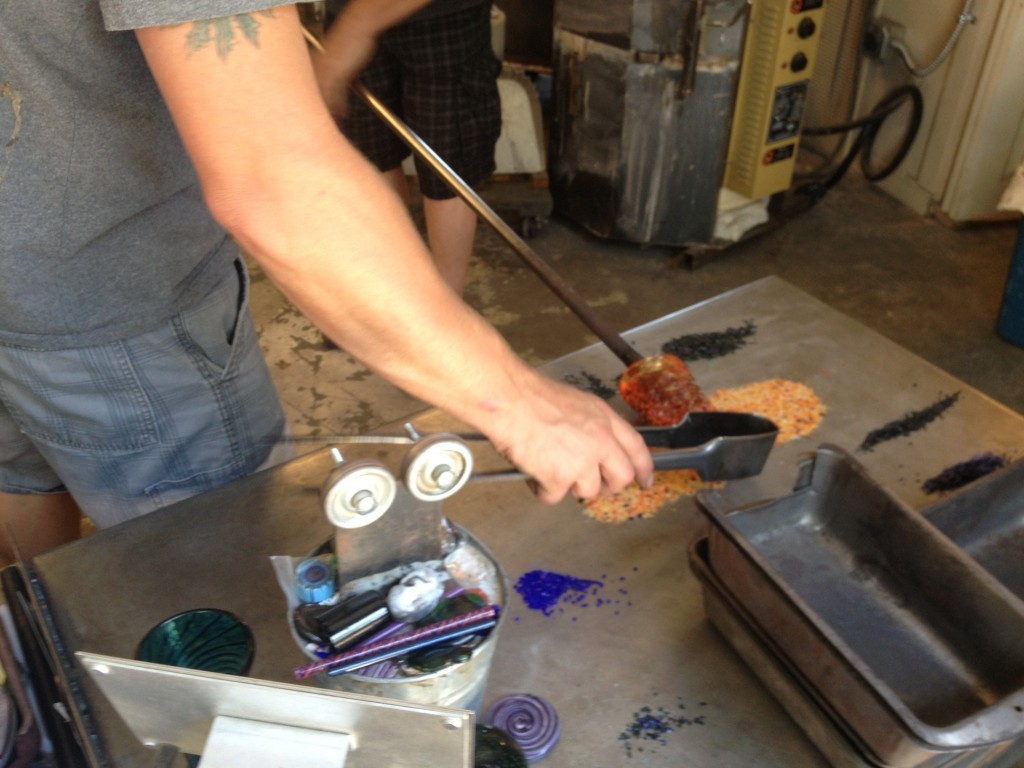
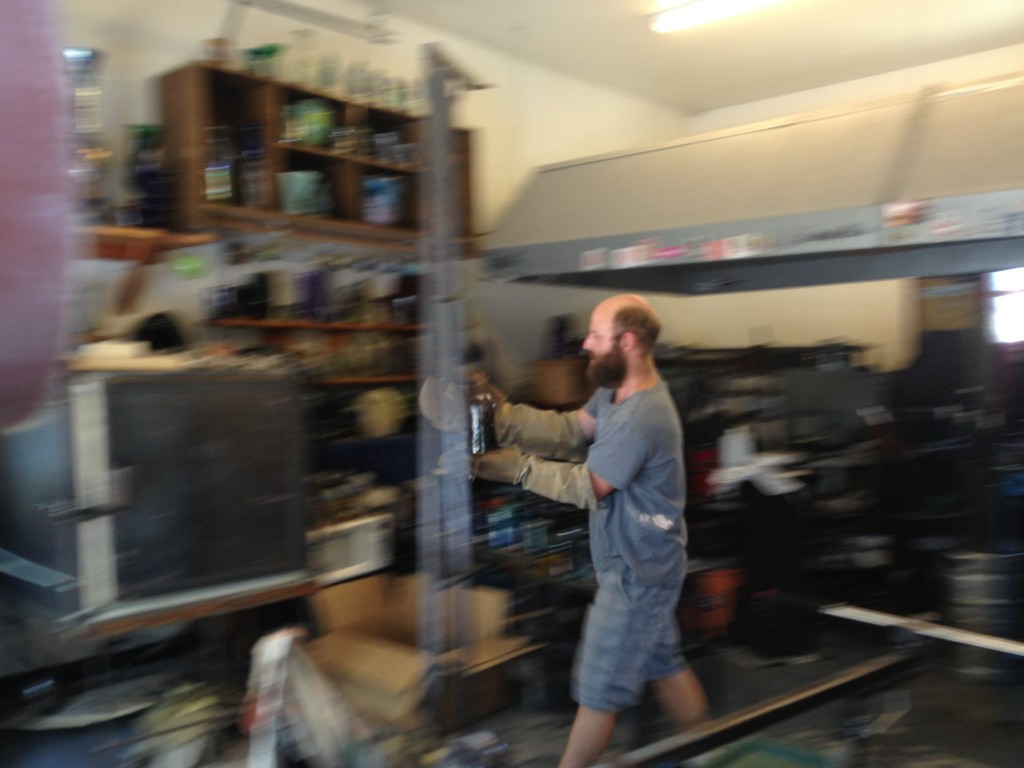
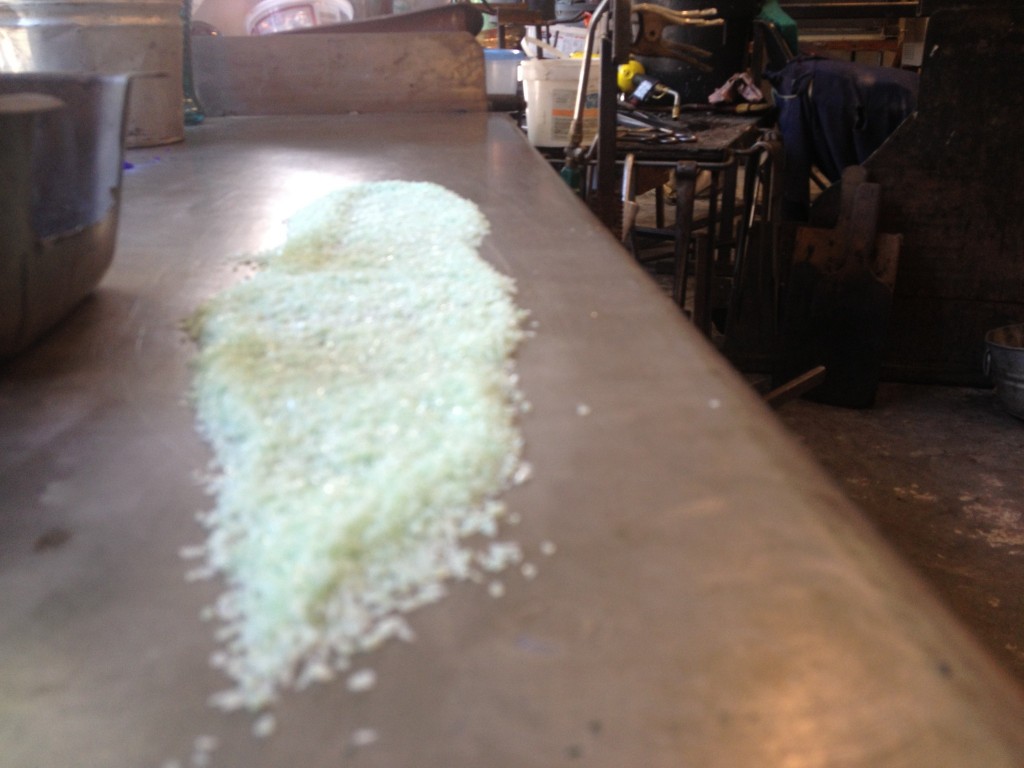
'Hot stuff coming through!' Oh I wish that was actually said... but no. He's headign back to the table where the color is spread out, this wad of glass is rolled around in those colored pieces and then heated up in a oven so that it all melts together.
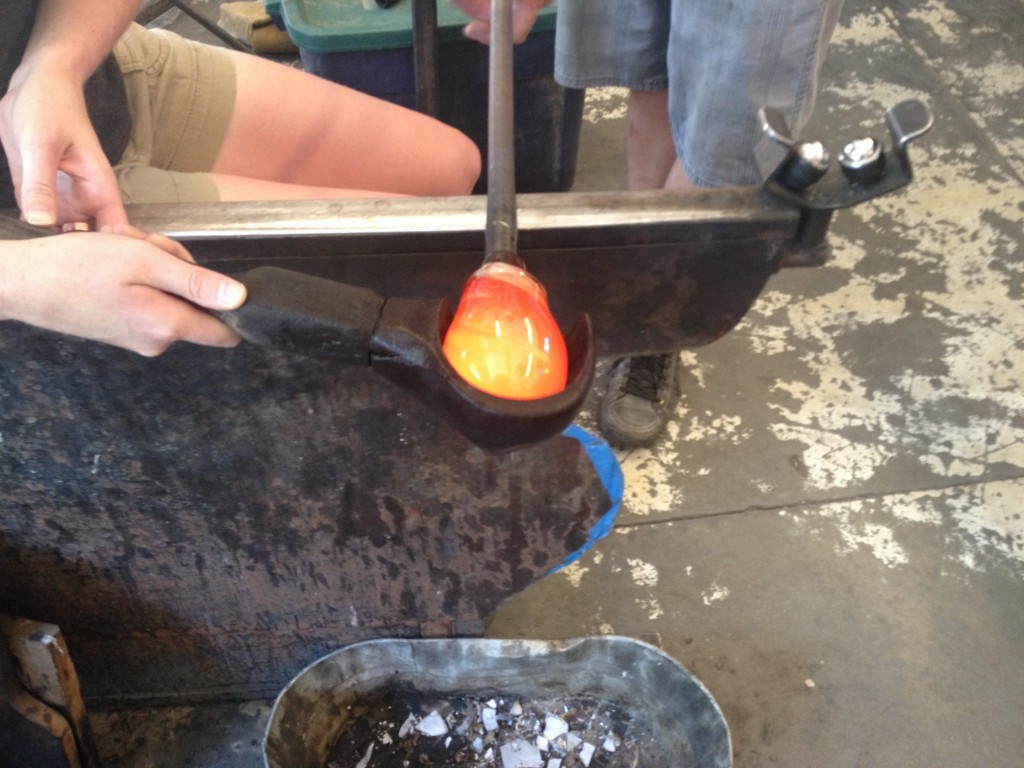
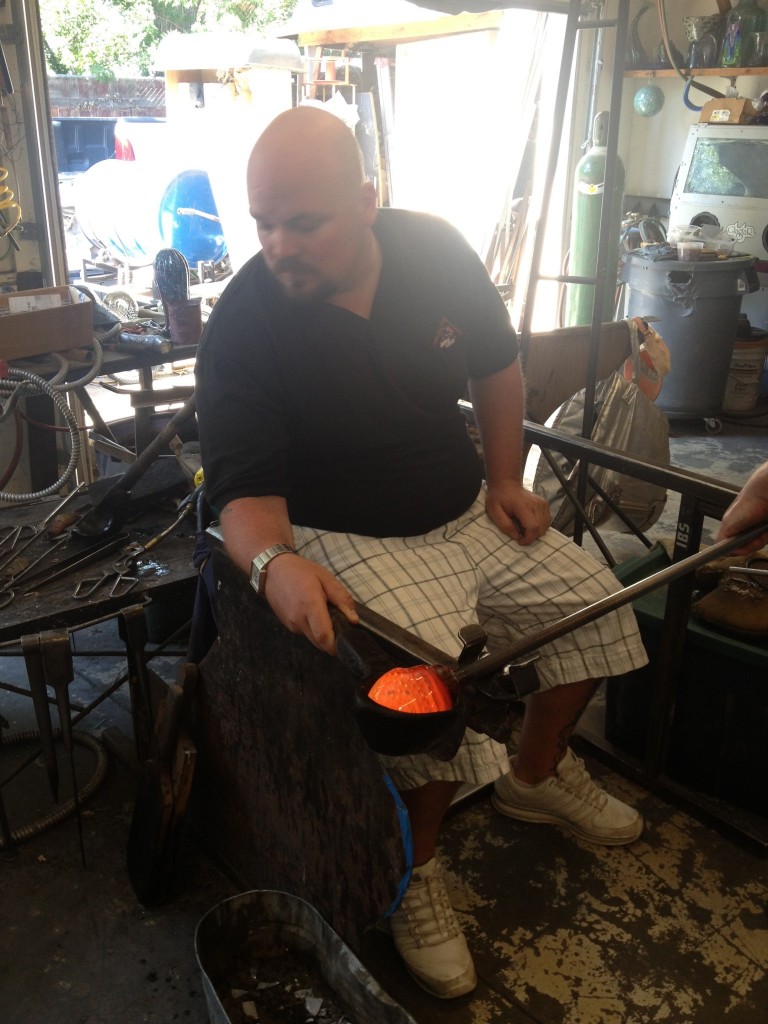
When it comes out of the oven a couple more puffs of air are blown in and then it is shaped using wooden tools that are soaked in water This part smells very much like a camp fire! 🙂
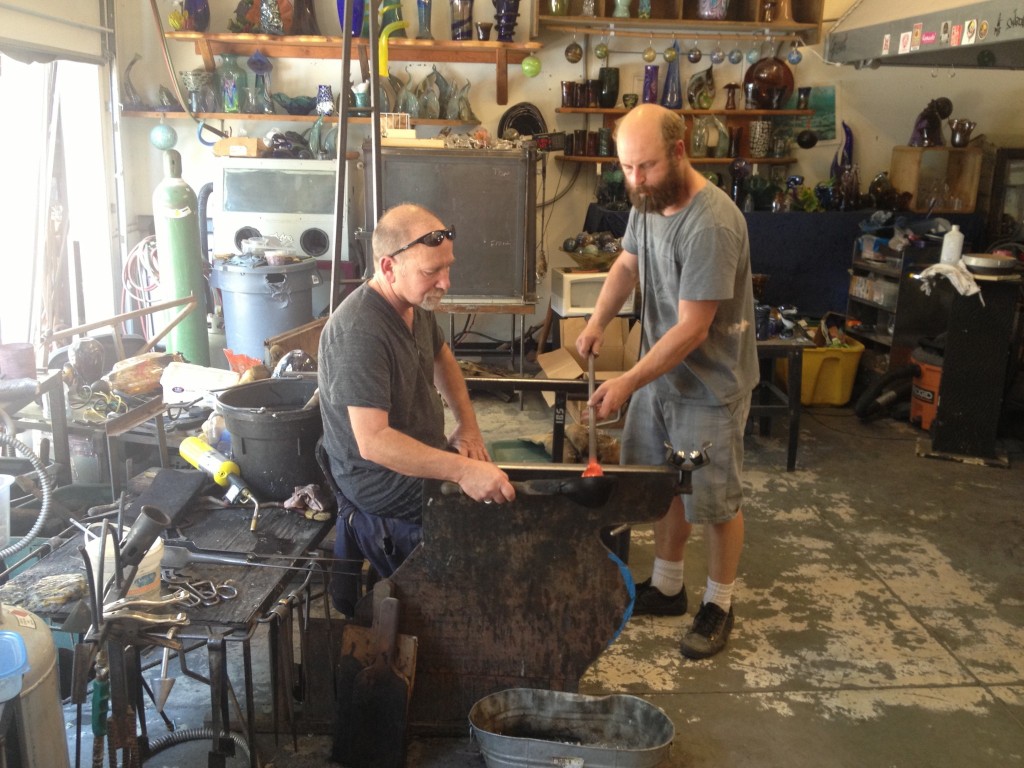
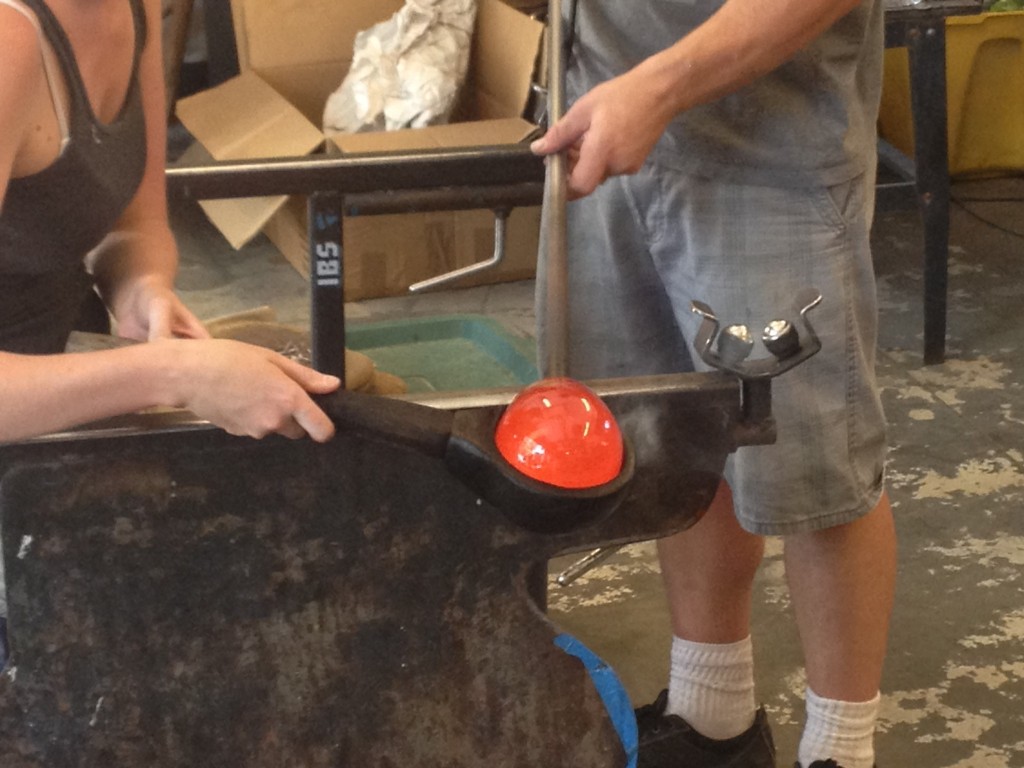
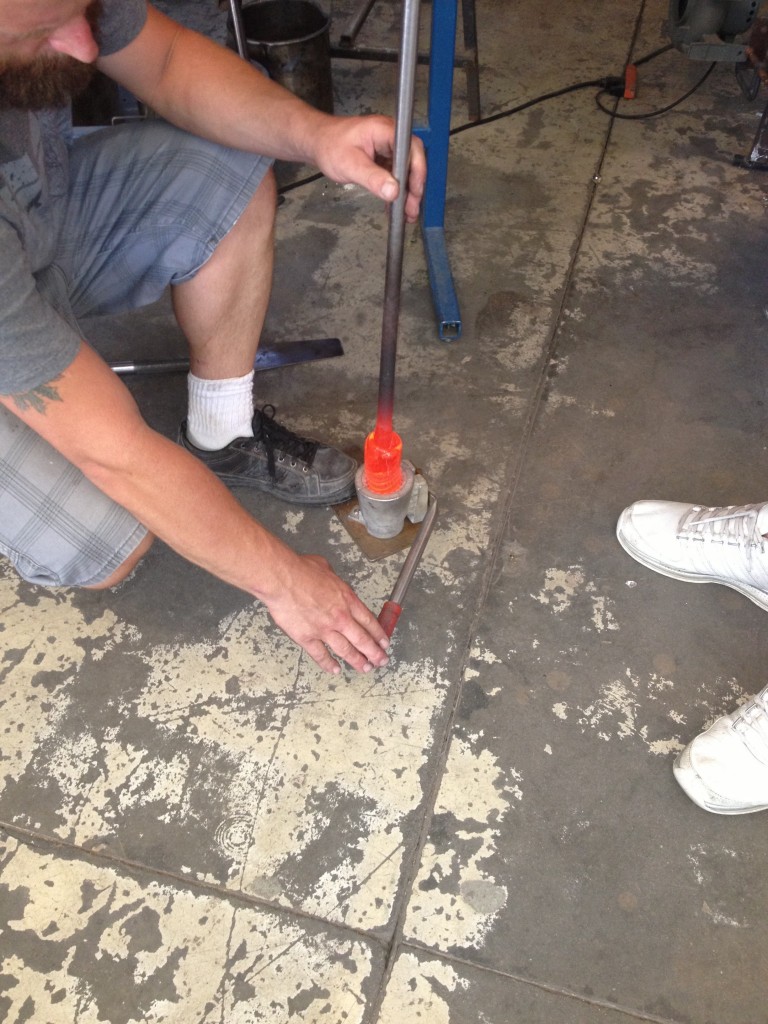
Then some tools called 'jacks' are used (I remembered a name!) to start the separation from the pipe, they just crimp down on the meeting place.
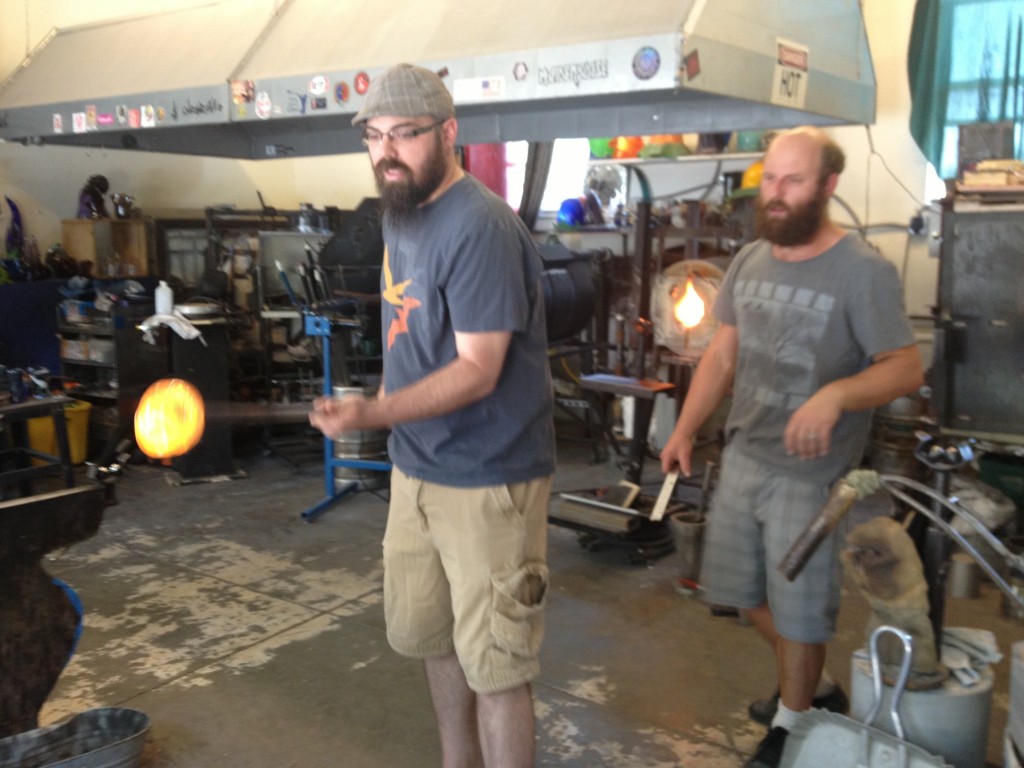
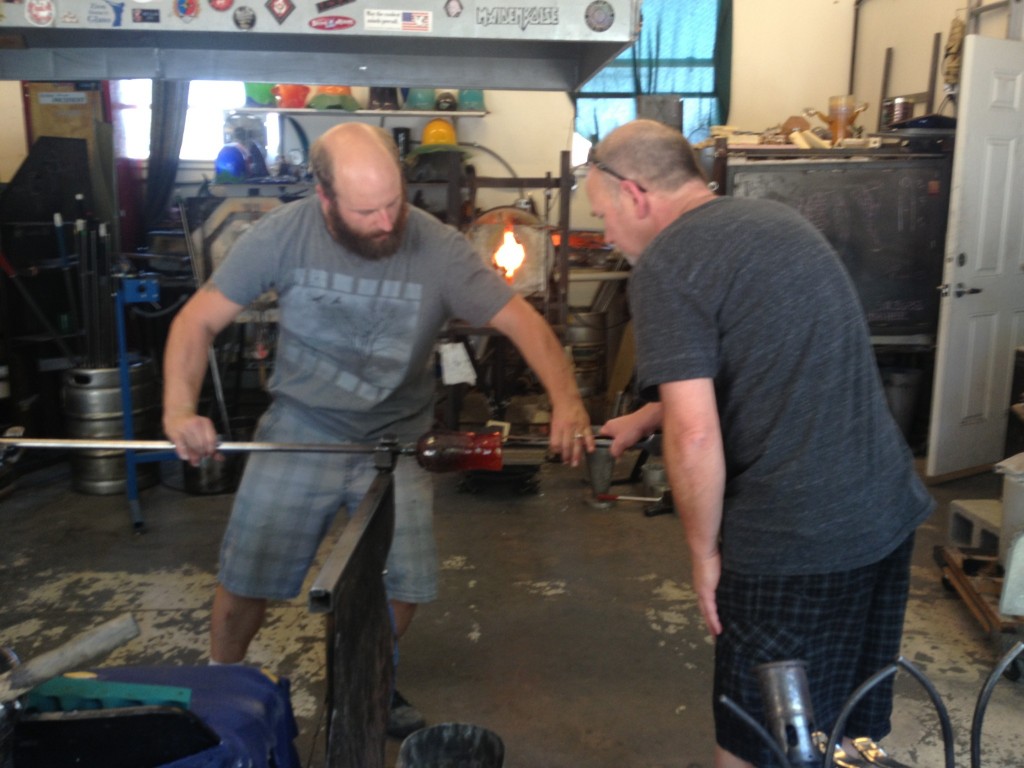
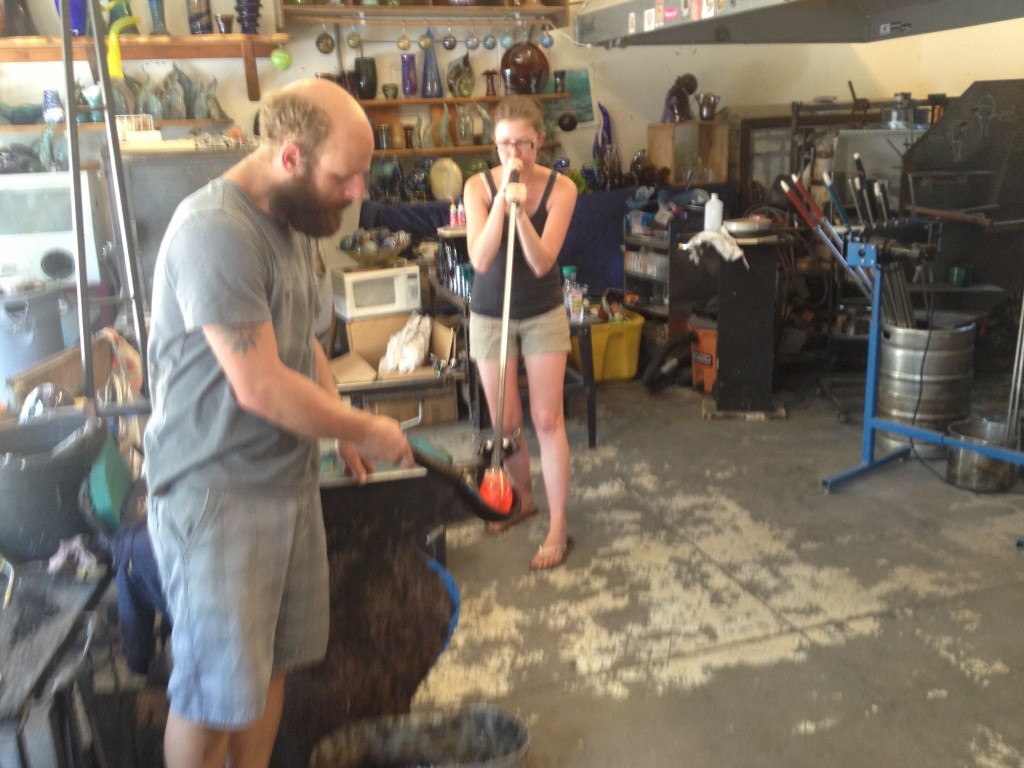
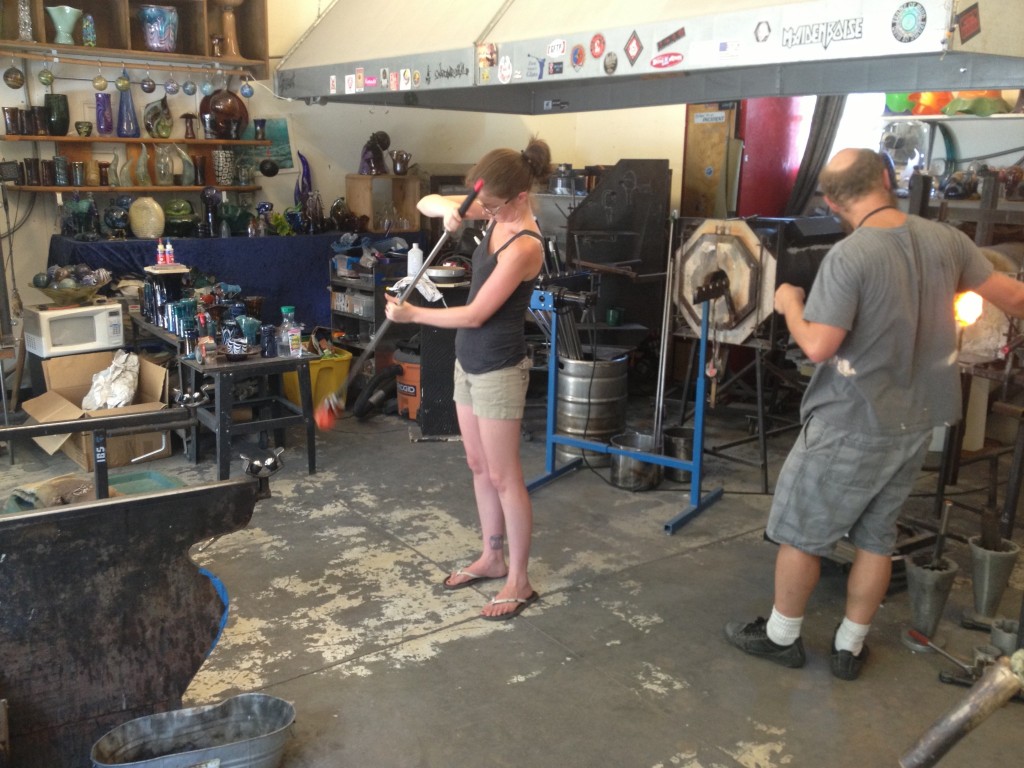
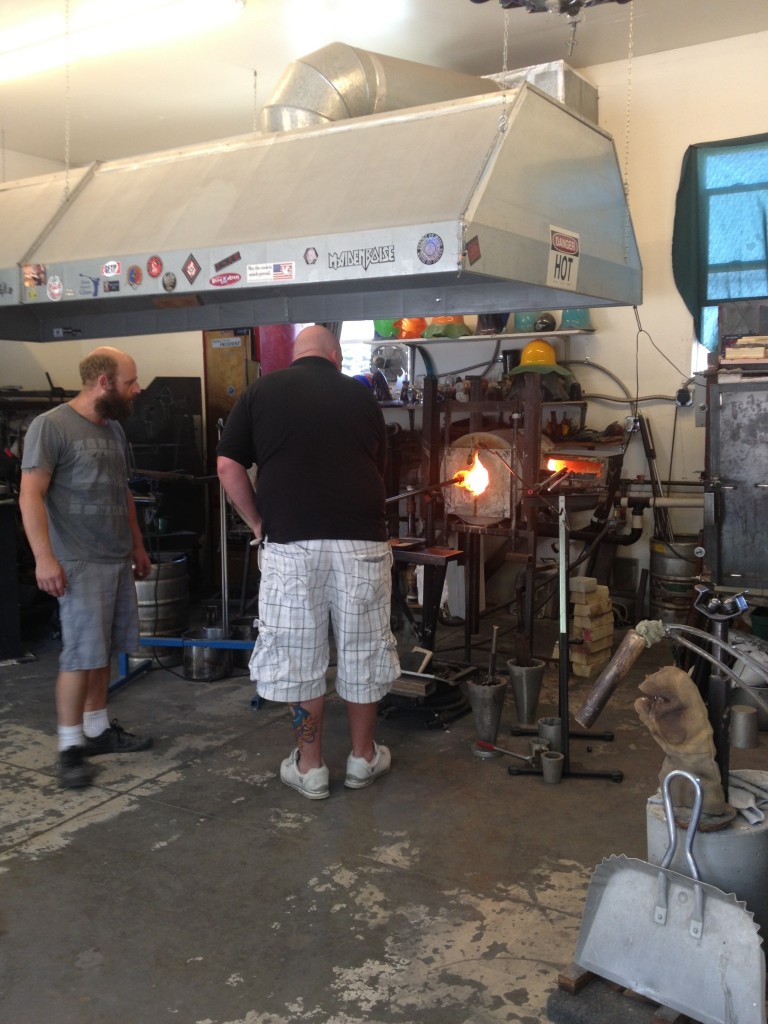
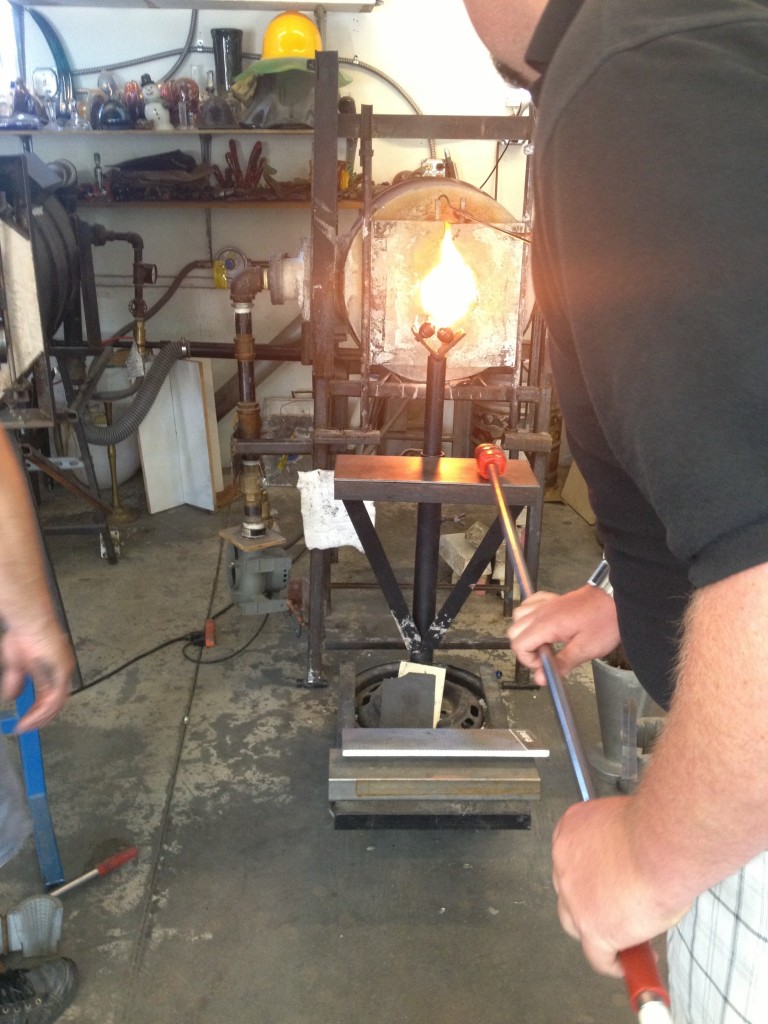
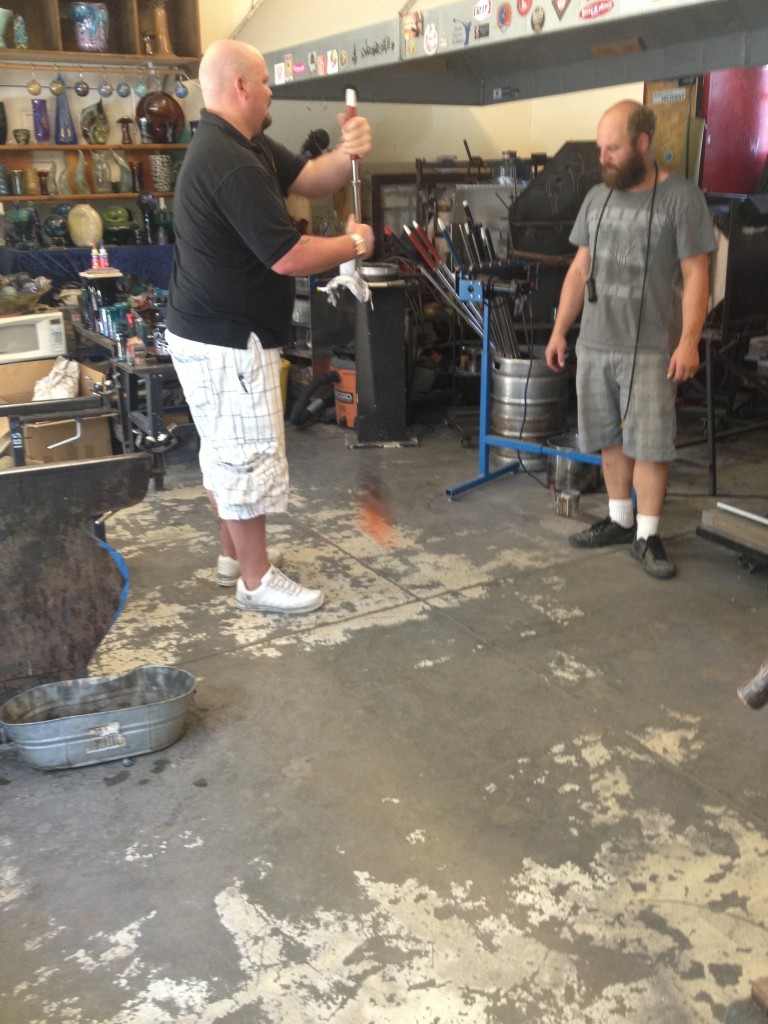
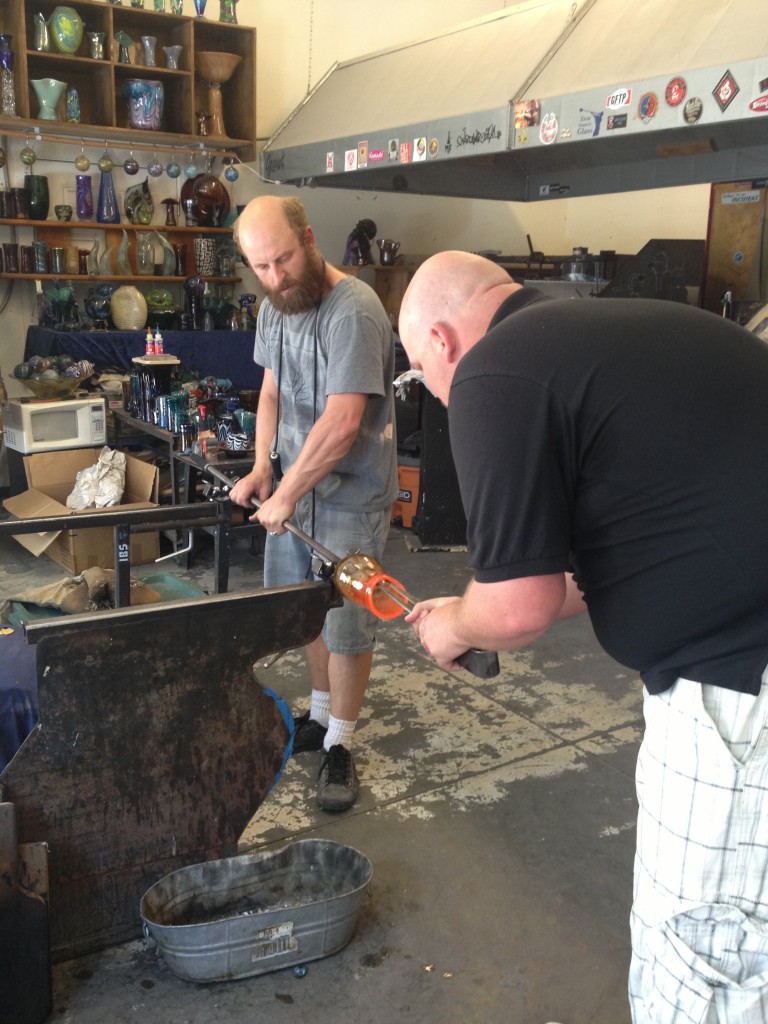
Then it is heated up again (the oven is behind Dan there) and swung around, because its a really good idea to swing 2000 degrees around in a small room. This helps stretch out the sconce though, it's necessary. More air is blown in as Dan is constantly rolling the pipe.
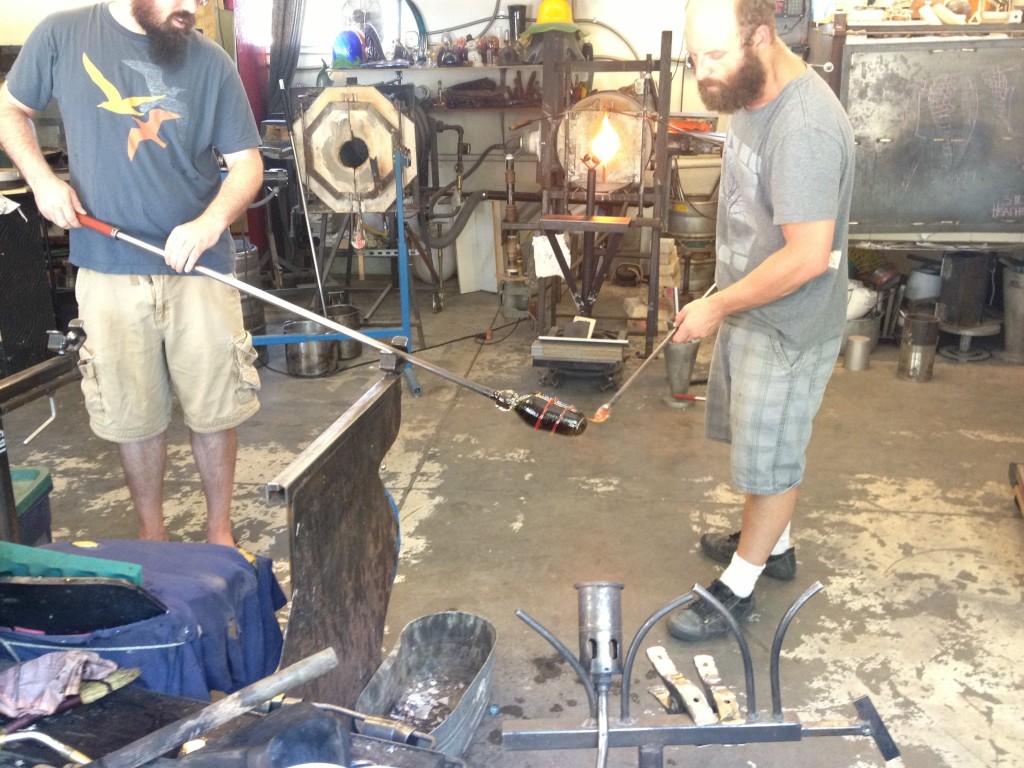
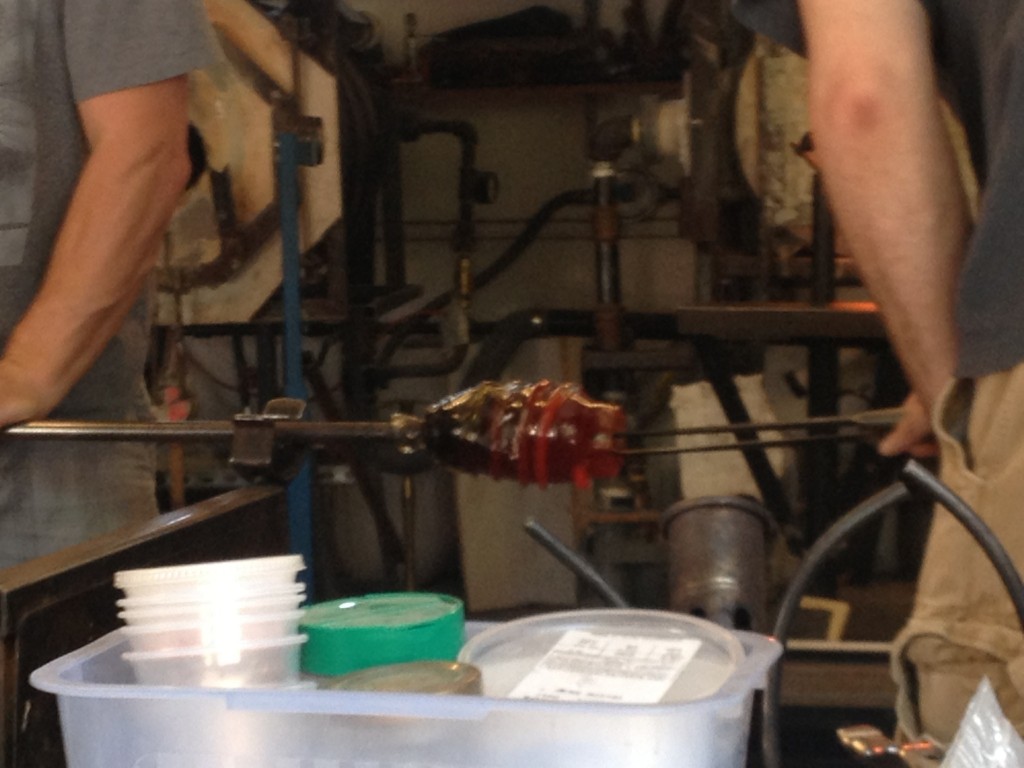
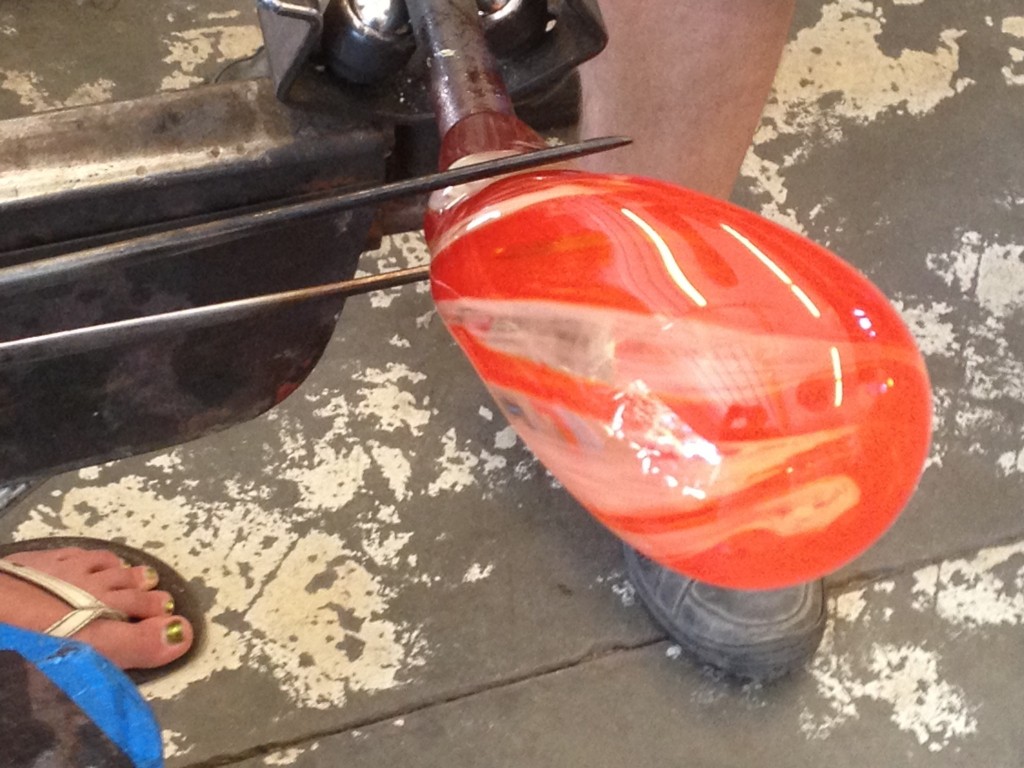
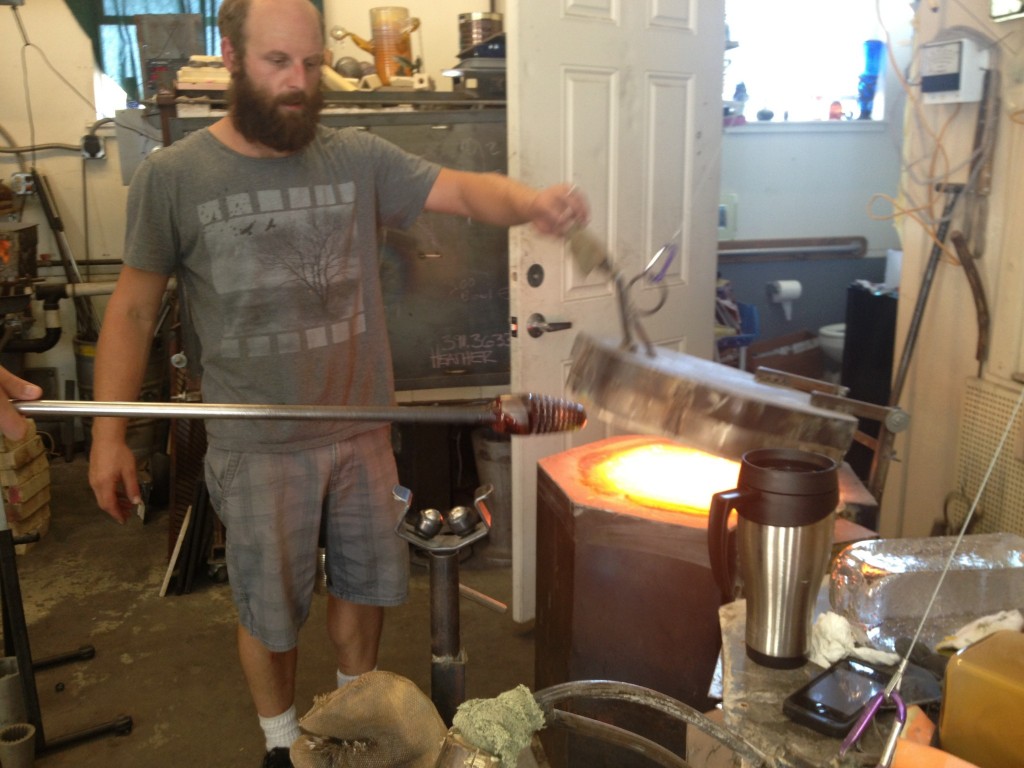
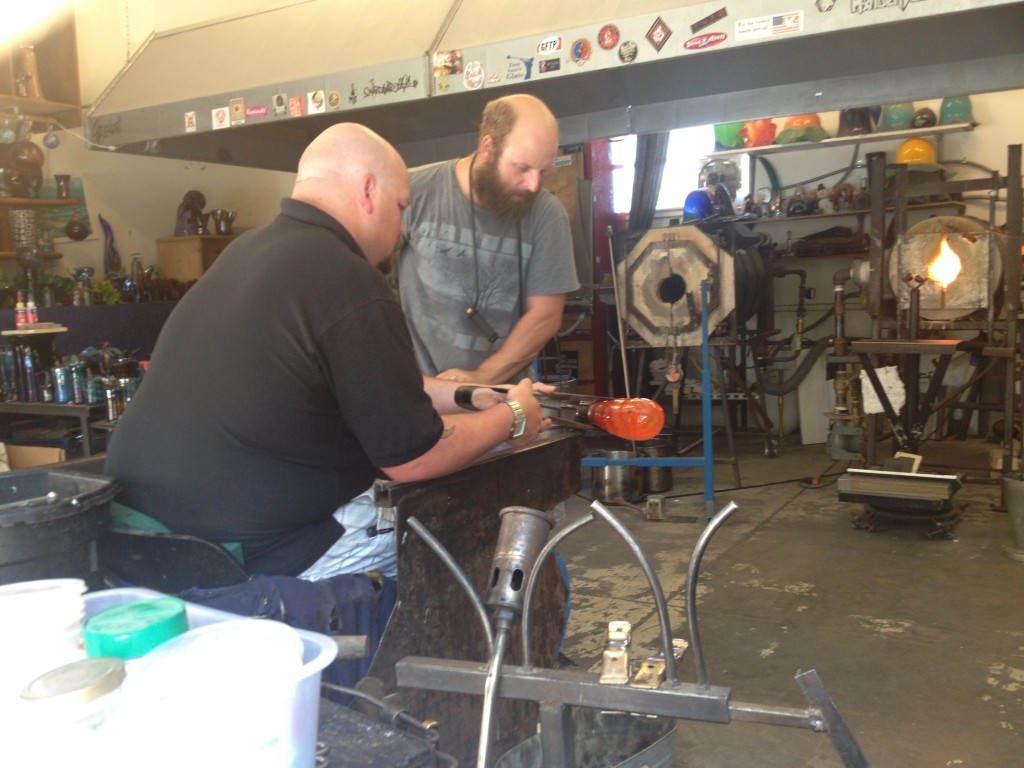
For Dans rendition he let the glass cool a little, you can start to see the green color though it looks very dark here still. Zion then took small blobs of melted clear glass and touched them to the sides then Dan rolled his piece and Zion places the clear spirals down the outside of the glass.
Dan smilin and Zion getting the second spiral ready.
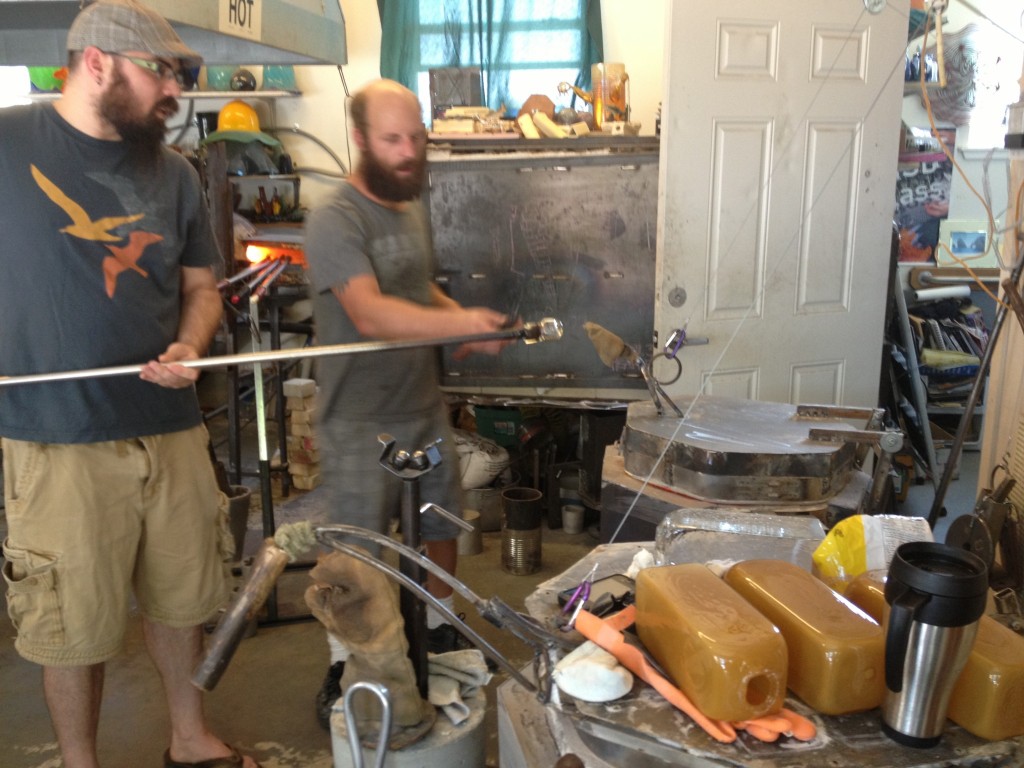
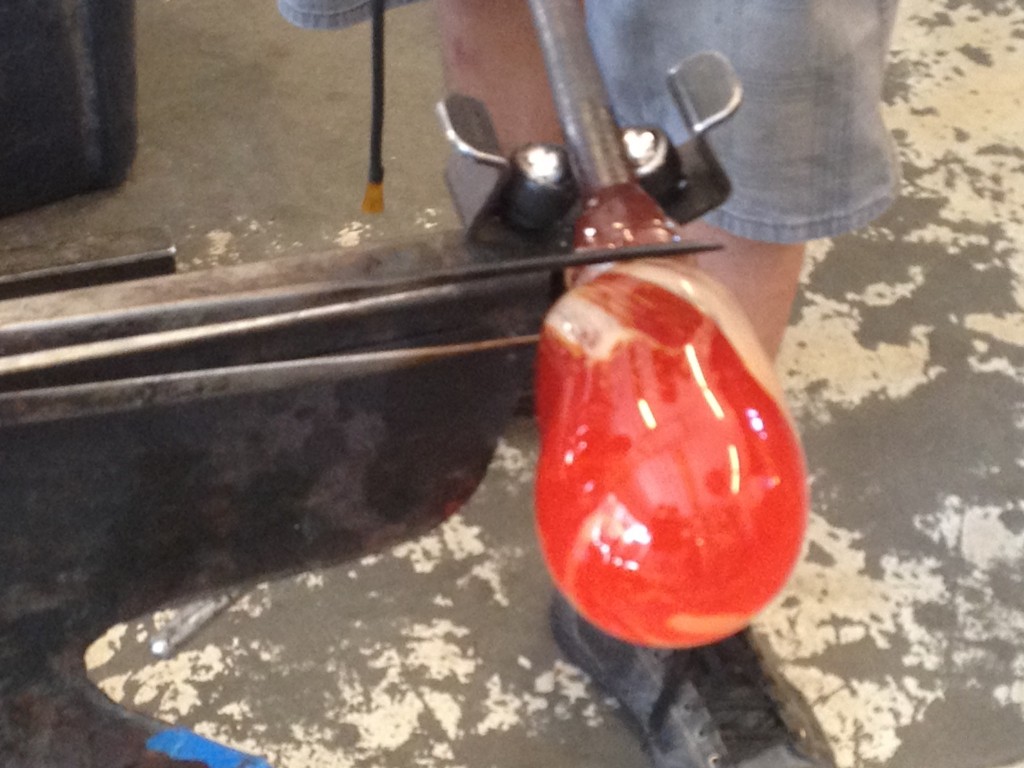
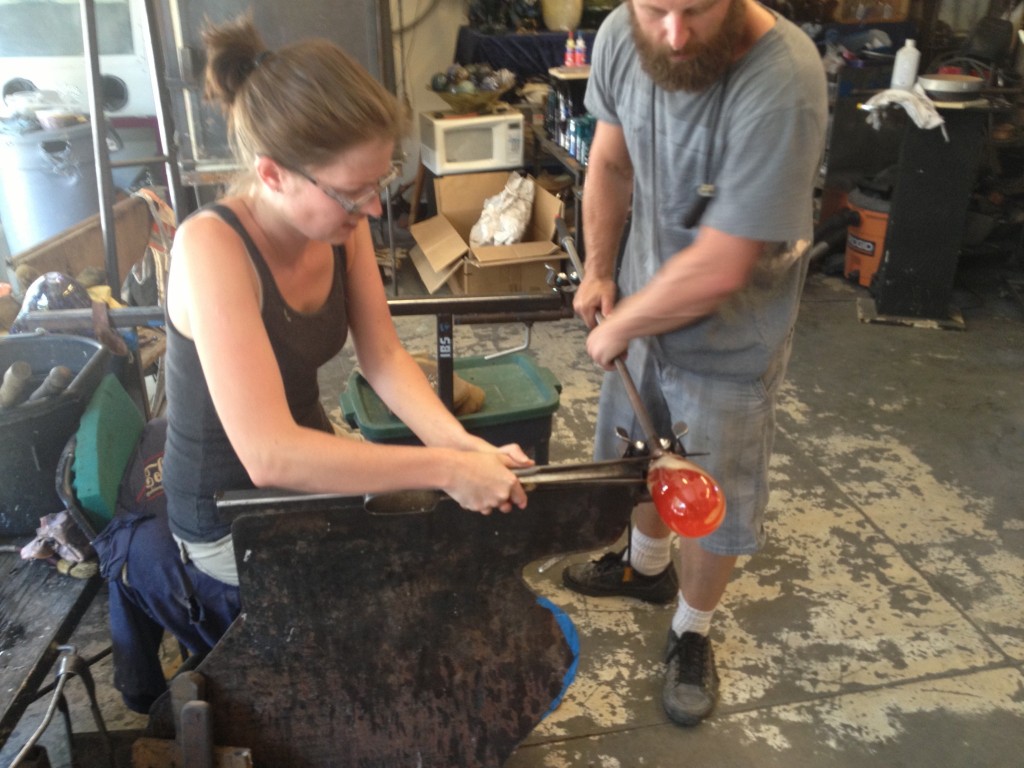
Both sprirals are on and Zion is making the transfer to a different pipe, the top of the piece now becomes the bottom and the opening needs to be made for the light bulb.
After it is transferred the piece is once again heated up and the jacks are used to open a tiny little hole.
this step was repeated about three times before the hole was wide enough adn it started to actually look like a sconce.
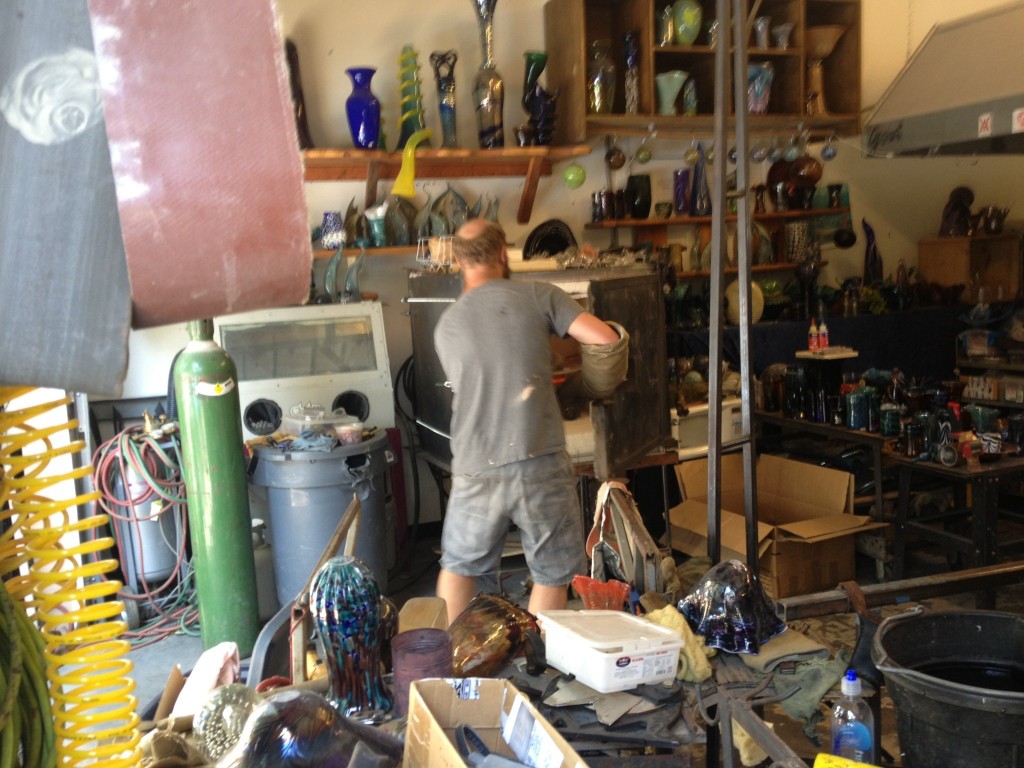
Unfortunately I was not on the ball enough to get a final image of this one, BOO! You will just have to wait and see once I go get them and hang them up!
Next was Jeff's turn! He decided to do the same emerald green color on the top and some variegated specks on the bottom and not to twist it to make it spirally, instead he just melted them in and left them as spots!
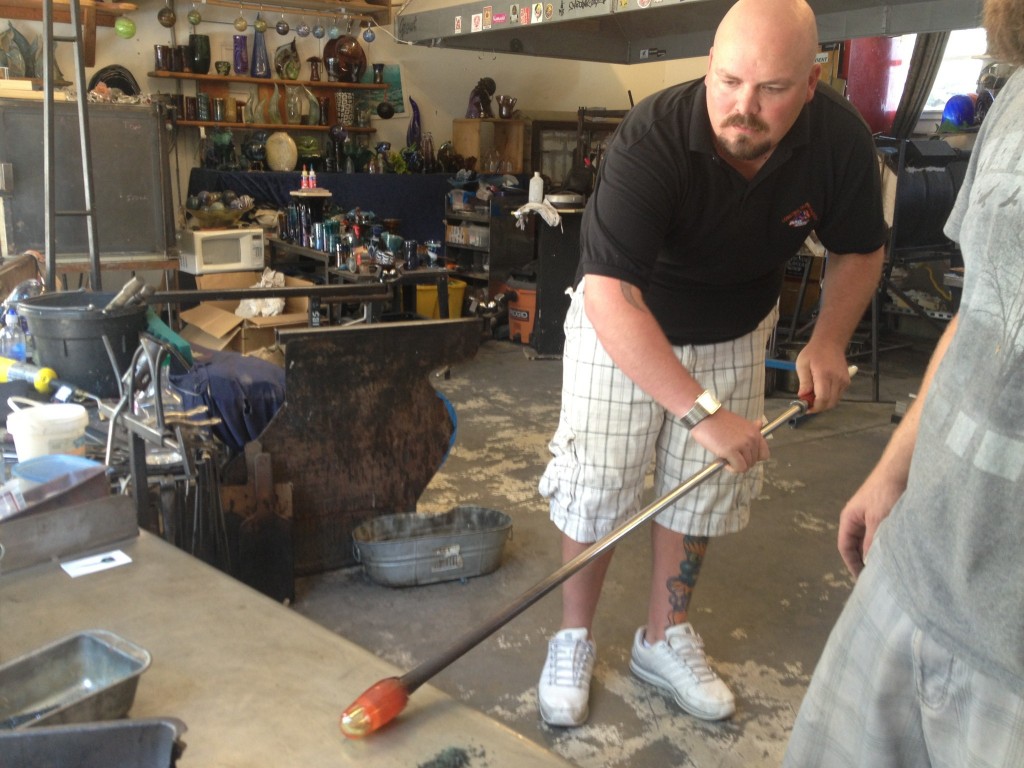
Same steps, getting his first gather.
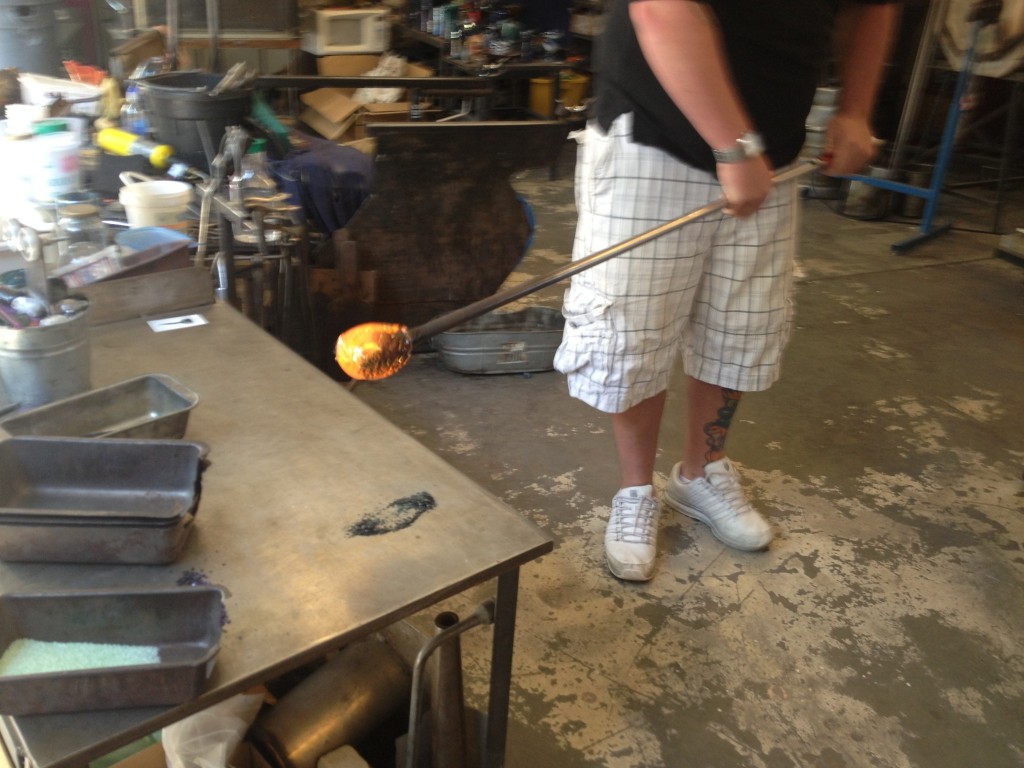
Rolling it out and off the pole a bit.
Starting the air pocket inside
He's pretty much a pro i think! Here it is cooled before it goes back in for the second gathering.
Ready. Set.
Go!
Then to apply the color, the specks go on one end and the green goes on the other.
Heat them up and pelt them together.
Then he puffs some air in and rolls it uniform
Then the shaping with the wooden tools
The jacks
and widening the mouth, I missed the transfer but Zion also transferred this one to a different pole
Then widening the mouth.
And I did slightly better but that Zion is FAST! He took it away to cool down slowly in the oven too fast! You can only kinda see it and it looks really dark, i think this one is going to look awesome!
Then I was up! I decided to do a little different...
My first gather and starting my bubble. I have a total of three gathers so mine is a little smaller to start.
Going back for my second.
I chose to do a light green
and a metalic/sparkly dark green and kinda pull them together and feather them sort of.
Applying the color after my second gather, light green on bottom dark green on top.
LOTS of color on this one!
Then melted together and rolled uniformly I started filling with a little air.
roll roll roll while you go! Zion helped get it not so lopsided 🙂
I am a little crooked. I used a pick to pull one color into the other and then turned it around and pulled it back the other way so it has a weird mix to the colors.
It had to stop rolling while I pulled so it got a bit floppy
but back in the oven to melt and no one will be the wiser!
we brought it back to shape it a bit
I liked the campfire smell 🙂
then back in for the last third dip. Mine got three because the glass i picked I guess didn't look great as the top coat so it needed to be covered with clear again to make it look good!
Then the shaping
Seriously, I think this was my favorite part 🙂
more air to get it bigger
🙂
and bigger
then the jacks to help separate it, there was a little bump that made it lopsided
nothing another trip to the oven couldnt fix
just about there
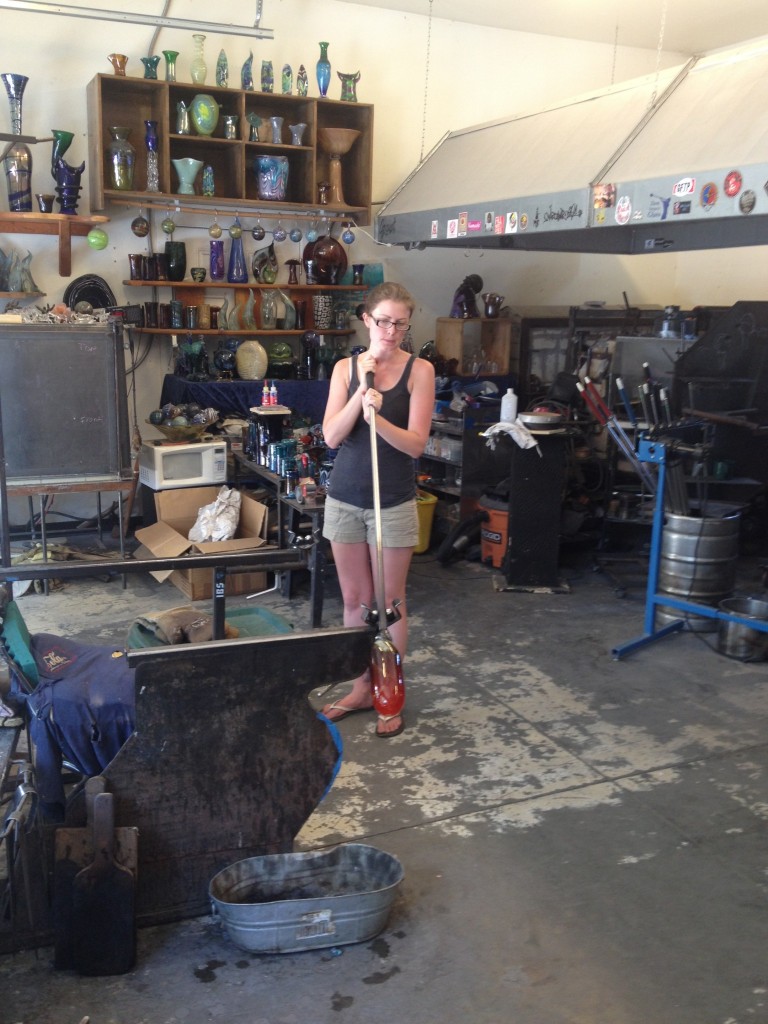
Time for the last trip to the oven and to be stretched out, you can feel the heat swing by your legs as you wave it around, i am certain this is TOTALLY safe 🙂
A little more air and then the transfer
and to make the opening.
this part was pretty fun too, it felt a little like pottery 🙂
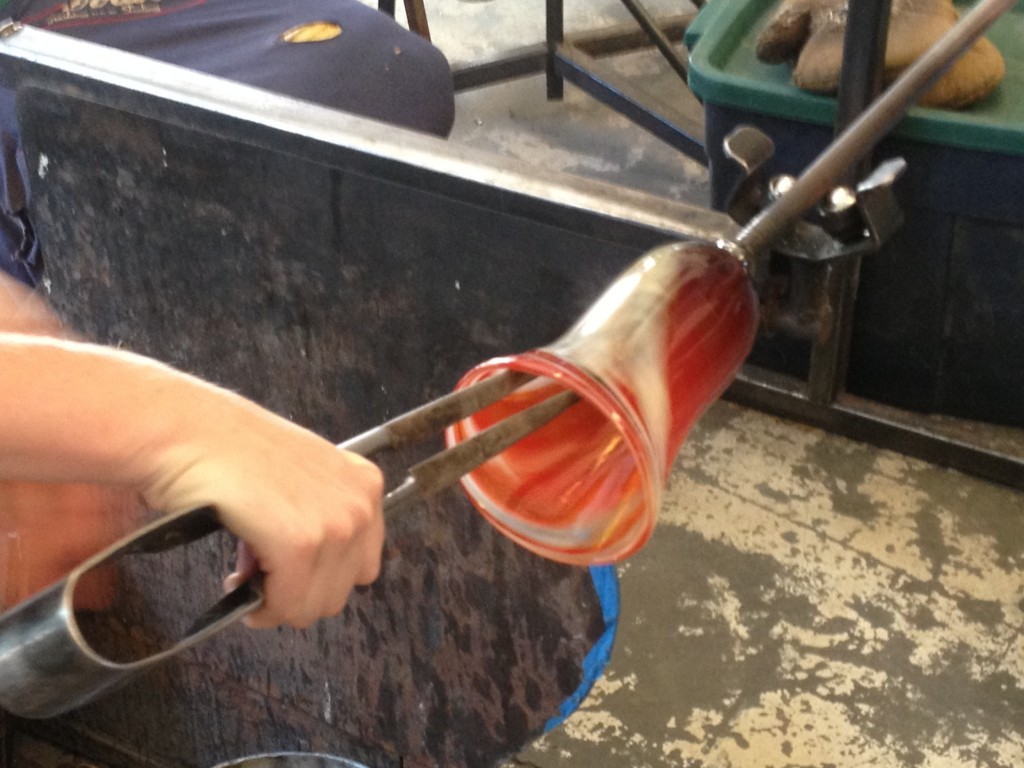
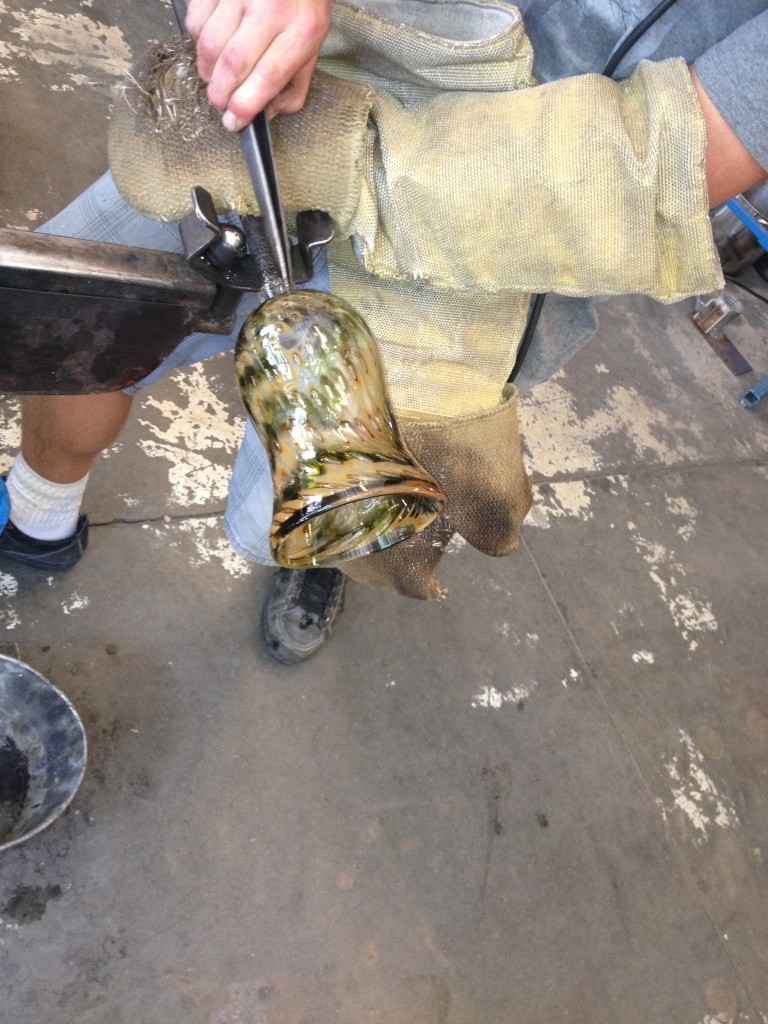
I went with a bell shape 🙂
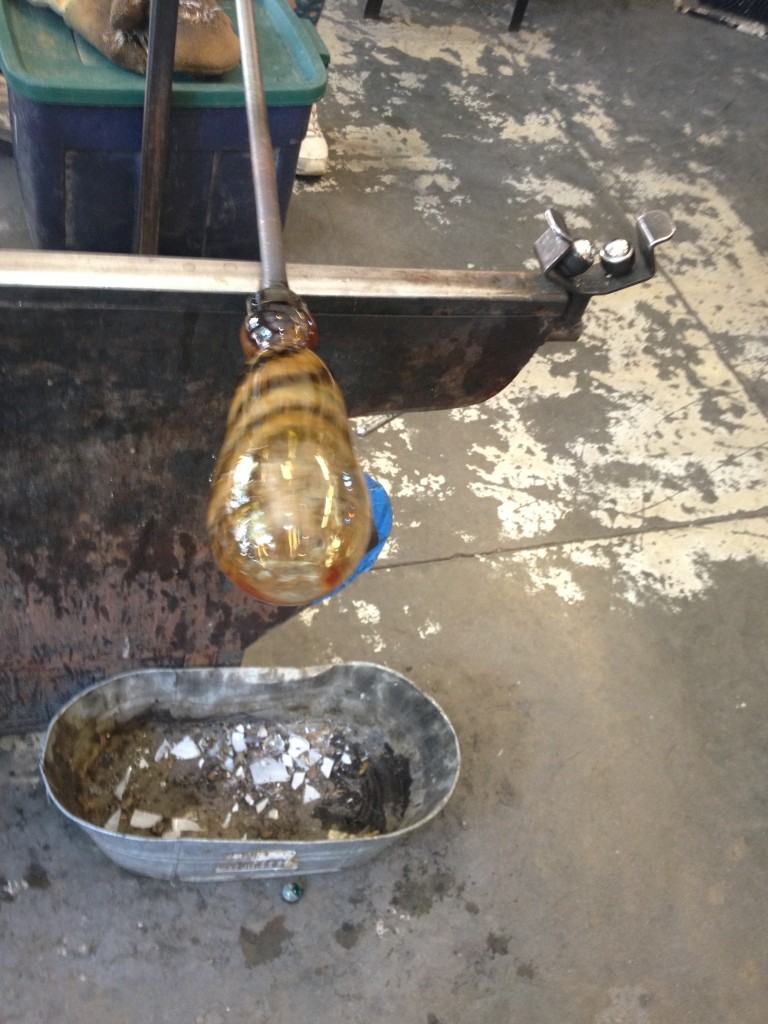
And Nate is much speedier at the camera thing, here is a pretty close to final image of what mine looked like, I think it is still a little dark but you get the point 🙂
Then Nater is up! He's seriously a pro after watching this three times, I don't know that he even needed help...
Pushing the glass down off the stick
Bubble up like a pro!
cooling it down a bit before the second gather
then bam, more glass!
going right for the color, he decided to do green and brown swirled together with bubbles in the glass!
Heating up the color to be melted together!
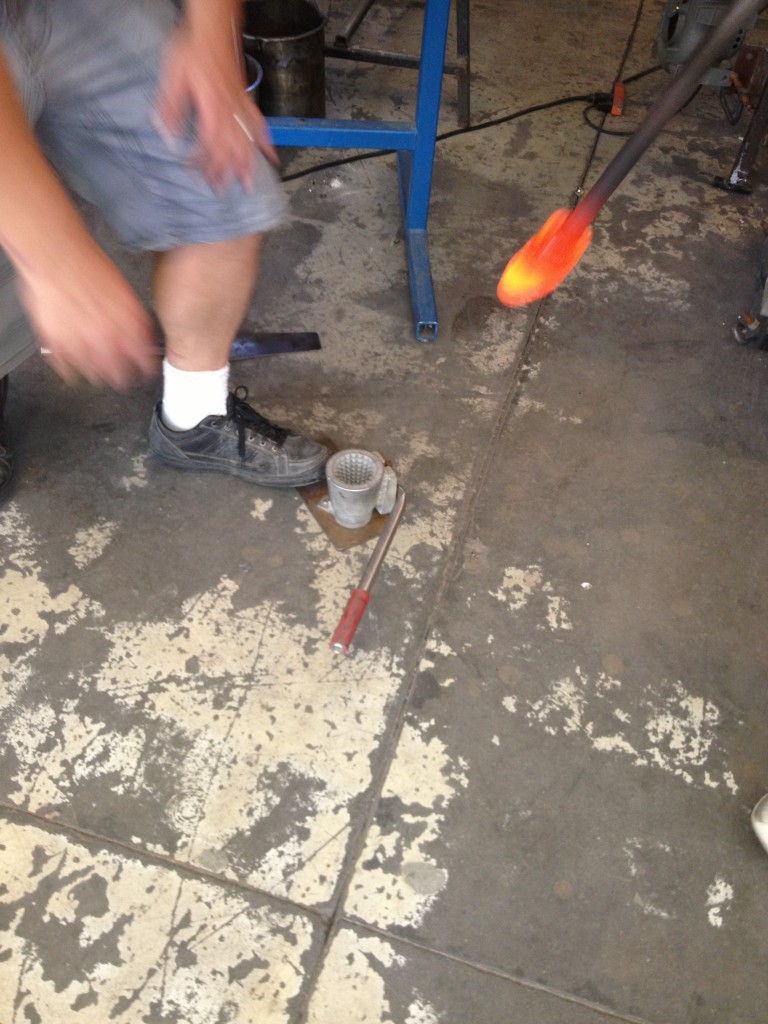
Zion had this little mold that had spikes on it so that you can stick the glass in there and it will leave indents.
each indent would be a spot that traps air when he goes back for his third gather of glass so it gives this really cool pattern of air bubbles throughout.
rolling the blob to form a little
then in for the third gather
then shaping
he just looks like a pro, huh? 🙂
A little air
then the jacks to separate it
heat it up and stretch it out
then more air, you can kinda start to see the colors
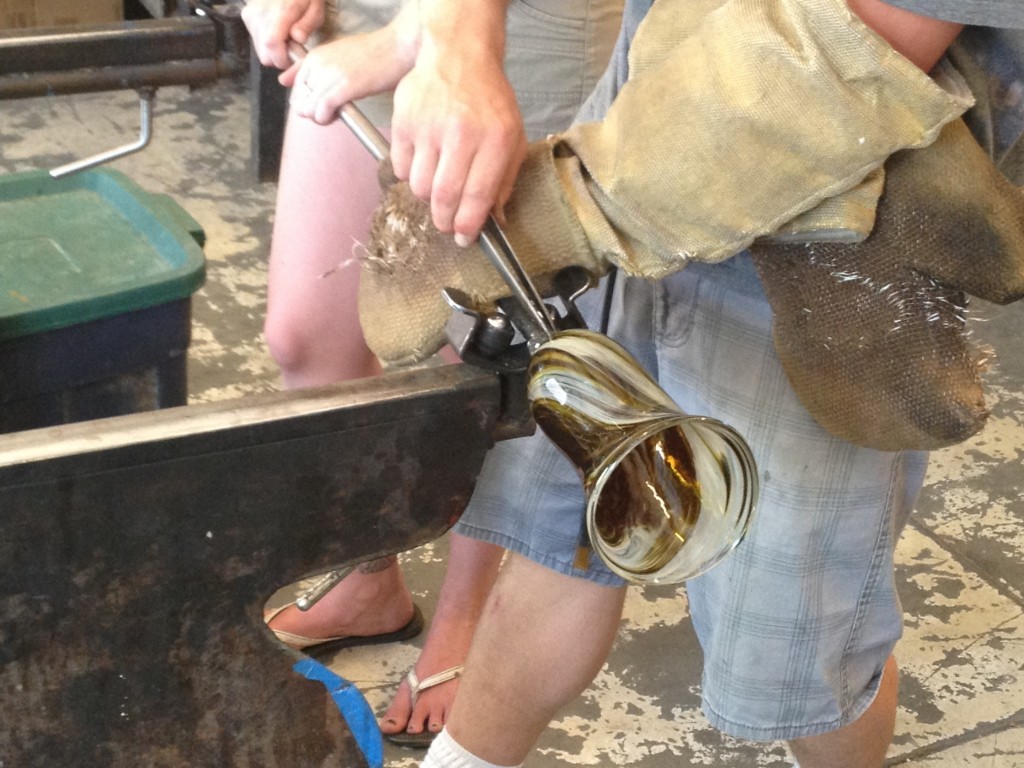
transfer was made then making the opening
and bam, close to final product! Cool, huh!









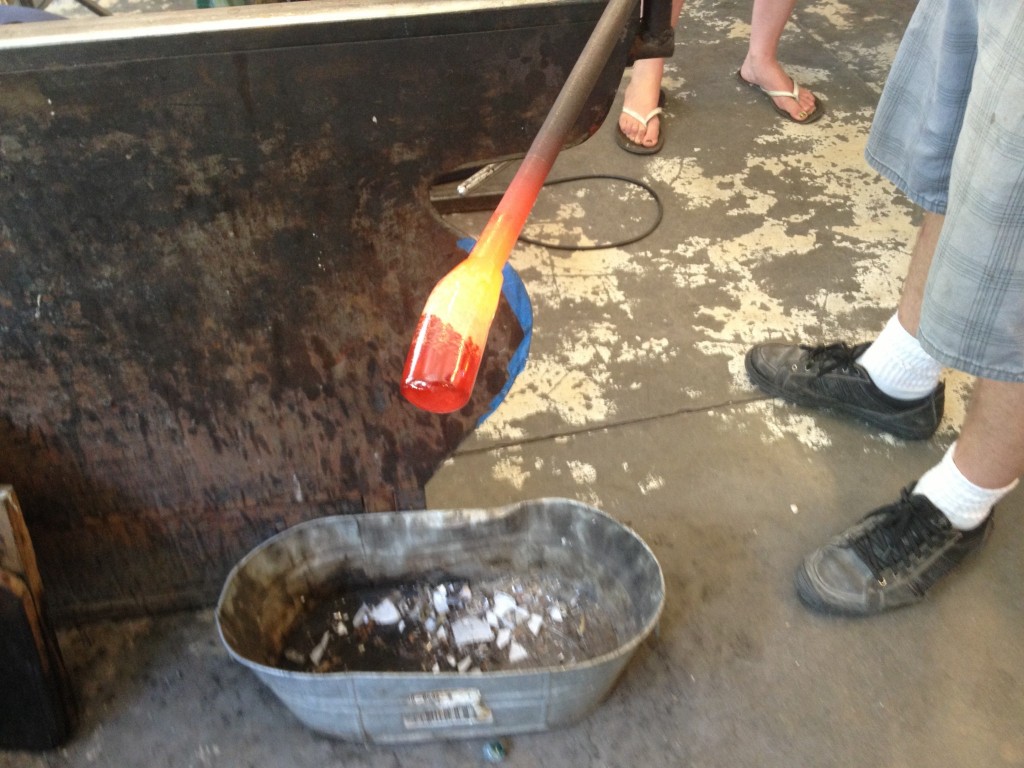
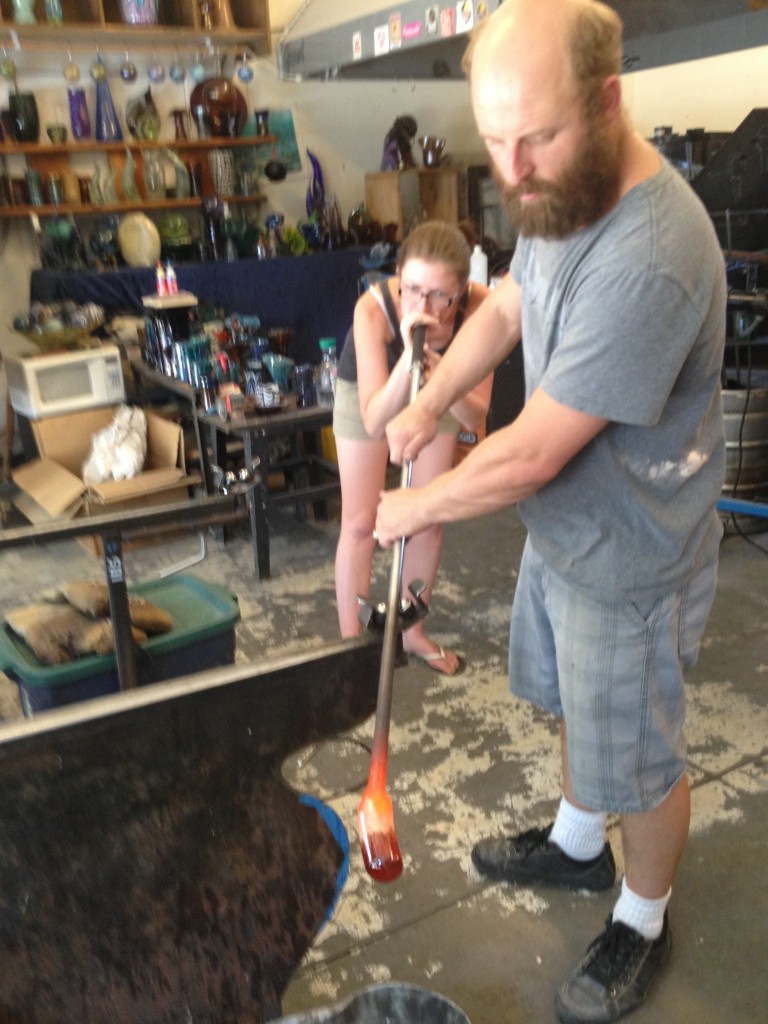

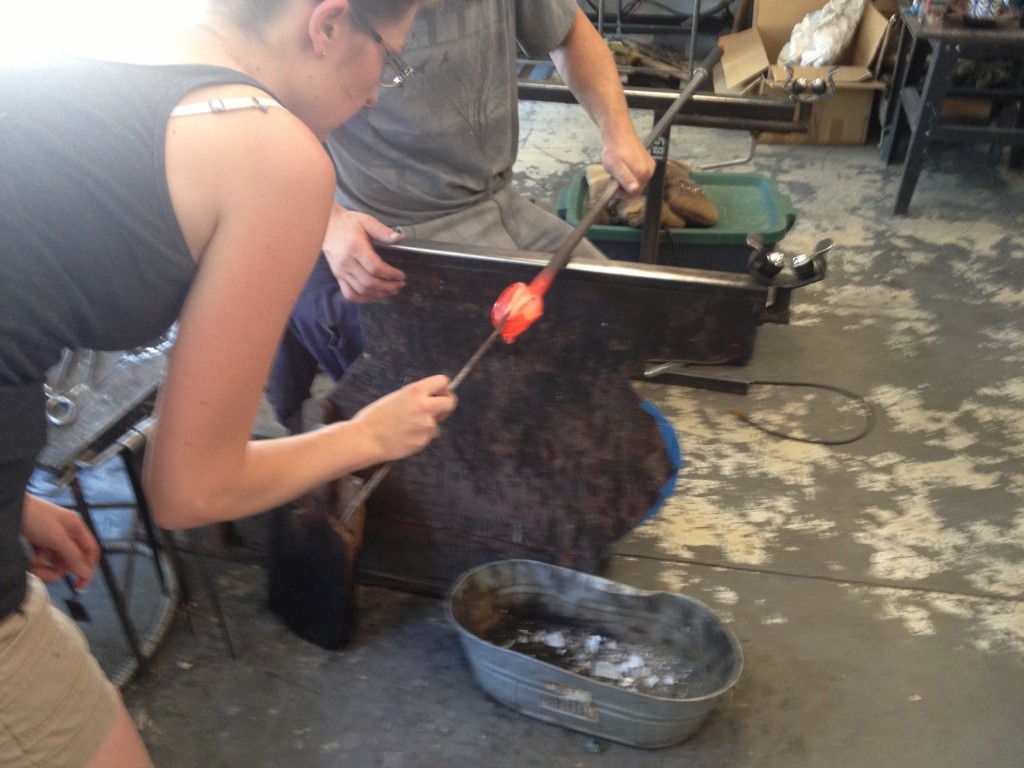
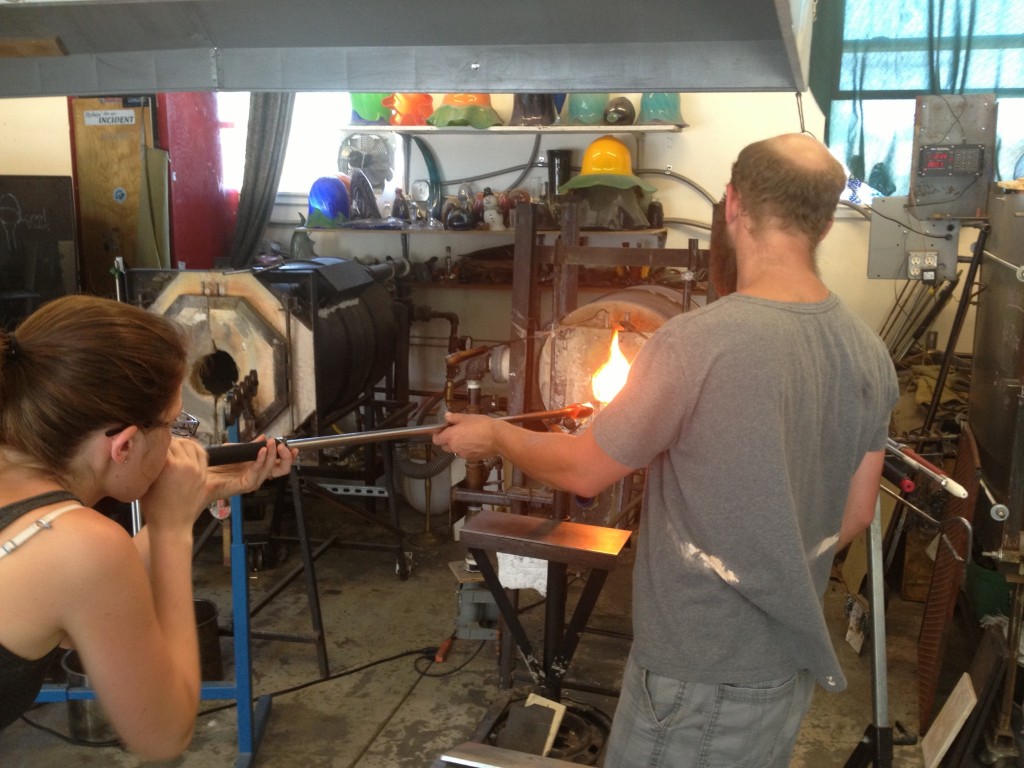







Gosh! I can’t believe most of you had open shoes and bare legs around molten glass! I bet they will turn out amazing!
That is just so cool! I love glass. You are going to have a beautiful kitchen!
That’s badass!