
Update 11.25.12
As expected I got a lot done over the break but not nearly as much as I had hoped! 🙂 Here are some pictures:
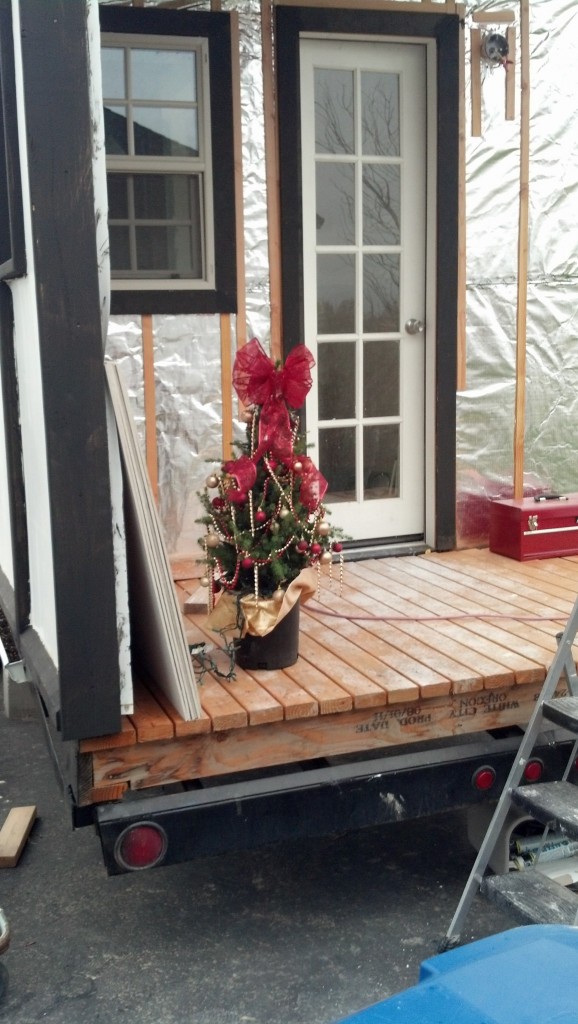
All work and no play makes Jack a dull boy! I just had to get into the Christmas spirit
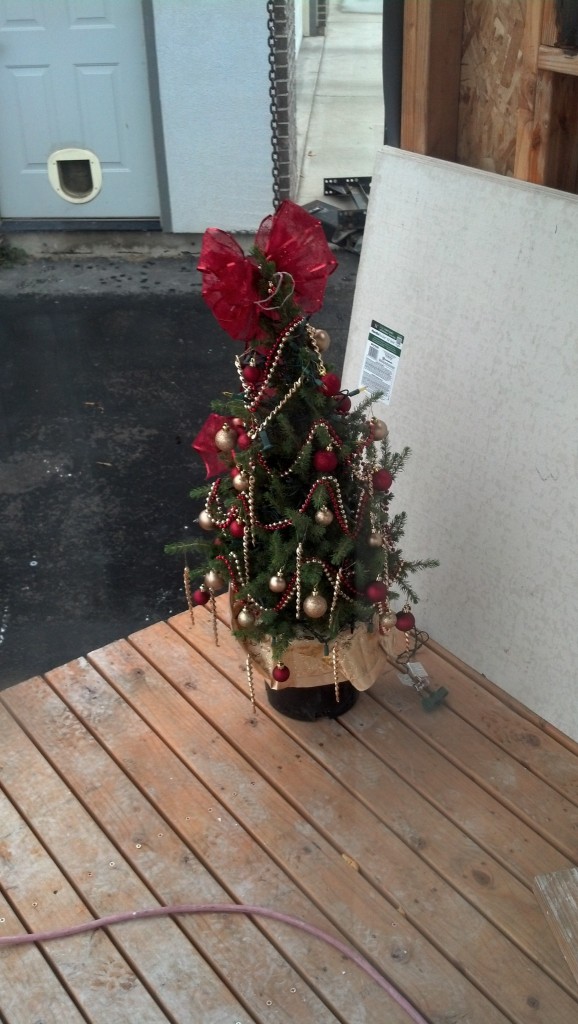
I hate killig a tree for a holiday and I don't care for manufactured trees either, instead, I got a shrub that will be on my porch and will have a little exta jewlery around the holidays. Yeah for reusable Christmas trees.

I opted for red and gold this year.
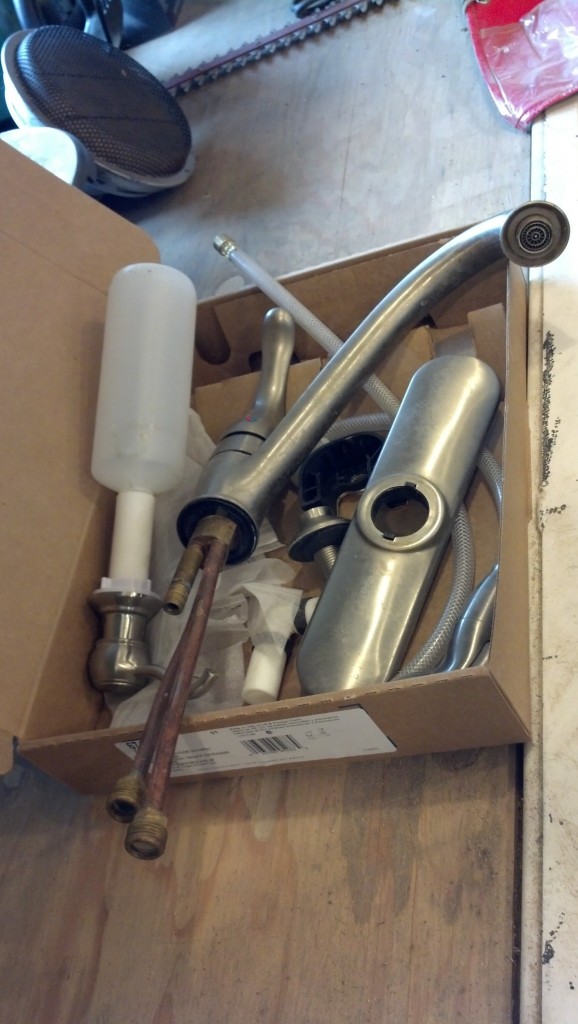
My dad had removed this fixture from someones house to replace it with another. They didn't want it, he offered it to me, I like it! This is one of the few things I have left to purchase, but not anymore :).
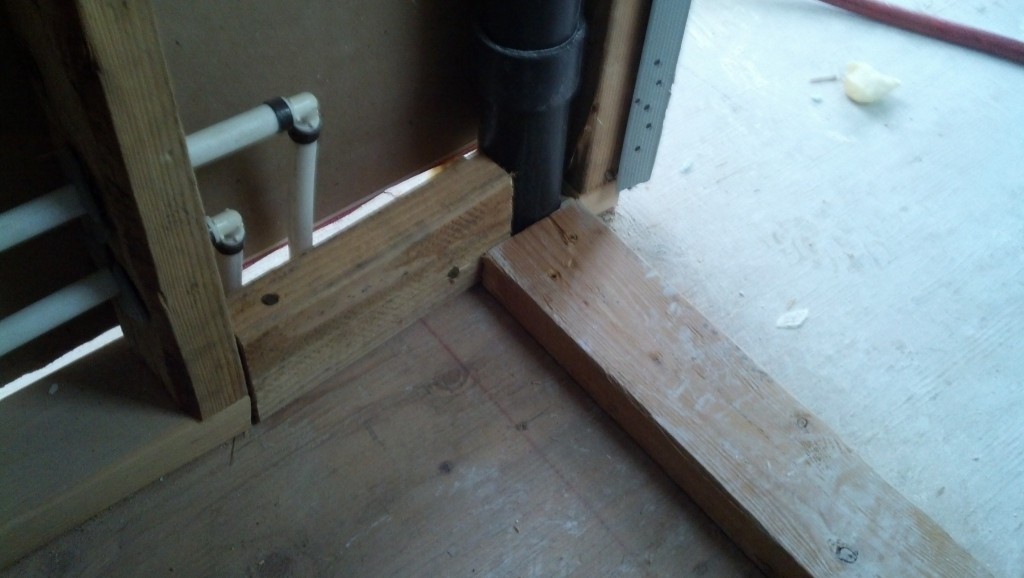
I spent all that effort taking those pictures of the step into my shower only to have to rip it out and redo it this weekend 🙂 I made it better though
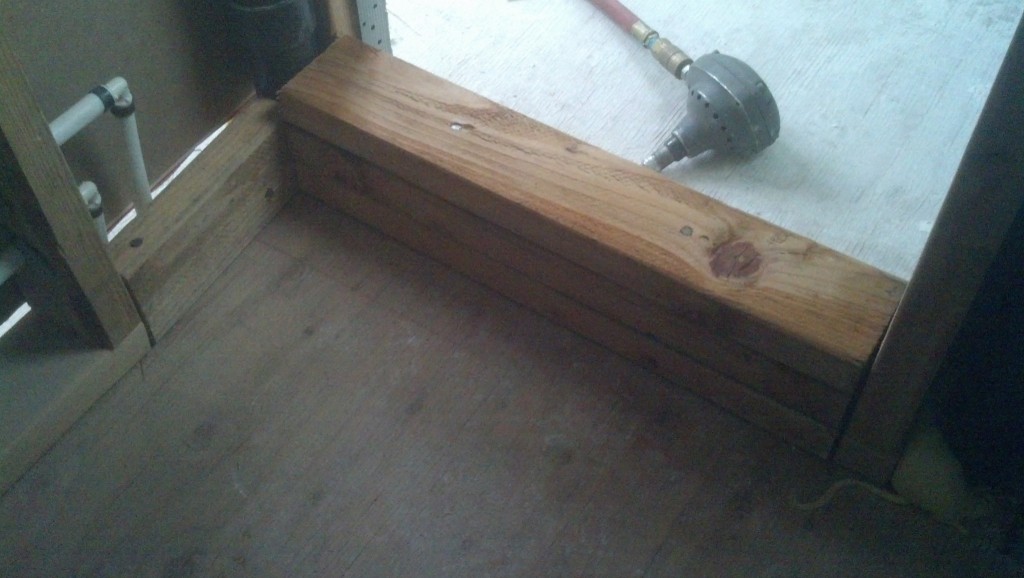
I needed an edge to grout to in order to create the slope so i opted to just lay three studs on top of eachother
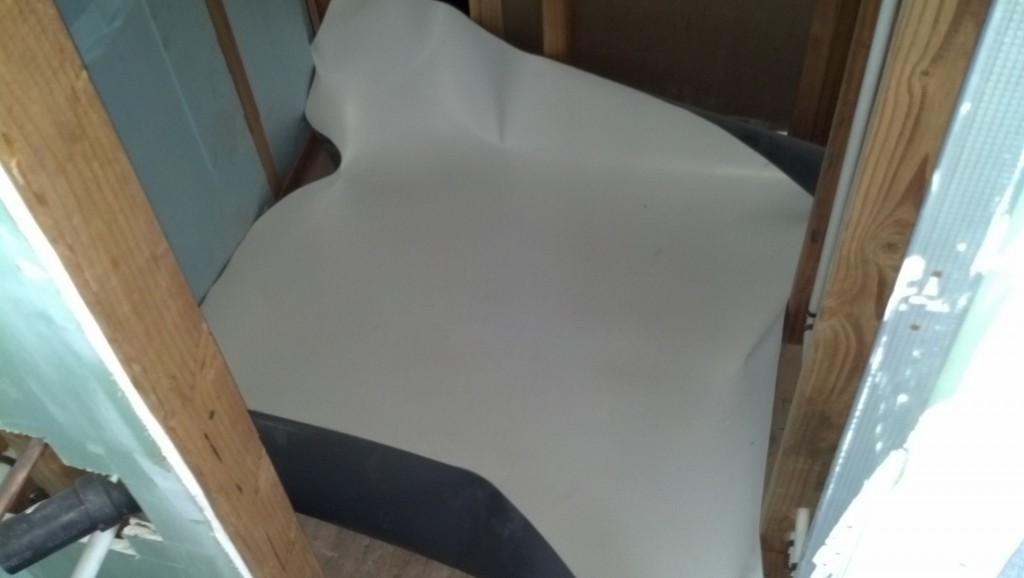
I I have some left over pieces of TPO roofing from where I cut out the windows. I am using a piece of this to create the waterproof membrane for the shower.
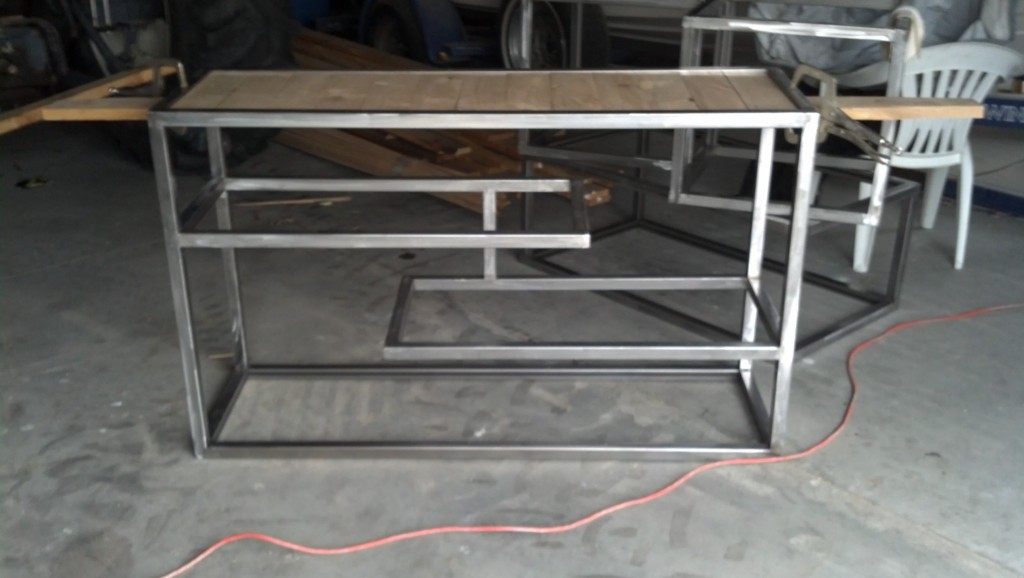
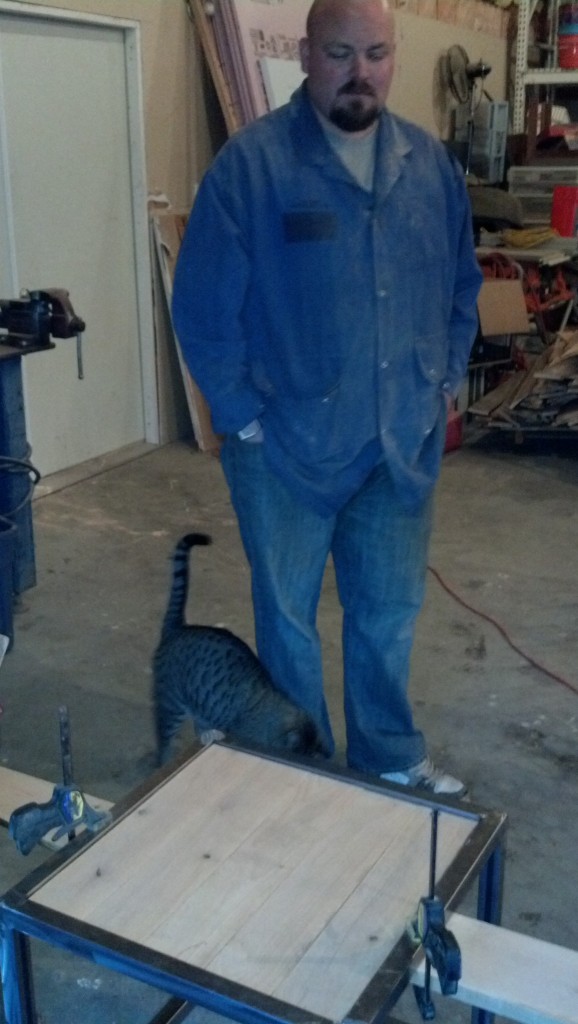
Nate has been building his own furniture for his new house. I think it is turning out amazing! I got some great ideas for how to make my dresser and countertop (some SketchUp images are included in this post).
Nate designed all of this himself , I LOVE it so much, it's totally his style too... and mine! 🙂
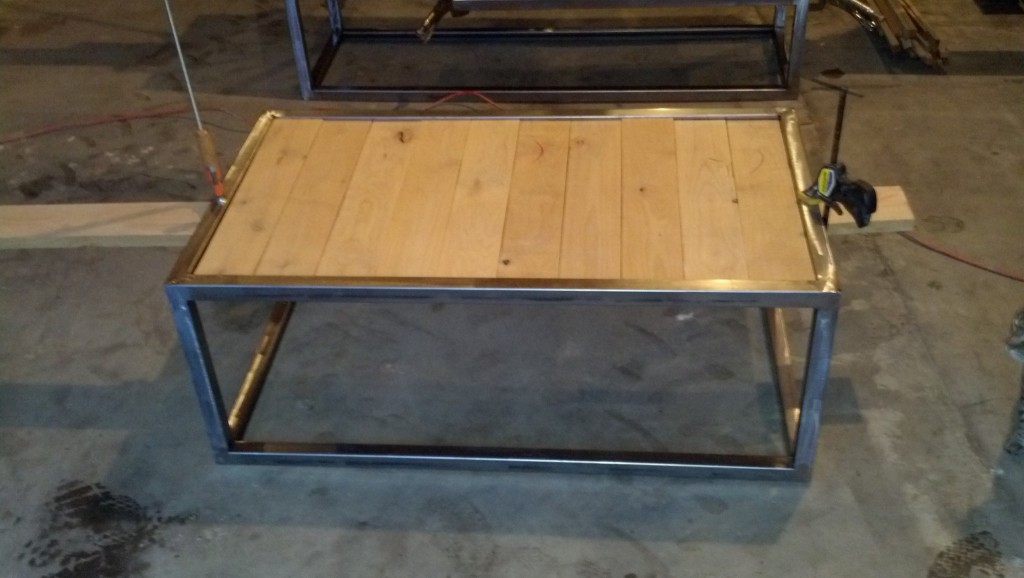
the coffee table
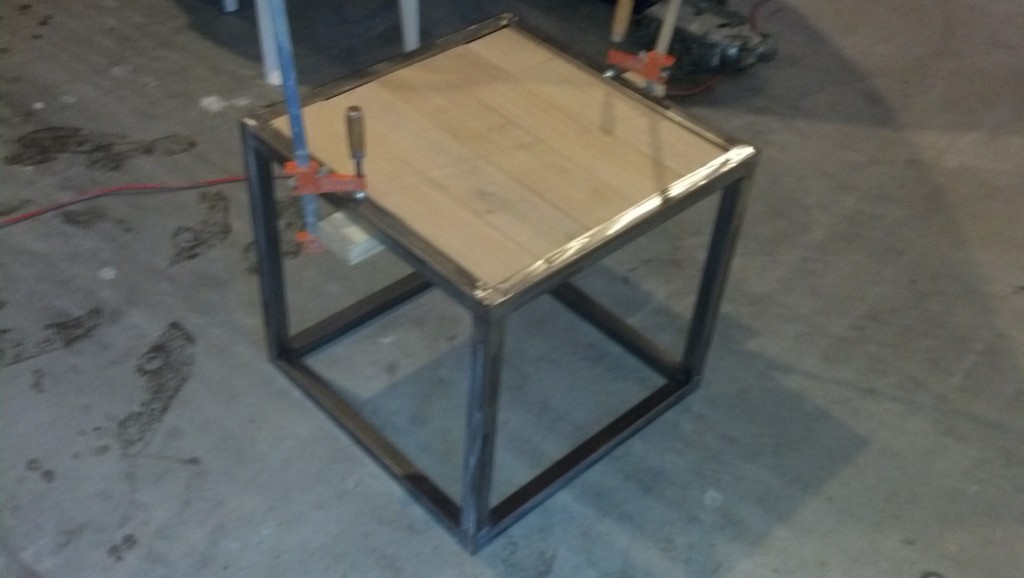
and two end tables
🙂
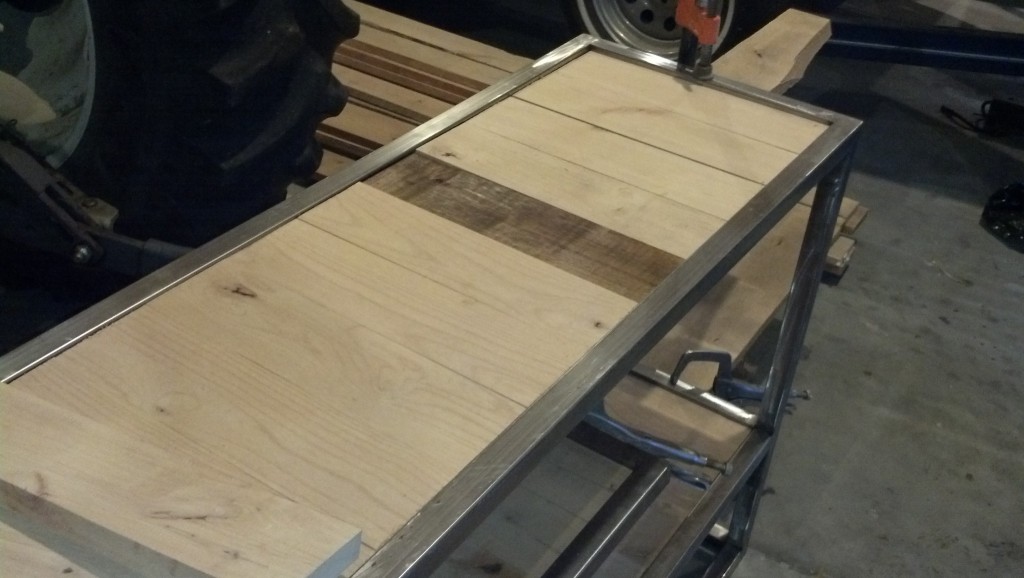
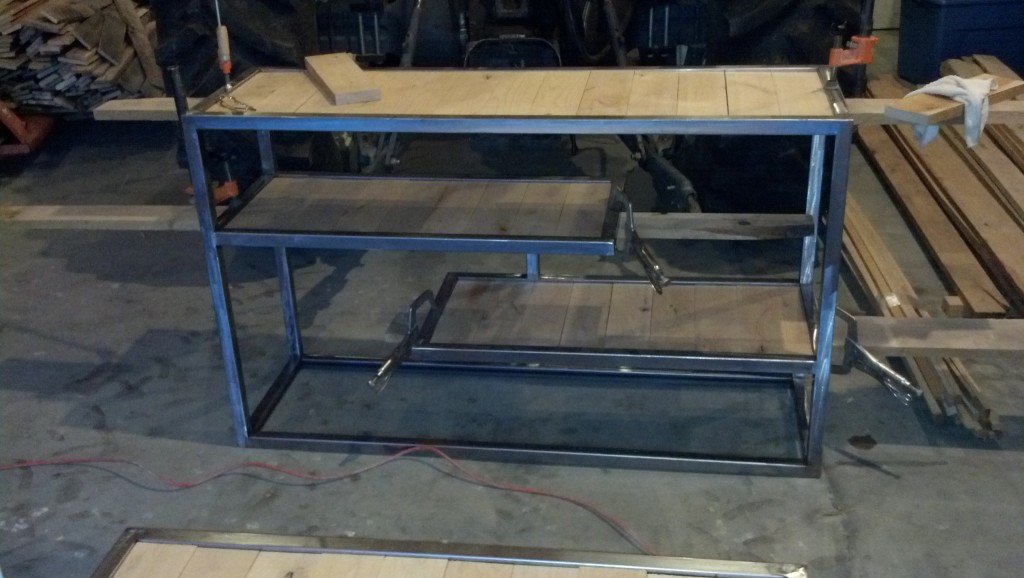
This is the stain I have bought to do the pallets on the outside of my house Nate is using it on his furniture and I thought it was a good test. Personally I think it is a bit dark, I really like the tone of it though, I think I will mix it half and half with a 'natural' stain to lighten it a bit, what you you guys think?
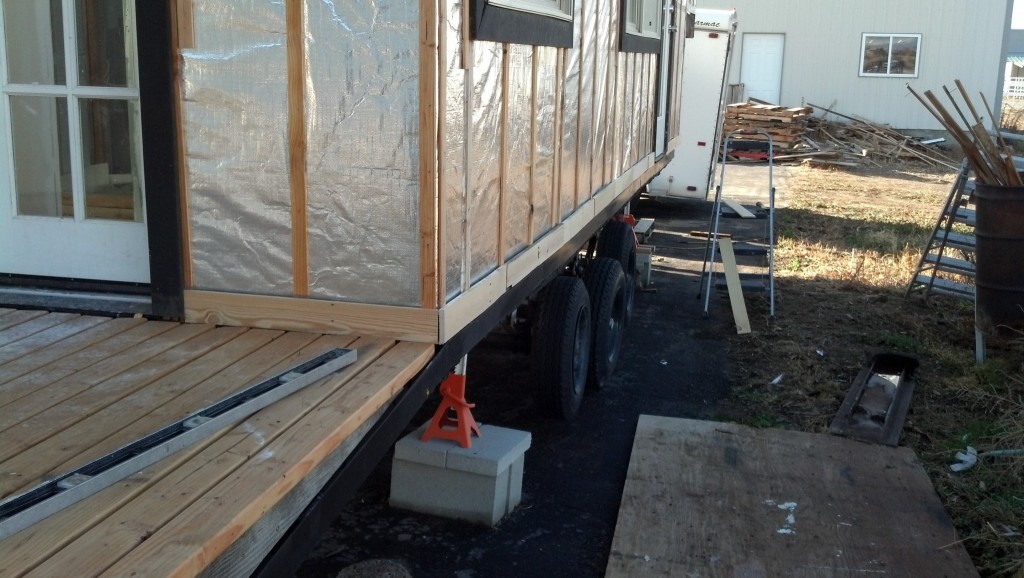
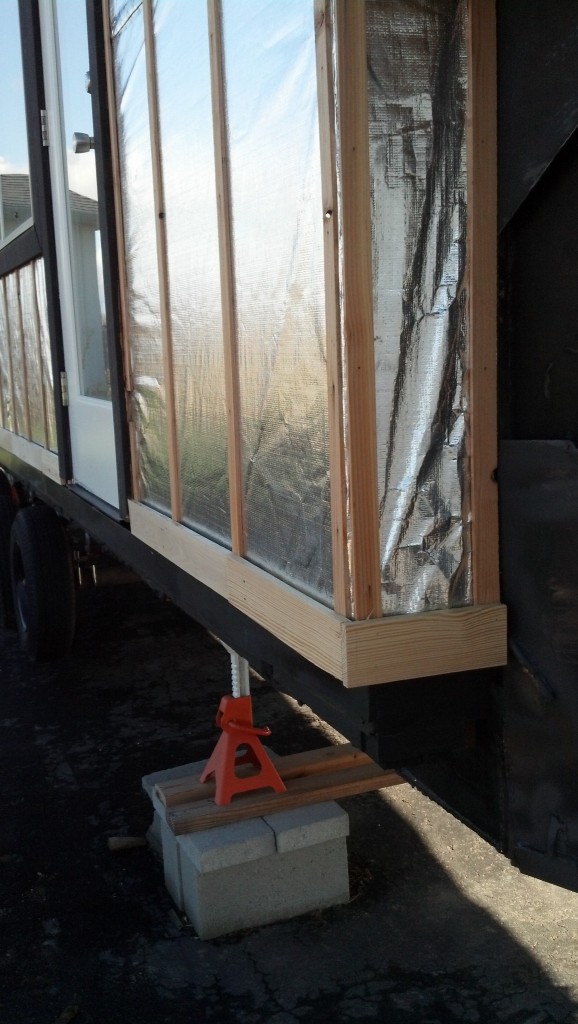
I got the first row of siding up, because I am using a rain screen I need to put a bug screen at the top and bottom to allow for water to go in and out but not let the bugs nest up in there!
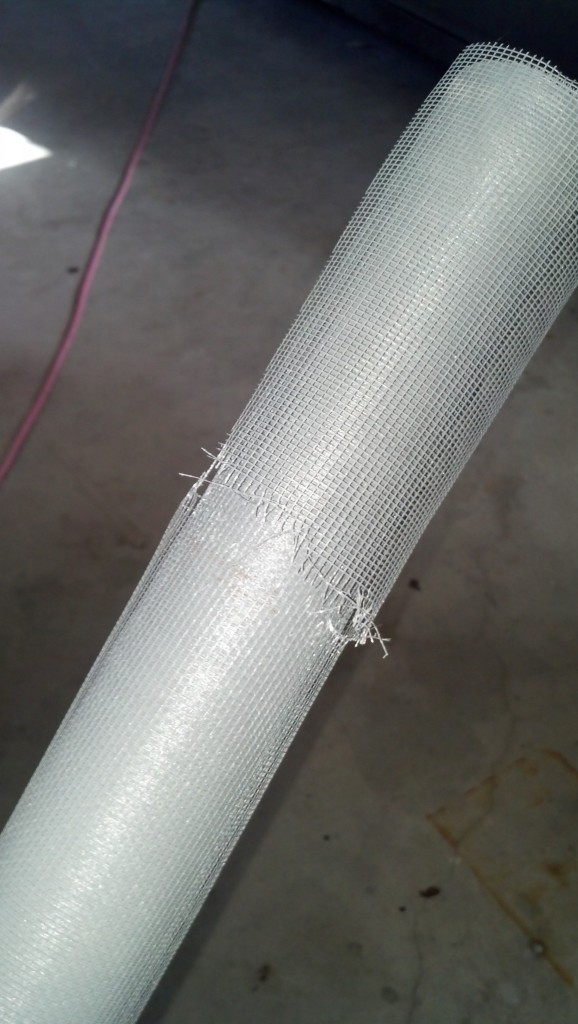
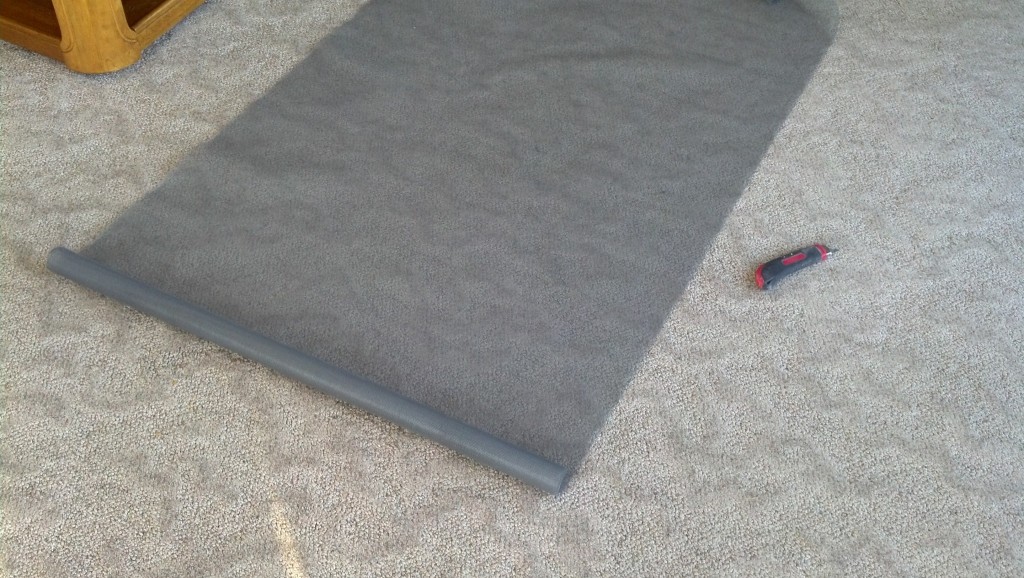
I just bought a roll of plastic screen door stuff to be the bug screen. This is what happens when you try to cut it with a band-saw (AFTER your dad warns you it's not a good idea, for exactly this reason... but I just have to learn things the hard way... it's how I am).
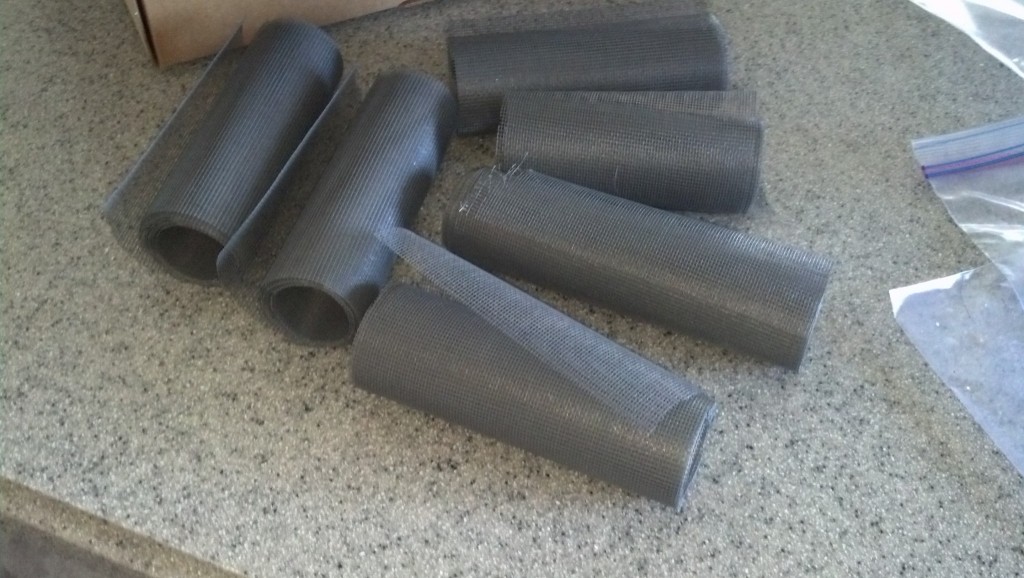
I ended up just getting some scissors and cutting it into 6" strips, there will be folded in half and nailed under the top and bottom row of siding.

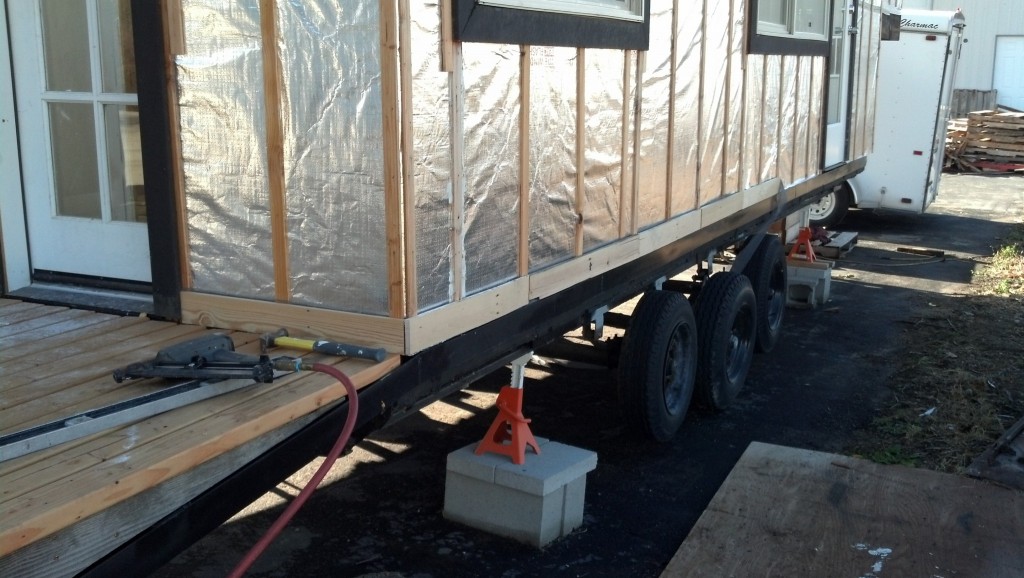
The first pieces of siding, finally. I had the goal of just getting the firt row up adn I just barely made it :).
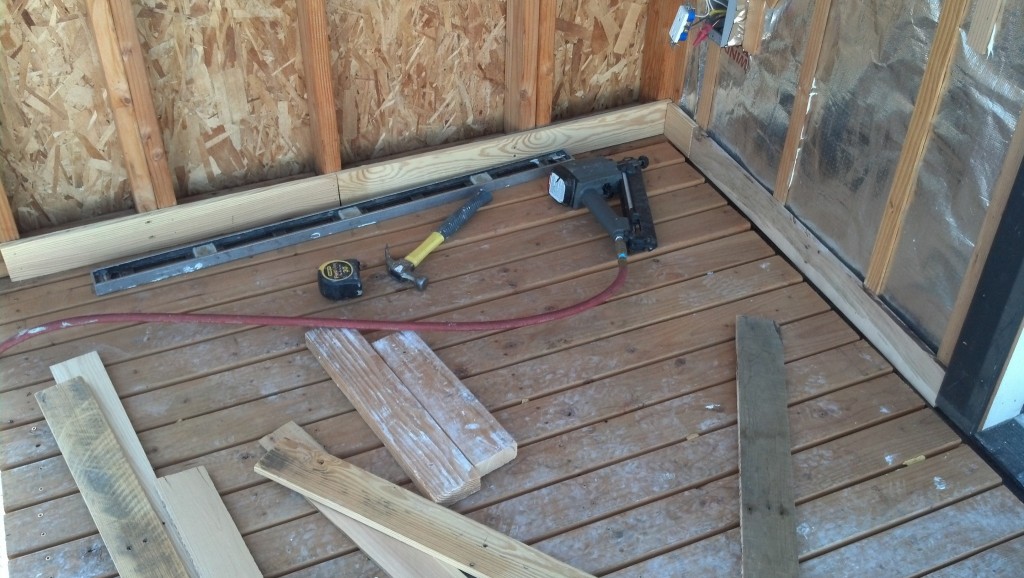
I started on the deck
You can kind of see how the bug screen fits in.
I am not going to have any corner trim, these pieces will just lap each other, I like the look of it better, there is really no other reason not to...
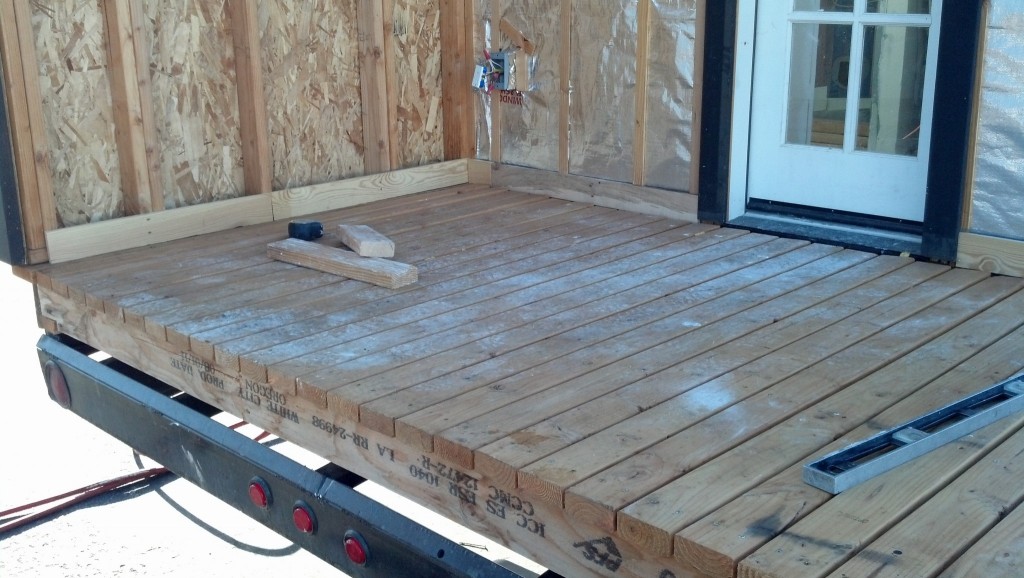
From the front.
cant forget the little end piece!
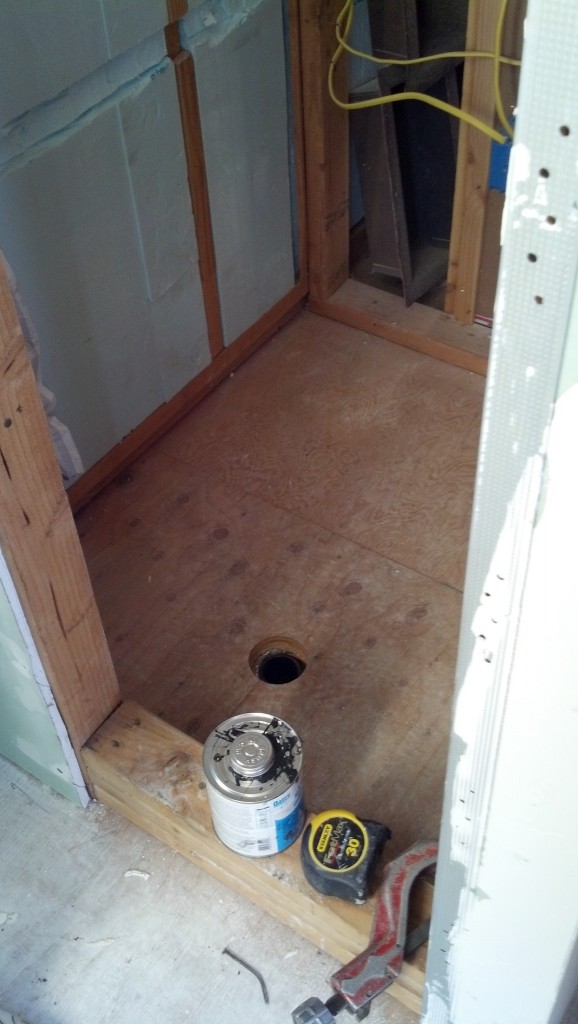
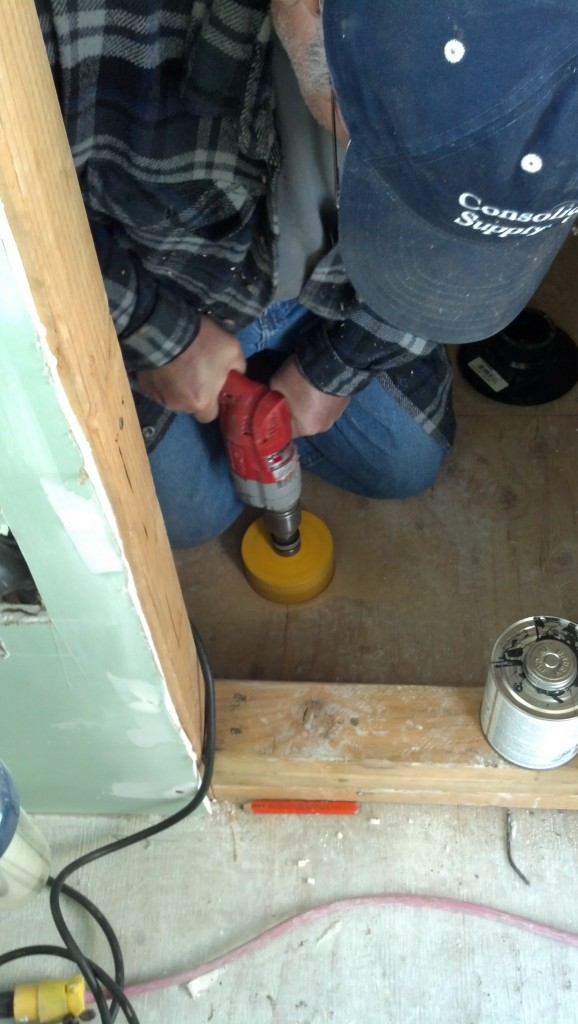
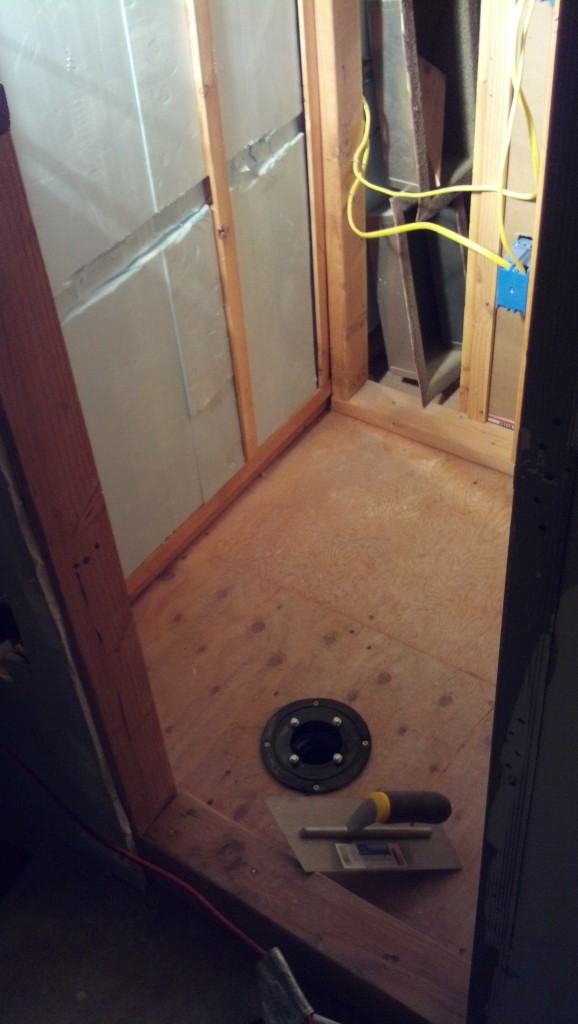
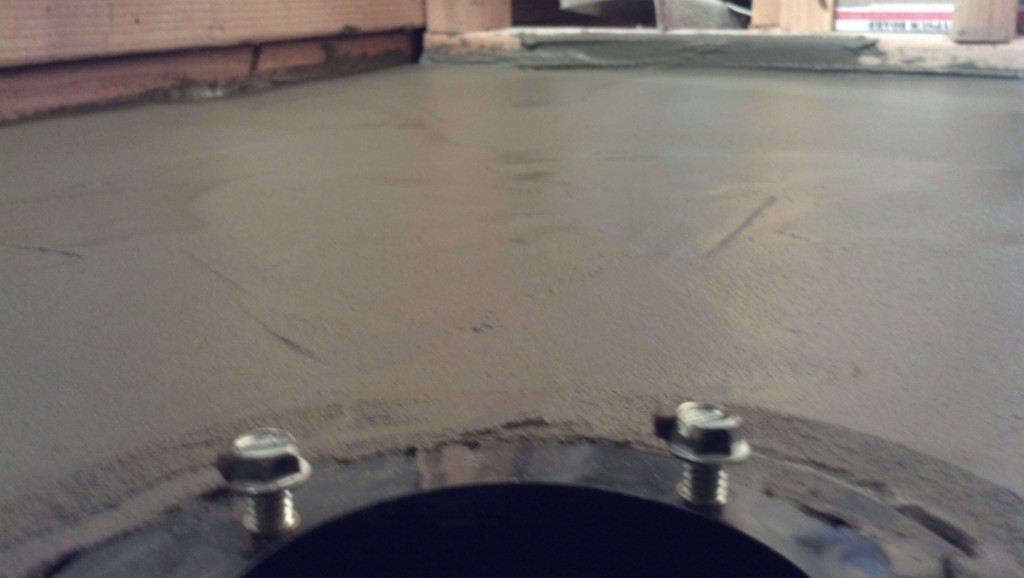
The hole we had wasn't quite big enough to fit the drain in flush so dad got the hole saw out and cut it bigger. I am happy for his muscles because that would not have been an easy task for me, I have an inch and a half floors to get through!
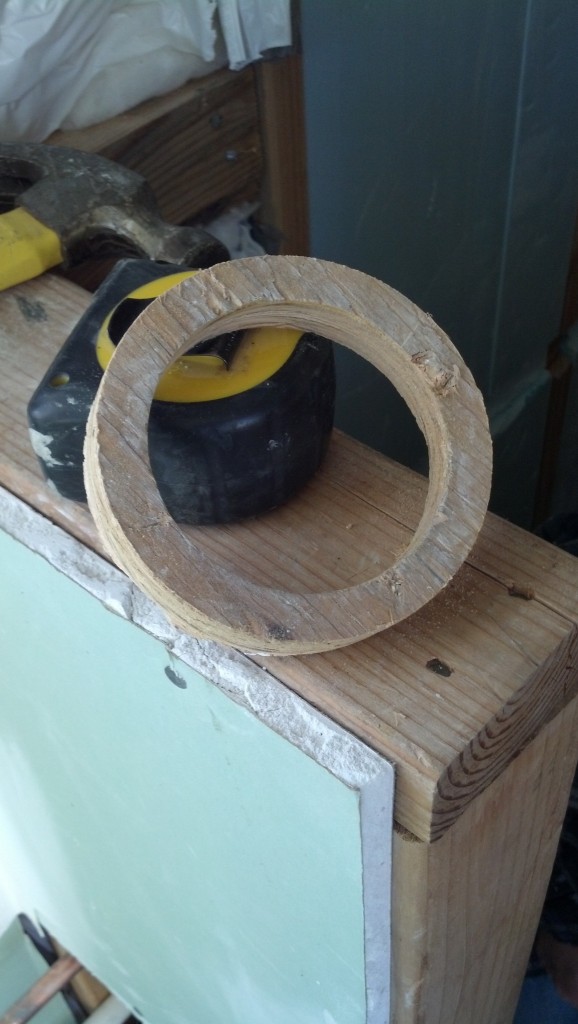
And now I have a wood doughnut 🙂

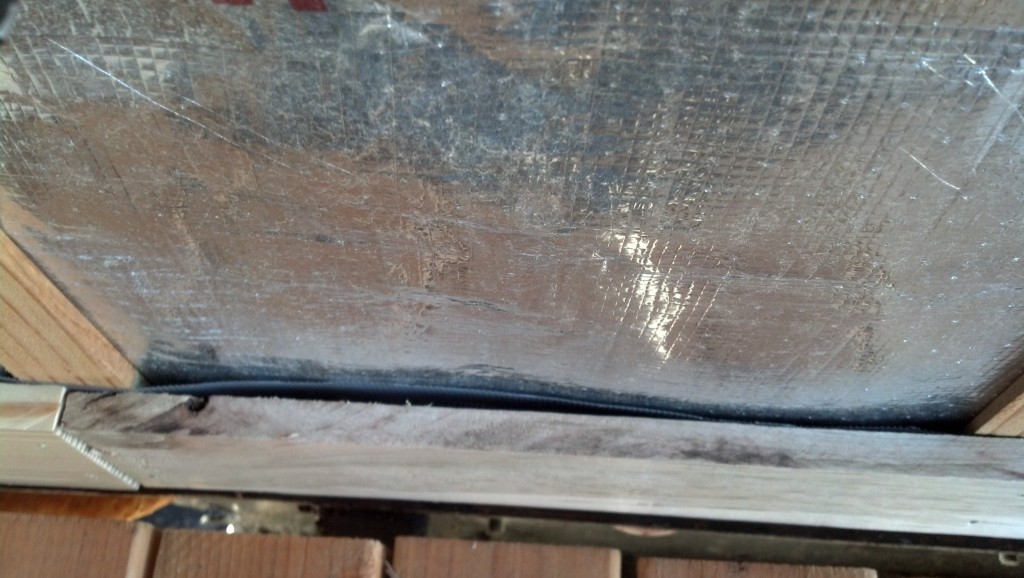
You can see the floor thickness here, two layers of 3/4" plywood, overkill, maybe but you couldn't beat the price and it fit in well with the way my trailer is constructed.
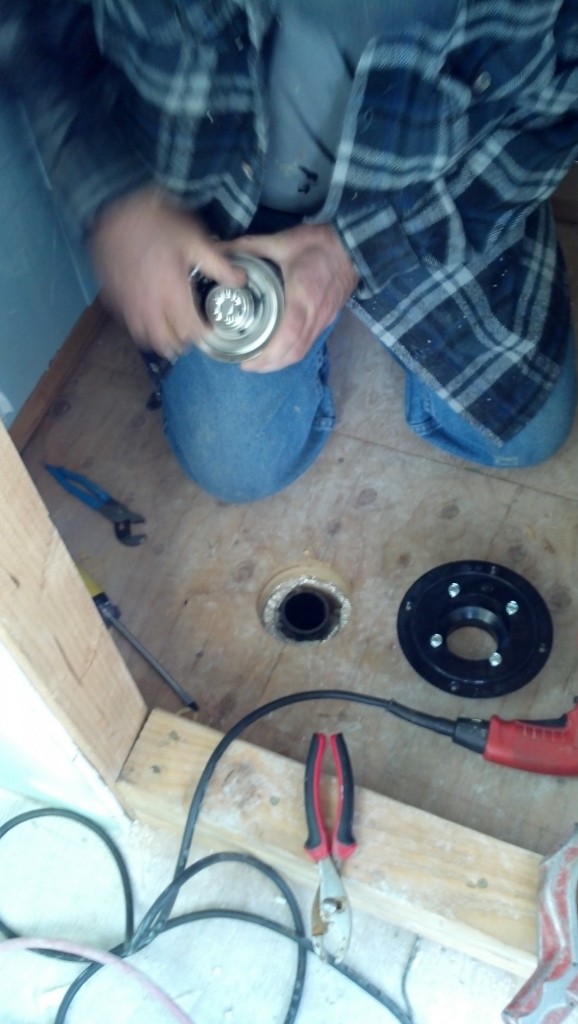
Getting ready to glue in the drain base
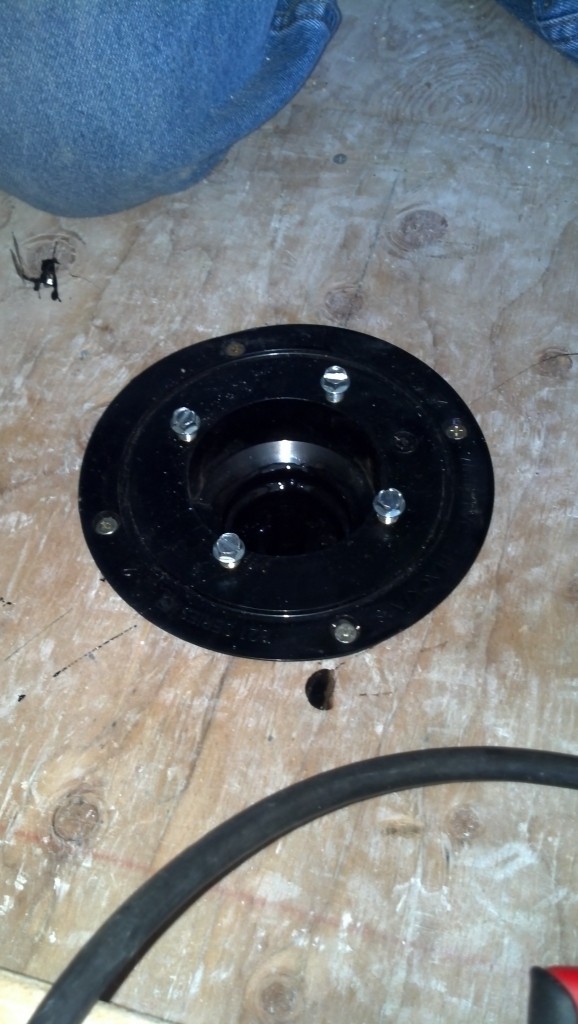
Smear some glue on the inside and let it dry and I know have a drain!
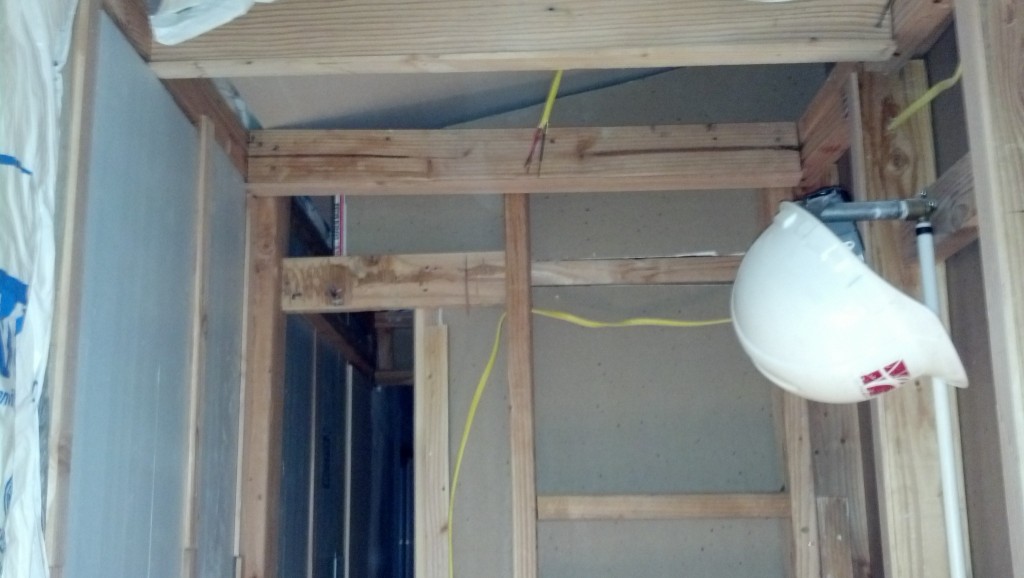
I also got a light fixture for my shower, I forgot to take a picture but I had to take off the light receptacle box in preparation for that. Getting ready to have a shower enclosure!
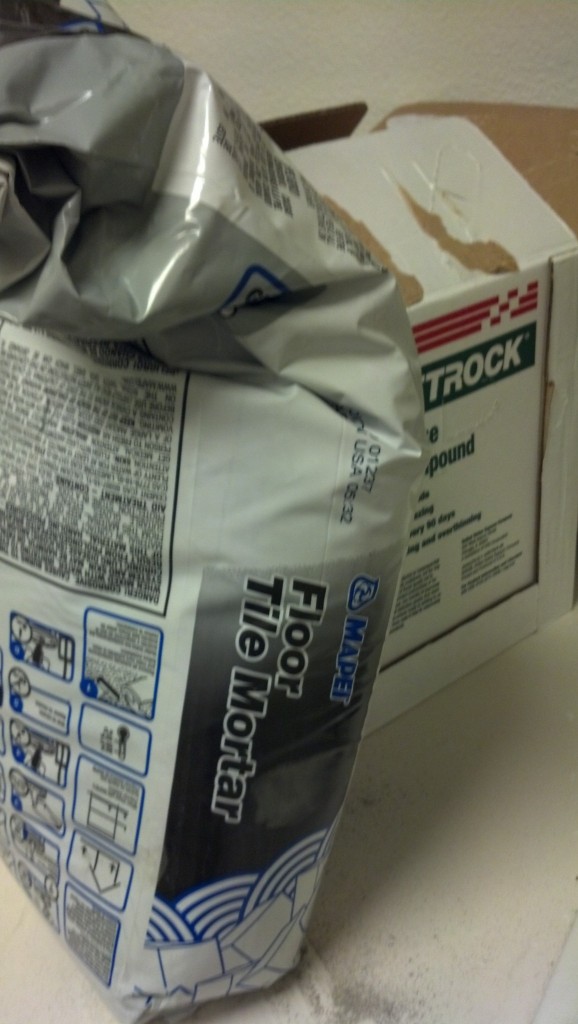
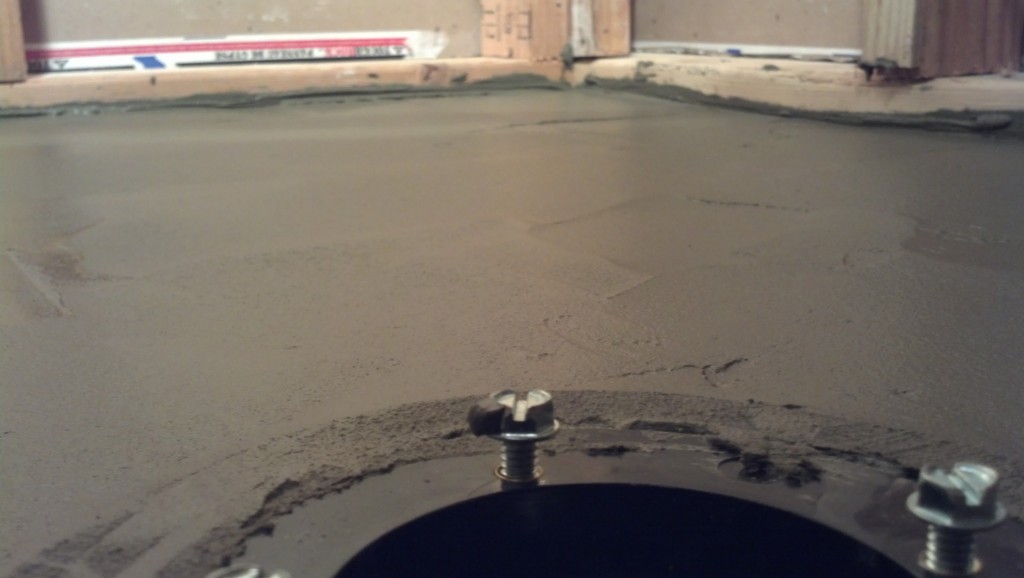
I had to put a slope to the newly installed drain. I mixed up some standard grout and plopped it in.
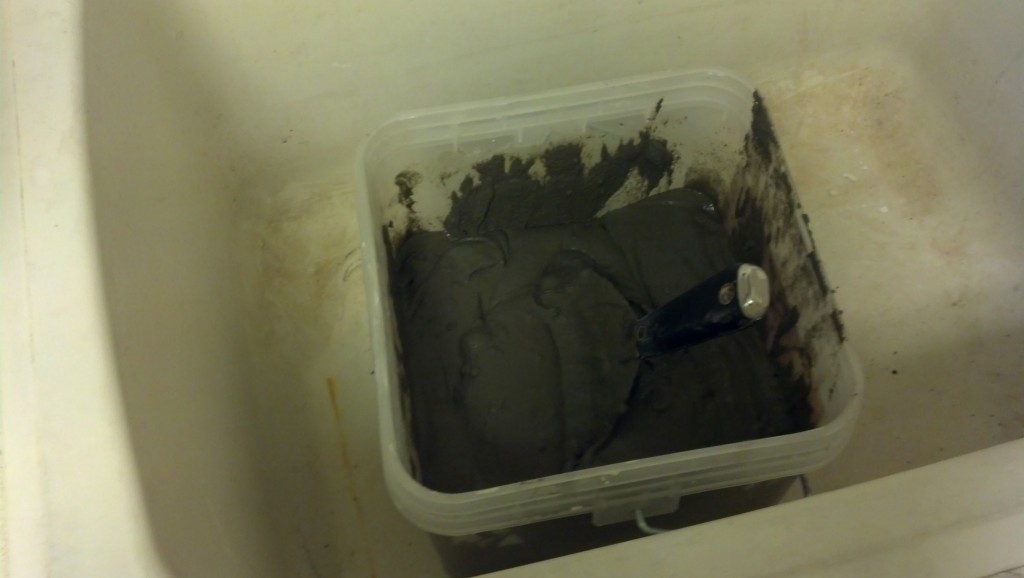
It looks like an extra thick milkshake!
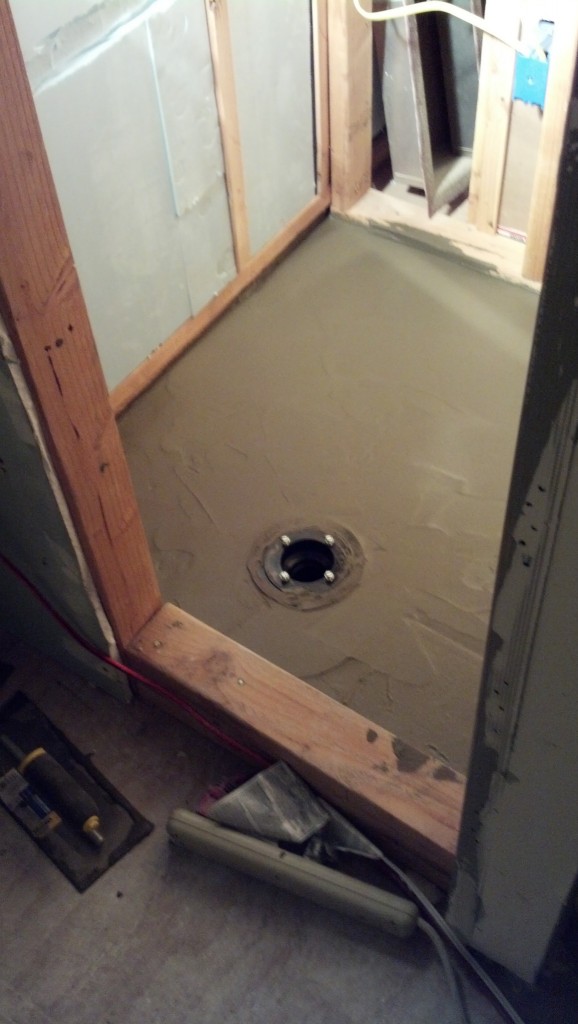
It was a task to get it to slope right, took a few times to get used to the trowel but it was fun as expected. I really like sculpting, once this house gets done I think ill get back to that! 🙂
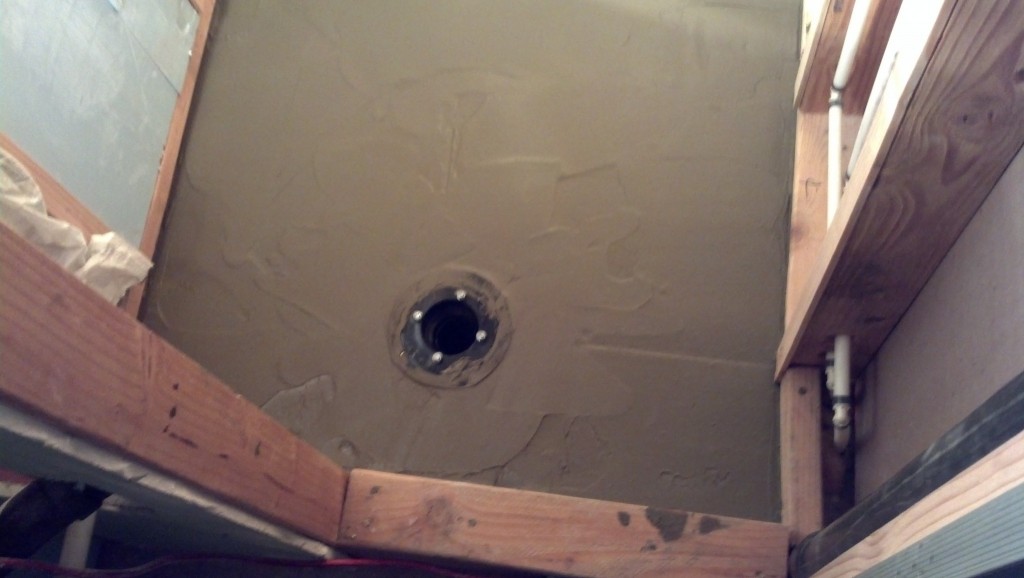
It isn't perfect but it should get the job done!
So once this dries the TPO roofing piece that I cut will go on top of it, get clamped down, sealed and then more grout will go on top to create a sturdy floor. More images coming soon!
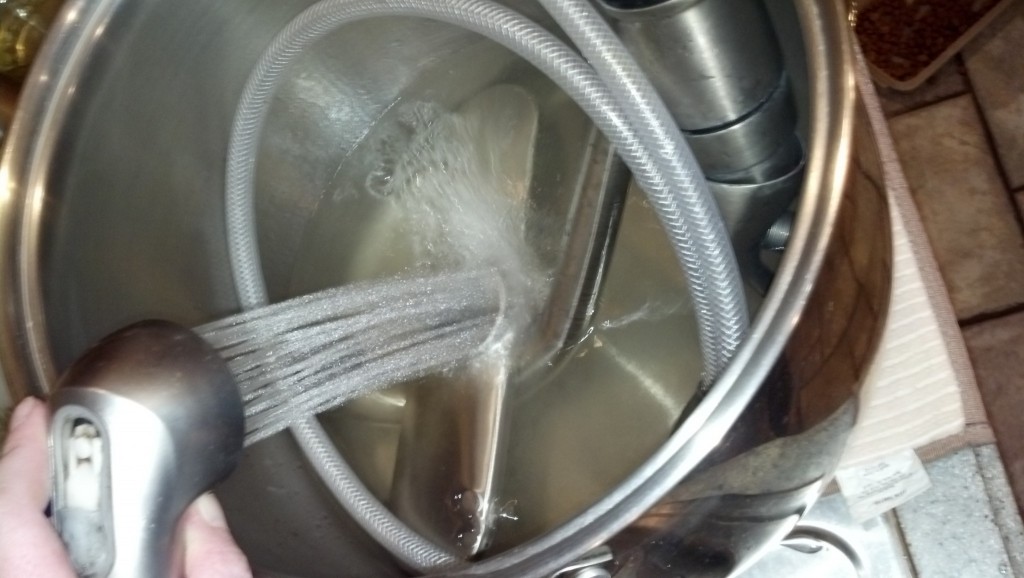
It has some calcium build ups on it, we have pretty hard water here so I am soaking it in vinegar water to get it shiny and looking new!

But I stopped myself. Part of my downsizing for my tiny house was selling off my Christmas village, I had 35 houses and a 'ton' of accessories. I sold what I could and donated the rest to the womens and childrens shelter. This would have been a fun one to have in my collection but alas, no space! 🙂 Besides, I already have my own tiny house, I dont need another 🙂
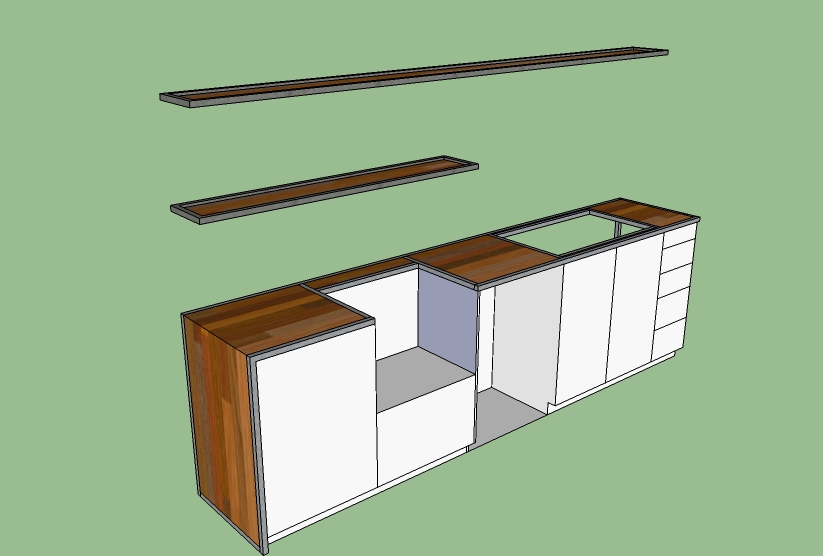
As mentioned, here are my kitchen ideas. I am planning on using the birch hardwood floor that Stacy found on Craigslist (if that is ok Stacey??) for the counter and wrap-down portion. There is a steel frame that Nate is going to help me with, the white part is all built in wood pieces. I think I have changed my mind a little since drawing this but the basic concept is still the same.
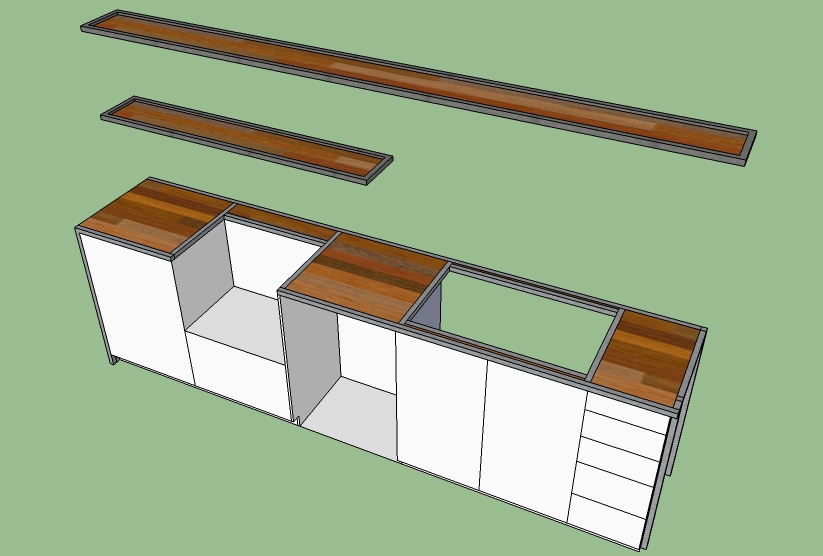
I like this a lot because my upper shelves won't just be the standare Ikea breed, they can be built to the exact length I need. I love the Ikea stuff but it would drive me nuts that the shelves are 5" shorter than the space I need. I am torn between doing glass shelves or the same wood. I think the glass may look better and make it feel more open. I am also thinking it may be a good idea to put a piece of glass on the counter top to make it less able to hold onto bacteria. Thoughts?
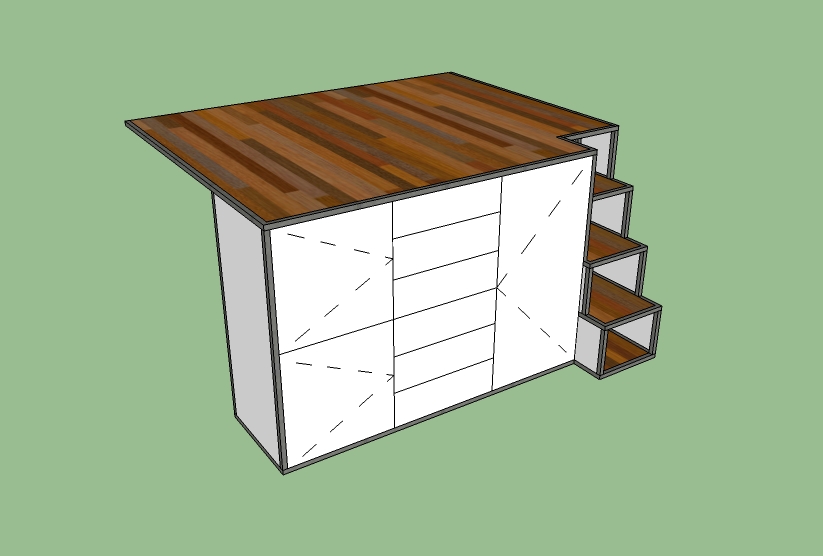
Here is the concept for the bed platform/dresser. I like how simple it could work out. I really like how the steps are working out. Another thing I like about doing a steel frame is the durability. I imagine there will be an adjustment period where I bump into things, I would hate to ding up my furniture. As you already know I am not a very graceful person naturally anyway... hence falling off the roof 🙂
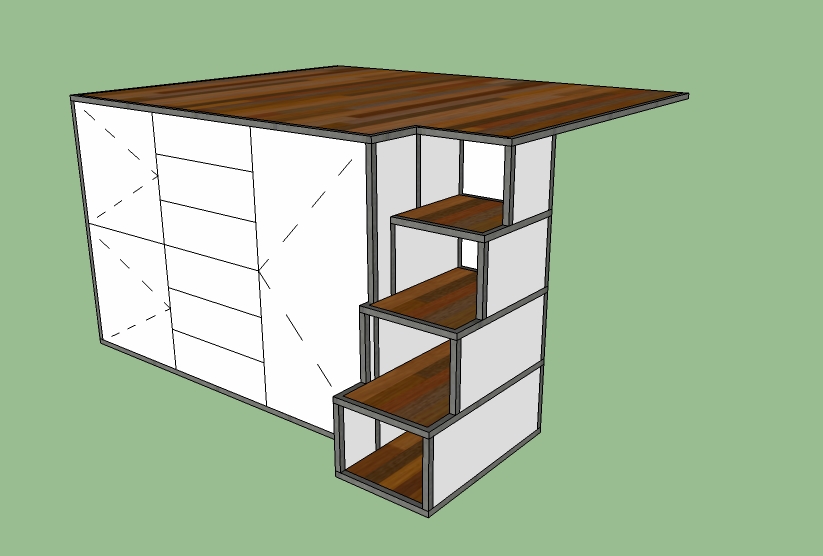
Originally I had drawers in the steps but I like how this looks with just openings. I can make some custom baskets in some sort of accent color to fit in each step as needed or just leave it open. Right now I have a bit over one cubic foot in the top cubby. Each cubby grows 6" as you go down so the bottom cubby is 2'-6" deep, 1'-0" tall and 1'-4" wide. Should be great for storing blankets and art supplies.
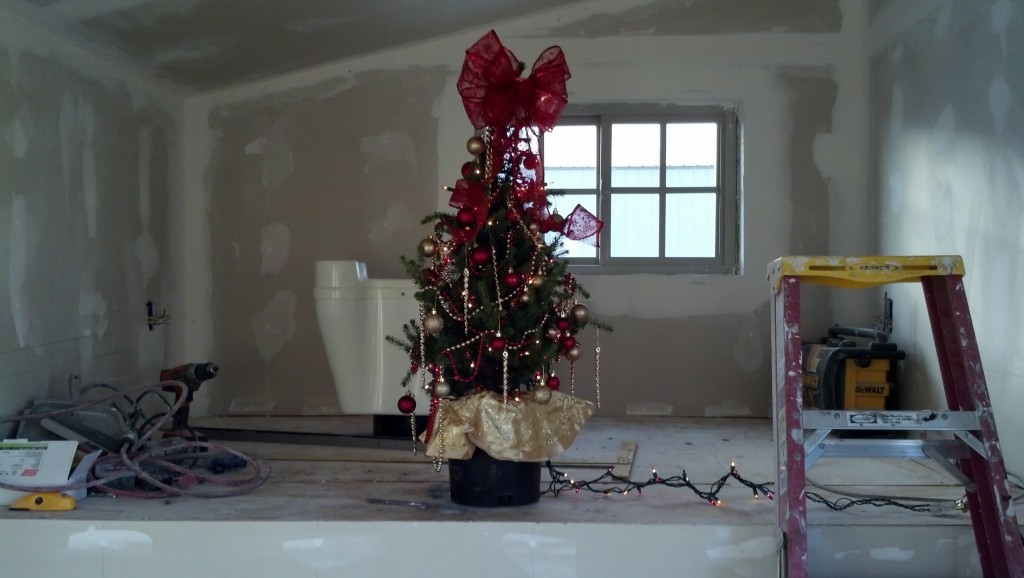
And one last picture of my happy little Christmas shrub! 🙂 I hope you all have had a great Thanksgiving or just a great weekend 🙂
Hi there,
Love the updates on your progress, it’s looking great!
Just wondering – why did you use two layers of ply for the flooring?
Keep up the good work,
Madeleine
Hi there Madeleine-
Thanks for the comment! There are a few different reasons I used two layers of plywood for the floor, the biggest one being that if I had just used one I would have had an awkward gap to fill in order to get the wall plates to sit flush on the home built trailer from Craigslist that I have used. It seemed like an easy option. There is no need for it structurally but I was also hoping that it would make the trailer a bit more rigid (since I am using drywall it could limit the cracking there if I could stabilize the frame a bit more). The third reason is because I had the lumber, I picked up all my wood from a local contractor for dirt cheap because they had leftovers from a big job. If I had to buy the lumber separate I probably would have figured something else out but I had exactly enough to do two full layers on the trailer bed.
Thanks for your kind words, I hope that is helpful!
Macy
Hey Macy! Your house is looking really good!
As for your counters, here’s a page from the USDA on cutting boards. http://www.fsis.usda.gov/FACTSheets/Cutting_Boards_and_Food_Safety/index.asp As long as you dry your counters off , after using them, you’ll be fine!
Hey Cheryl, thanks! 🙂
You made such huge progress over the weekend! Wow.
Thanks Rebecca!
I agree with mixing half and half to get a lighter stain for the table. I am fascinated with how you are building your shower floor. Keep up the good work. And a belated Happy Thanksgiving!
Thank you for your input! I hope you had a great Thanksgiving too!