Update 1.1.13
January 1, 2013 § 3 Comments
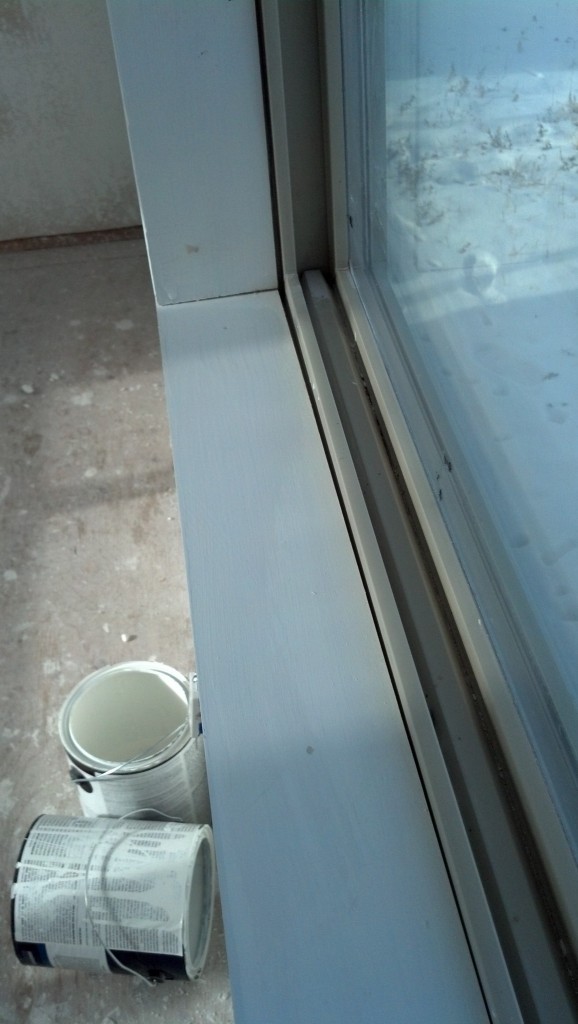
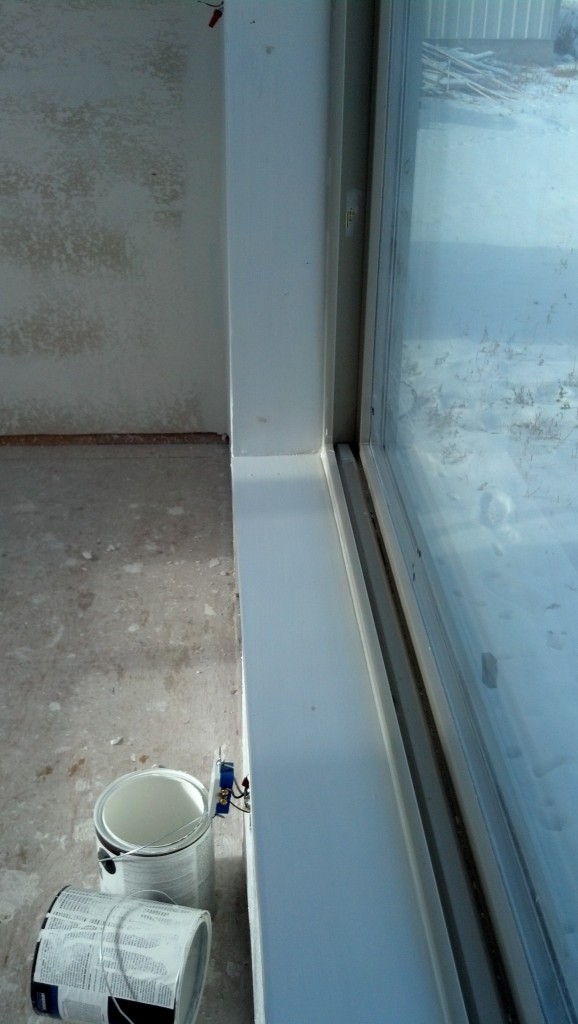
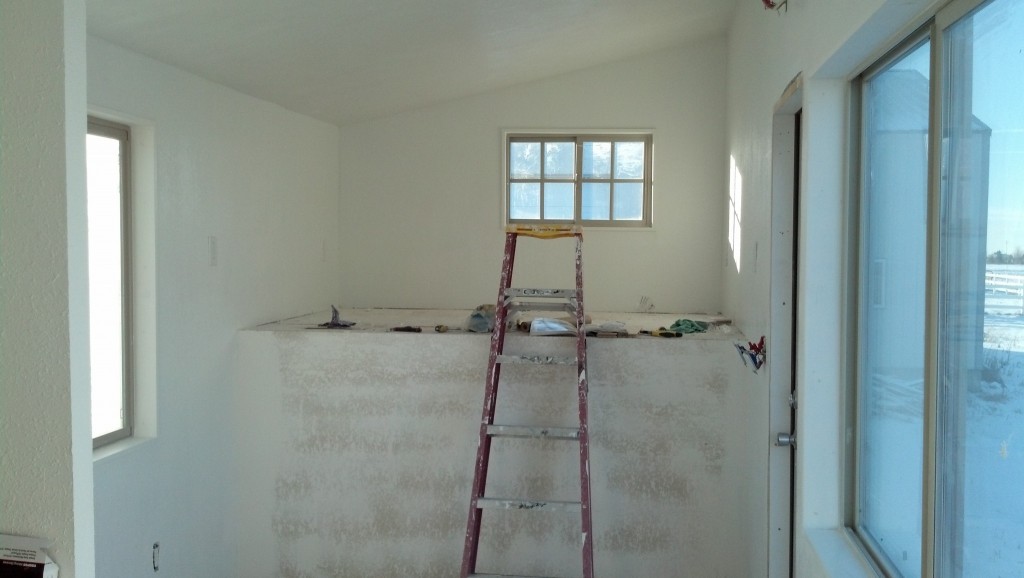
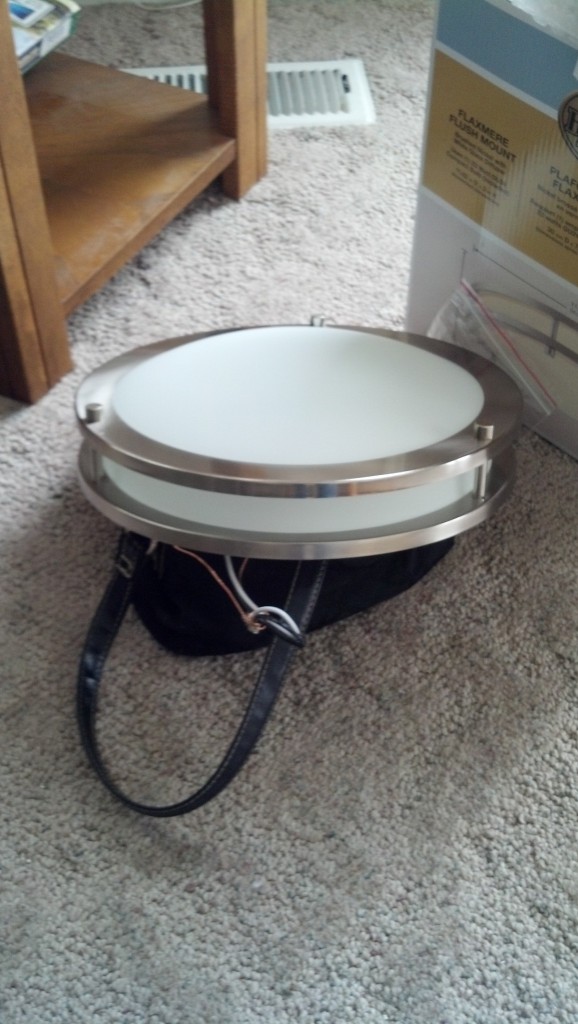
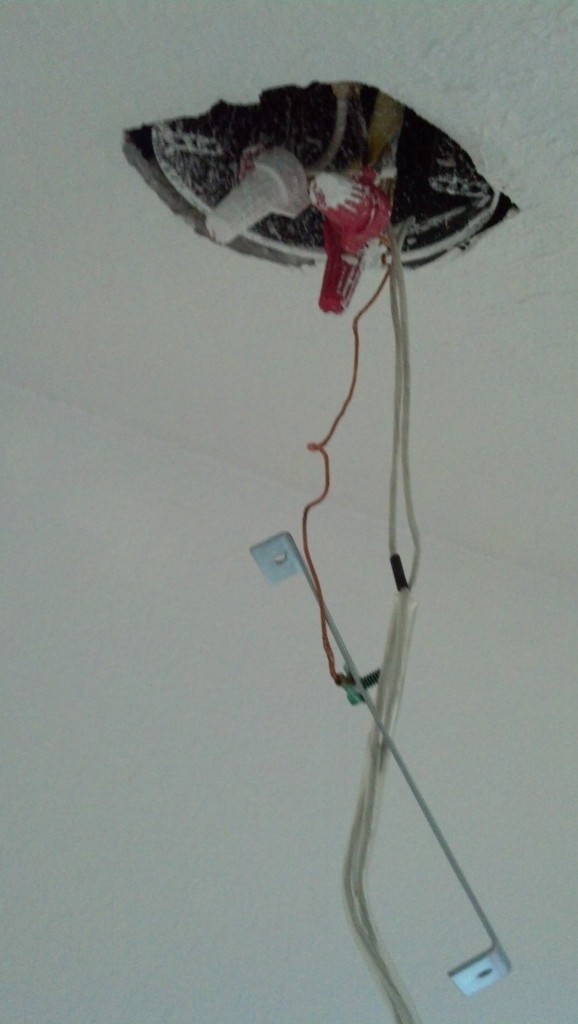
It’s a new year! I can’t wait to get done with my house!!! I am so ready to be in it… alas… I have lots more work to do, BUT! I got tons tone this weekend! The next push will be to plane down some of the reclaimed hardwood floors in preparation for the loft. I will also be helping Nate as I can to get the dresser and kitchen stuff welded together. Right now I have all of the pieces cut up and ready to weld together. More images of that coming soon! It’s awesome, I promise! I hope you all have the best year of your life!
I have a small request, if there are people who read my blog who are building a tiny house of their own and documenting the process (or know of others not already on my tinyhousers list), either flickr, a blog, facebook or any other way please leave a comment below, preferably with a link, I would love to add you to my tiny housers list.
Here are some pictures from the weekend:
- Starting in on the shower floor :)
- Each stone was lovingly laid in by hand!
- Getting there!
- and I have a stone floor in my shower. I still have to grout it but I like how it turned out, it will go well with my tile!
- After I laid all the stones I took a rolling pin to it and pushed them to a similar level. I pushed some further than I had planned and I’m not sure it was a smart idea but time will tell! once it is all set I will clean it up and see how it feels on my feetsies!
- And a bulb… It’s attached just so I can tell if I hooked the outlets ad switches up right… it was a fun moment… scary but fun!
- And I got to the windoows, all the gaps in the trim got a paintable caulk applied. Here is the before.
- And after. I also put wood putty in all the nail holes. I will be putting one more layer of paint on the trim
- And all the outlets adn switches got filled with some great stuff insulation. Since I used rigid insulation there was a bit of a gap behind each recepticle and you could literally feel a breeze coming in when it was windy. I just poked the nozzel through the back holes and filled the gaps, it feels tighter already.
- And a few more dimensions I wanted to document. I am getting ready to make the kitchen counter and I want to center the sink on the window, here is the width of the window.
- this is the distance between the window and the wall (this number plus half of the window width is the centerline of the sink). Noted.
- This is the depth of the sink, I was planning on undermounting it but I am thinking it would look cleaner to top mount it, thoughts?
- the full depth.
- and here is the width.
- and my stove, height.
- stove width.
- stove depth. these come in handy for welding my counter.
- I just love it :)
- My new bathroom light fixture, I finally found one I liked that fit in enough with my design. It was a little more than I expected to spend but it’s good! (50 bucks)
- And hooking up the rest of the pendant lights in the kitchen, easy cheezy now!
- Making some shades for them.
- Just got some help from dad and drilled a hole in a mason jar top with a hole saw, bing bing bing!
- and, when i shoved the guts back up in there I disconnected the last light on accident (I did the same thig to the GFCI in the bathroom, Ill get them fixed!) For now I have a dead soldier in the back there but for the most part my power is there!
- Love it! It turns out the light in the bathroom fixture is unique so i have to go get one of those, and insert the shower can light and then I am 100% set on power. I even have some of the covers on.


You are really moving along! Bravo! I can’t wait to see your next post, I bet there will be more updates…
Genius, I know! ;-P
xo
L
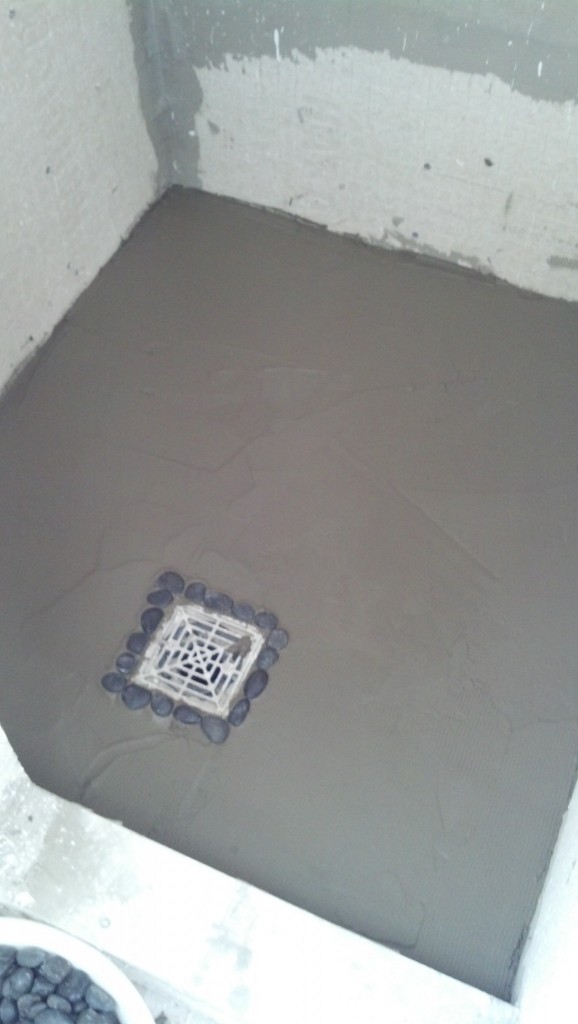
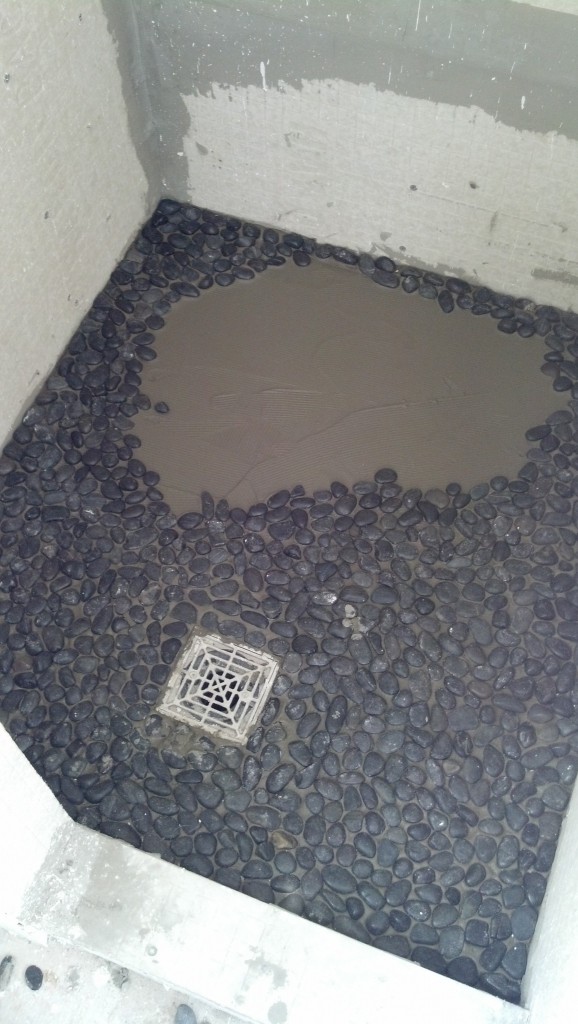
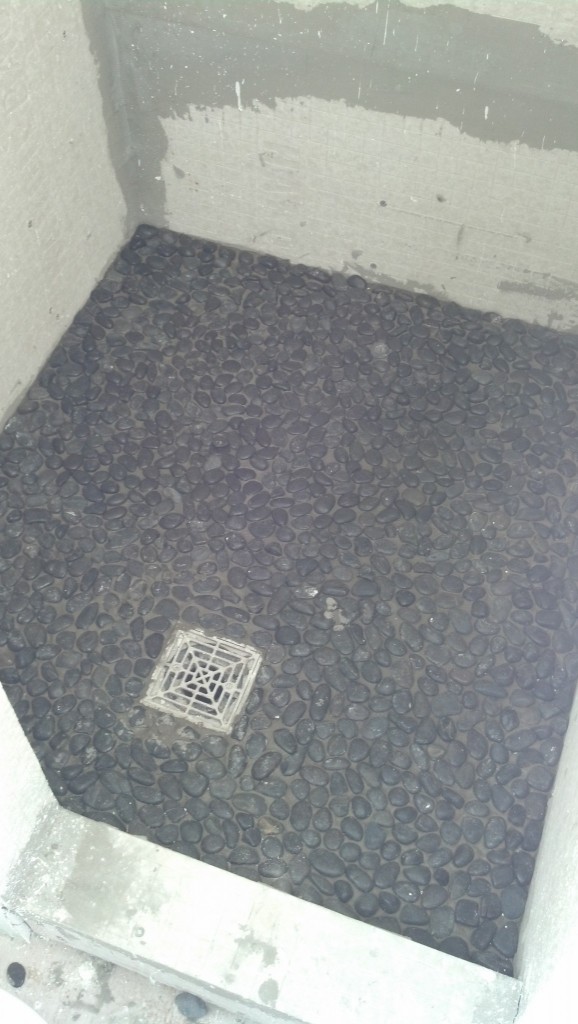
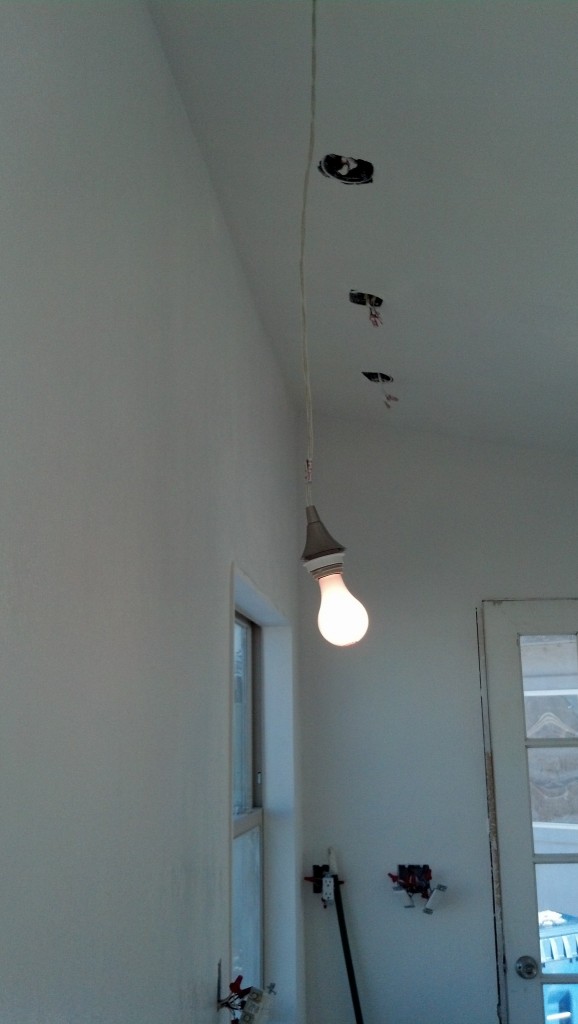
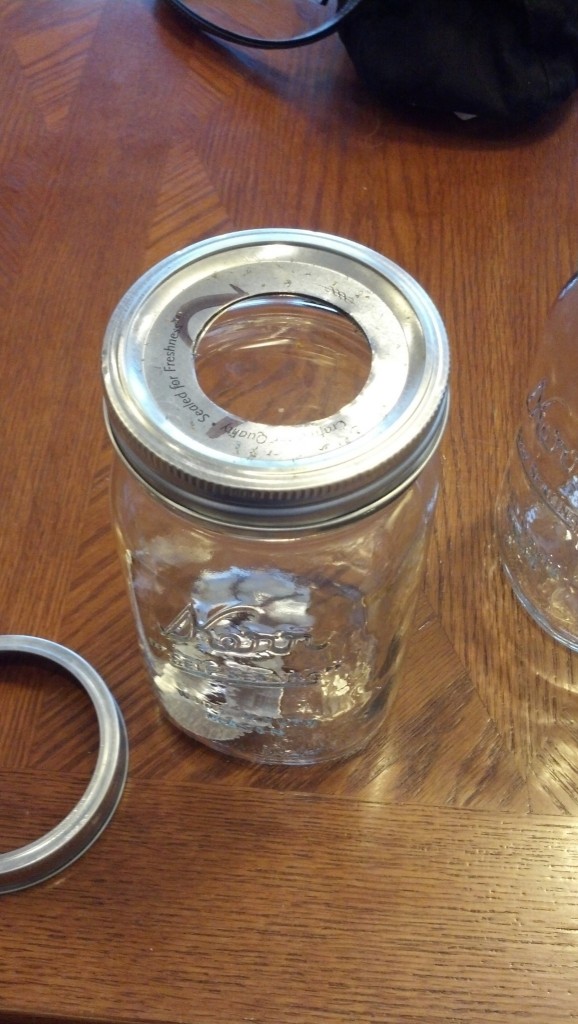
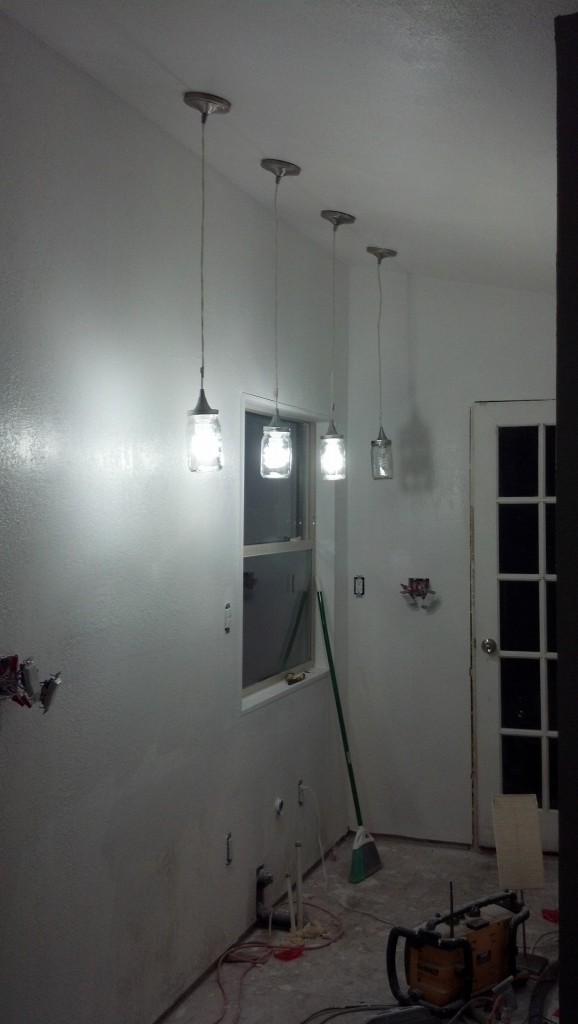
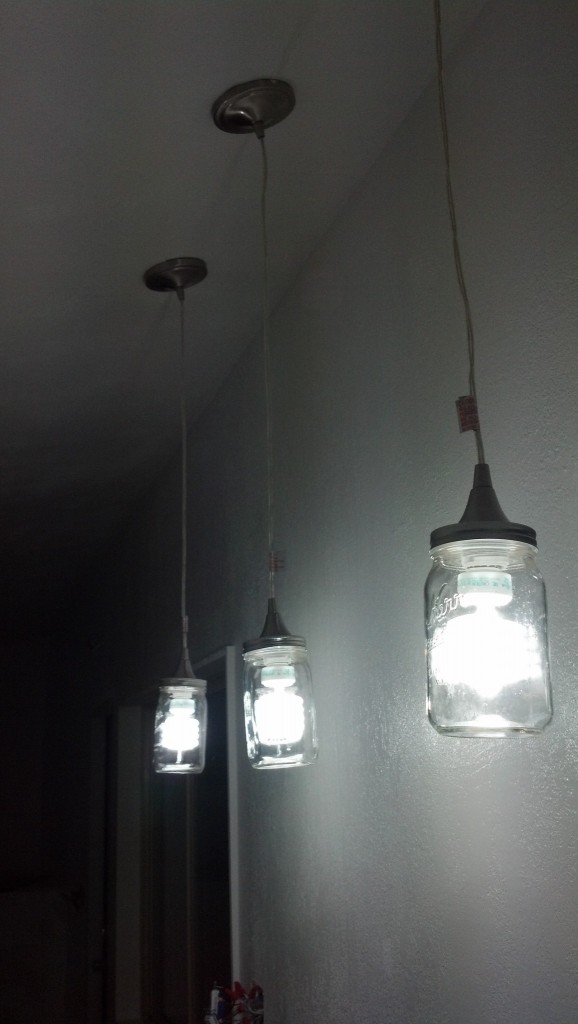
Macy! I missed this blog of yours but I love the shower floor and the mason jar lights! and the whole house is just looking awesome. so white and bright. I can’t wait to see it through to the end. great job!
- Carrie
Hi Carrie! I have been wondering how you’ve been doing! hanks so much for checking in, I hope you and Shane are well!!