It’s Well Past Time for Another Construction Progress Update
It’s been a while since I posted about the actual progress as opposed to ideas I have been having… here it is!

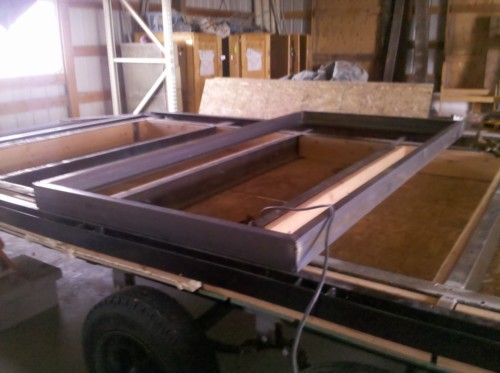
I was able to start putting the undercarriage on (1/2” OSB donated by my hero’s over at ESI). At first I was trying to flex these in in between the I-beam structure, that didn’t work. Instead we cut the pieces in half and were able to screw them to the underside of the wood I have been painstakingly placing along the trailer structure.
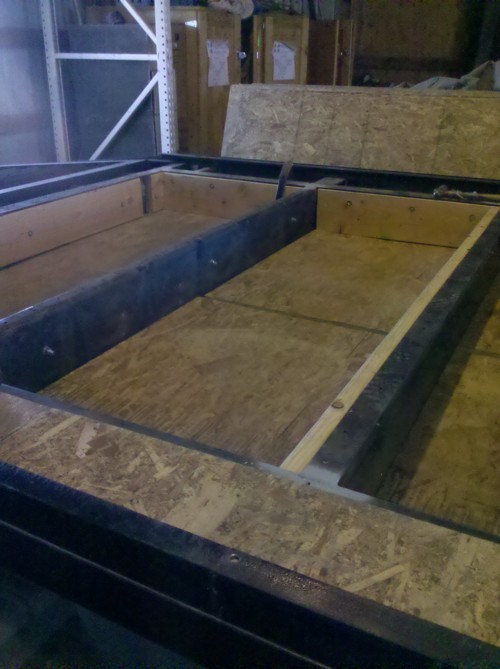
Which as you can see gives us about a 1” crack straight down the middle. I took a couple 2×4’s and screwed them on the bottom in order to add a little more support as well as cover this crack.
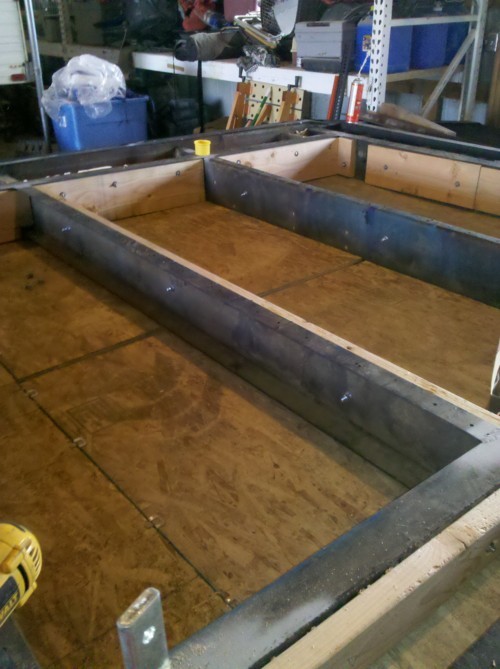
The tiny little side pieces were all cut and screwed on as well. This is creating the cavity spaces which will be filled with insulation for my floor.
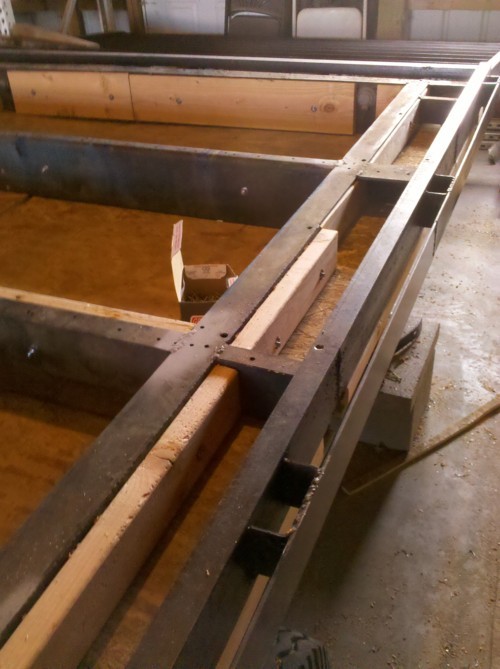
The plywood pieces didn’t line up exactly with my 30” on center supports so I picked up some clips to hold them together. I would not/will not do this on the actual floor but since the only thing this plywood is technically supporting is the insulation’s weight I figured it would be cool :).
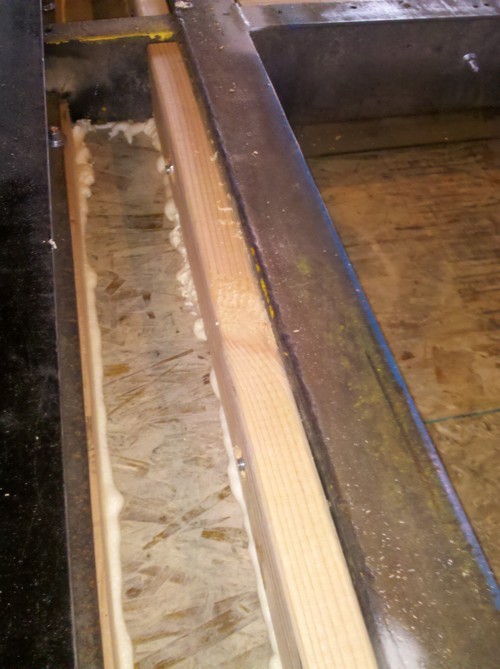
I went through with some ‘Great Stuff’ and filled the air gaps to seal off the cavities and they are now ready to be filled with the insulation!
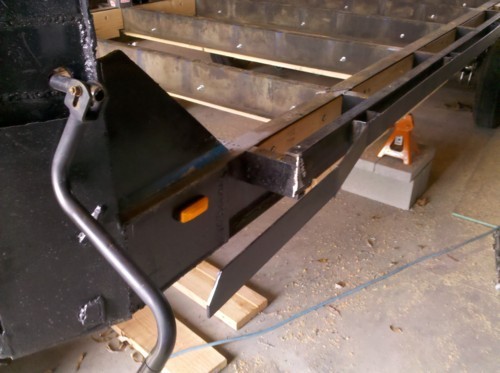
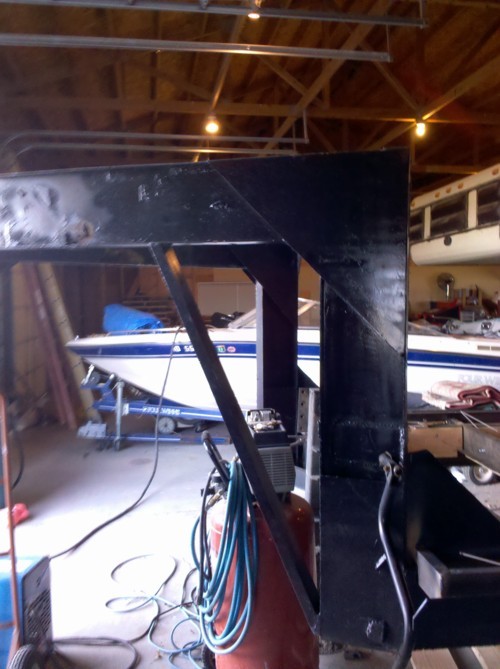
While all this was going on my dad got a ton of welding done and it’s looking GREAT! This is the frame piece we designed and he welded together to go up on the goose-neck portion for my bed. I have since changed my mind a little (surprise surprise) and given him a big headache. Instead of simply setting this piece up on the frame I want to be able to capture those extra 4” of head-height in the loft area, I will update on that soon enough.
The front of the trailer early on in the day.
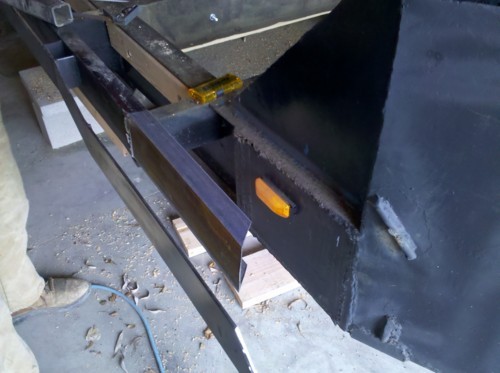
The other issue we have been pondering is the front end of the trailer, it needed to be squared off in order to accommodate my design. This is a photo of the existing conditions when I bought it, with the bumper rail detached and pulled back.
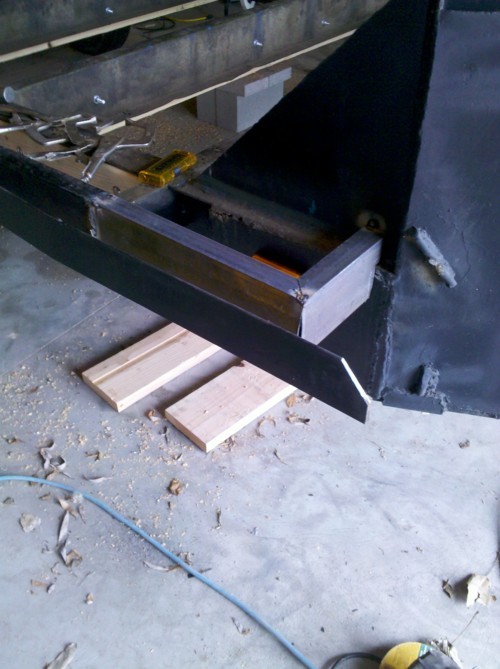
After dad tacked on the first piece of metal to square it off.
With the second piece tacked on…
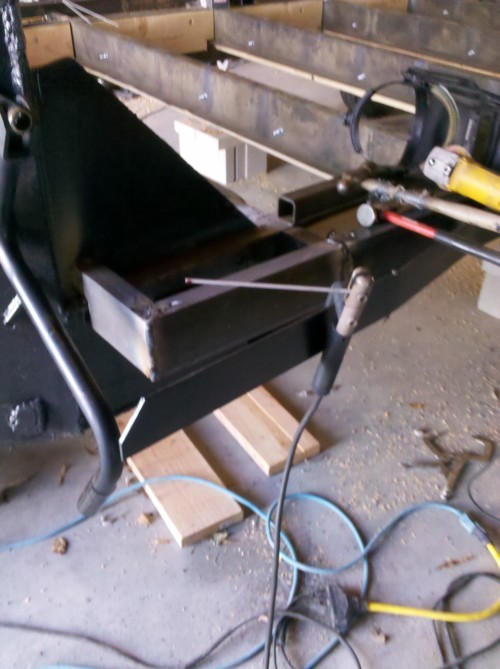
and welding the final corner (I apologize, I take weird pictures, and I forget to take pictures so when I remember I take a whole bunch of random ones… I think that is something I will make an effort to get better about!)
I swear I took pictures after this but I sure can’t find them… the bumper rail has since been welded back into its appropriate place and there is a top on this goose-neck… Ill get more pictures ASAP!
That’s the update, in other news I have the rest of my lumber! For CHEAP! Wall building very soon! I plan on finishing up the loft framing by the end of this weekend and getting the cavities filled with insulation. I have some design work to figure out a bit of plumbing (I think it will be easy to at least get some lines run to the appropriate places before the plywood floor goes down). I will also have to start getting some electrical designs together for my outlet placements and my lighting (Also got a bunch of wire and outlet boxes for CHEAP, ESI really is my hero :).
Hope it was at least worth the read, I am trying to document this stuff to help others and also get feedback if I am doing something wrong (Thank you Garth), please feel free to comment if you have any questions you’d like cleared up or if you want anything explained, also please let me know if you think I’m messing something up terribly, I’m sort of just winging it… much appreciated! 😀
~Macy