
Pallet Siding??
The good news is that I knew going into this that it would be difficult… After talking to a guy who restores pallets (Thanks Pete the Pallet Guy), I was well informed that it is no easy task to disassemble pallets. He was right!
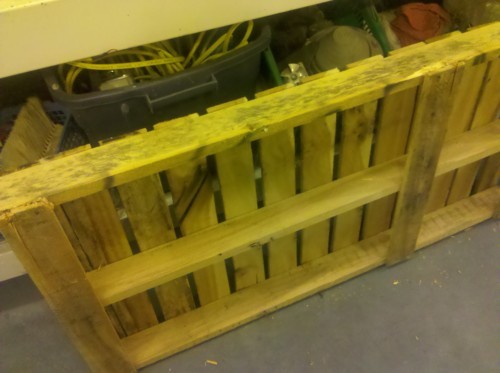
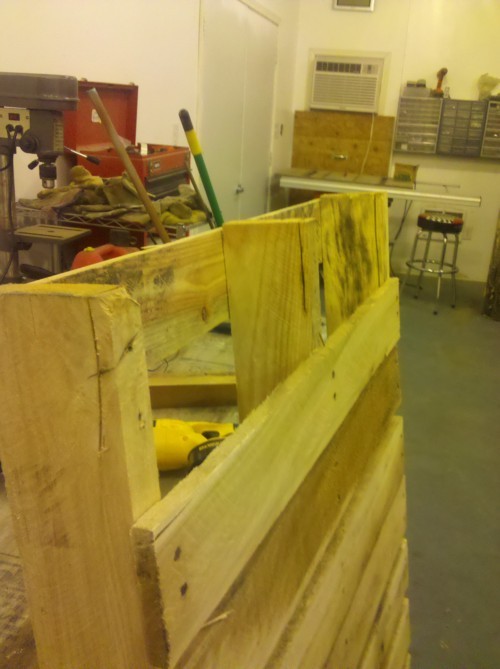
Pete told me where I could find some ‘extra’ pallets laying around town and suggested I take one and see if I was up for the task of disassembling it. I grabbed this little guy on my way home from work to play around with.
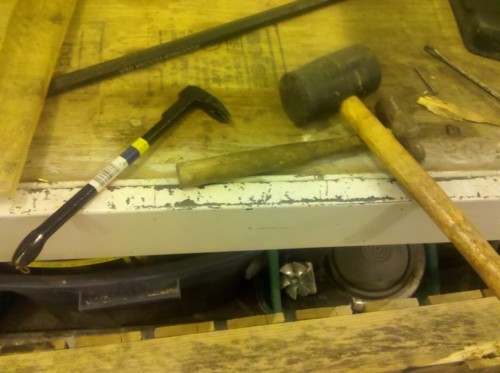
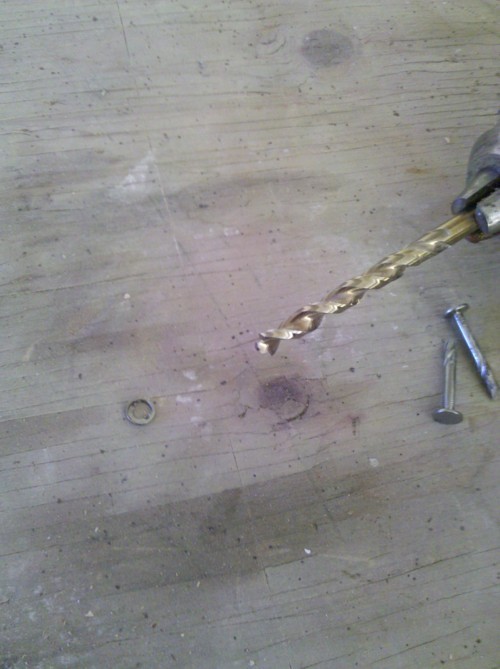
Pete informed me that pallets actually have a specialized screw/nail that makes them very difficult to disassemble (and very ‘tough’). These are my tools of choice for the first round.
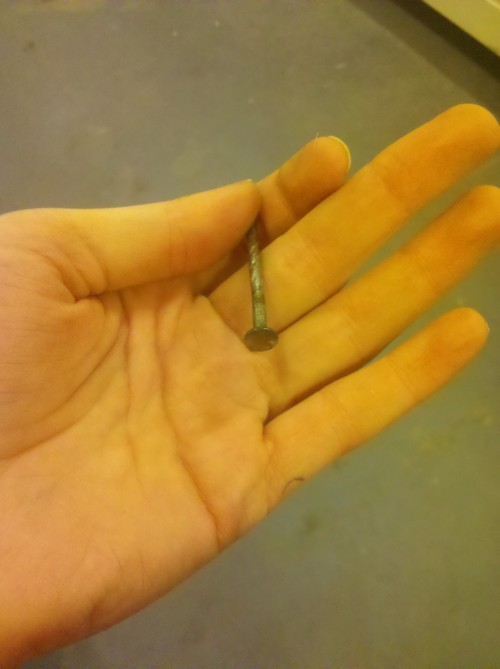
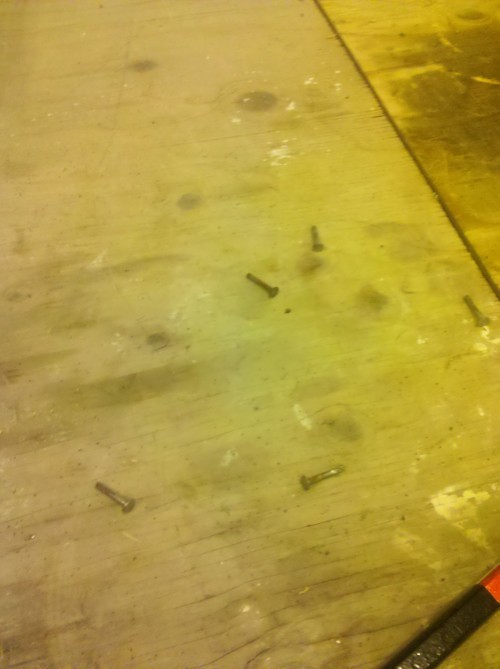
After battling it out with the pallet for a little while I was finally able to see the screws Pete was talking about. You cant just pull them out like a nail because they are barbed but there is no way to unscrew them either…
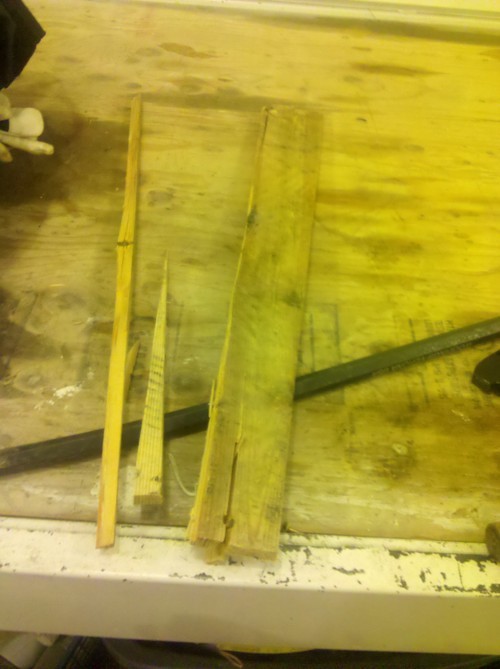
This was the result of getting that ‘nail’ out… obviously no ‘usable wood’…
Plan ‘B’ was to take a saws-all and cutting the ‘nails along the edge so that I could just pop the board off and punch the remaining ‘nail’ pieces out… This turned out to be more work than expected. Also, pallets have an internal spine that is hard to get to with a saws-all… it worked for the first board but would have been miserable fr any others…
The screws came off and popped right out but I still determined this wasn’t a good solution and would be VERY time consuming. I started thinking about other options and became VERY glad i didn’t hand a lady 200 bucks earlier that day for her pallets… that would have been one big and expensive bon-fire…
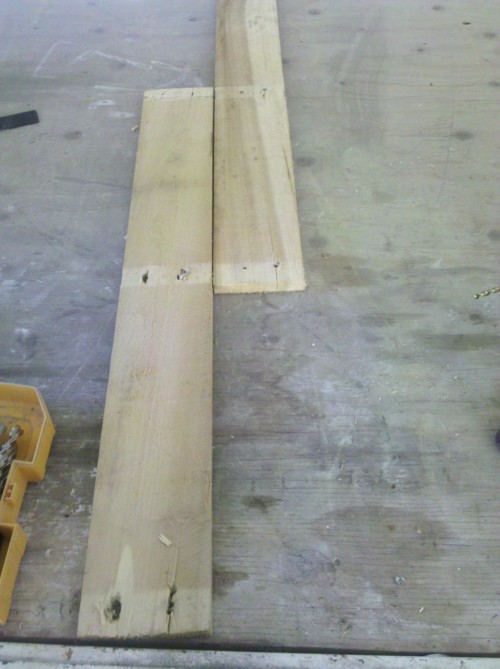
After a good night of sleep I woke up and was explaining the shenanigans to a friend, Remington. he suggested I screw te heads out of the nails and just pop the boards off. I felt dumb for not thinking of that as plan ‘C’. I ran over to the pallet at lunch time and gave it a shot.
It worked beautifully. It is still a lot of work but to quote my brother, I am a glutton for punishment…
I really like the idea of how this can look in my head and I also really love the idea of recycling dead pallets. This will be one hell of a process to get enough boards and get them to a point I can use them for siding but I feel like it will be worth it… and help out my budget tremendously. So, now that I figured out a way to use them I need to strike a deal with Pete the Pallet Guy to collect them from him (if possible) because I feel like a weasel stealing pallets from companies, even if there is nothing wrong with it… 🙂
The plan with these boards is
1) I am going to take a saw and cut just inside the runner of the outside rails (minimising the amount of nails I have to drill by 2/3s)
2) take a punch and punch the center nails to guide the drill
3) drill out the nails and remove the boards
4) cut each board into nominal foot sizes (to be nailed up to the house on runners spaced 1 foot on center)
5) run these boards through a table saw to make them a consistent width and also give them a mitered edge to help rain drain away from the house.
6) fill the nail holes left with wood putty
7) run the boards through a planer to give them a nice surface
8) stain the boards with 3-4 different shades of an oil based stain
9) install
As you can see it is a lot to do for one step of this house but like I say, I am in love with the way I think this will look and the idea of reusing dead pallets to give them a new life… and saving several hundred dollars. I would say it will be my ‘personal touch’ to this house…
In other exciting news I got windows today, I will post about that later but for now, BIG THANKS to Bentley Doors and Windows for donating me the windows for free!! Pictures to come soon!


This process has given me a lot of great ideas. Do you have any pictures of a finished product?
Hi Derek, sure, you can see some here, http://minimotives.com/timeline/
Really useful walk-through here, it would be good if we could see the end product! Saw a similar post here – http://www.barak7.co.uk/en/blog/Industrial-Furniture-Blog-Tutorials-DIY-News-by-BARAK-7-38209/Blog-Industrial-Tutorial-n-2-How-to-make-a-pallet-siding-153176.html . It’s a more in depth video, but this guide is also really helpful.
A much easier solution would have been to just run a circular saw down each side of the pallet and cut the pallet top planks 1.5″ shorter on each side at the inside edge of the beams that the planks nail into. Then all you have left is the one center beam underneath with the planks ontop still nailed to it. Then just run the saws-all underneath the plank to cut the nails and you’re done. Yeah you will lose 3″ total length from each plank but it will be so much faster and you will have clean ends with no holes on each side, just two holes in the middle to fill or whatever.